Archive for the 'Uke Building Logs' Category

What is it?

March 19, 2011

Rachel returned from China/India Tuesday and she brought me a present.

110319chinainstrument_0

She’s not sure what it’s called, so what’s it called?  I need to restring, and I’m not sure what the bridge orientation should be.

Today I added more lacquer coats to the koa dreadnought (6 of 12) and the uke (9 of 12).  The uke is a disaster.  It became dislodged from the spray booth bracket and fell to the cement causing a reasonable amount of damage, including pebbles throughout the wet lacquer coat, a chip out of the headstock, and a segment of binding with road rash.  Oh well, file it down, keep going.  Thank god this is just a “test uke”.  I’m sure it will sound lovely, but it will look like shit.

I’m also refinishing a headstock on an eBay purchased Fender koa uke.

110319fenderhead

I have some aerosol nitrocellulose that I am using to refinish this headstock.  It’s got 4 coats now, and I’ll probably go as far as 10.

I devised a little jig for drilling holes in my uke bridges.  I’m going to use bridge pins with strings secured inside the body with bone beads.  I’ll get a picture up later of the string beads.

110319bridgejig

Spray Day – 6 of 12 and a little 3

March 11, 2011

Spray day today.  Added 3 more coats to Guitar 903, and Uke 1001 bringing them to 6.  Striving for 12.

110311sixthcoat

110311sixthcoat

Applied the first three coats to the neck for Guitar 1001 while the pore filler dries on the box.

110311thirdcoat

Between coats, I spent a wee bit of time inserting a temporary piece in the truss rod channel for Guitar 1002.  This is to assist in finding the centerline for the neck as I work on the taper.

110311insert

Uke Bender In Action

February 18, 2011

The cutaway ram has been installed on the new uke side bender, and I’m ready to test some bending.

110218benderwithram

I have koa sides which I errantly tried to bend in the full sized bender, which cracked and burned and did not accept a full bend which I will run through this new bender to check.

110218firstbend

I will test some new theories, practice the steps, make amends, then check the results before bending some virgin side plates.

110218lastbend

After the initial bending, I will let cool, then reheat again, then let cool before releasing from the mold.

Sanding Sealer

February 15, 2011

The spray odyssey begins.  One coat of sanding sealer (lacquer) before applying the pore filler.  The walnut OM color and grain is jumping out even with one coat.

110215topsealer

110215backsealed

The bubinga uke got the first spray treatment.  Some imperfections revealed themselves, but should be hidden once the 12th coat of lacquer gets applied.

110215ukesealed

The koa dreadnought is awaiting further sanding.  I am going to sand this guitar way too much vs. previous attempts to sand too little.

Uke Side Bender

February 13, 2011

Finished the side bender for uke sides.  Awaiting the delivery of the cutaway ram, which will be used to clamp down the waist.

110213ukesidebender

Flurry of Activity on the Horizon

February 13, 2011

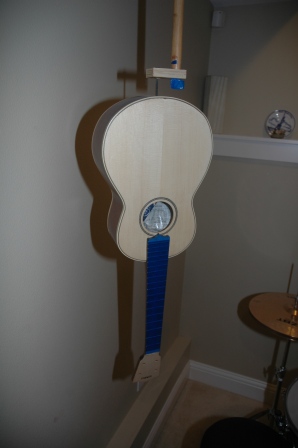
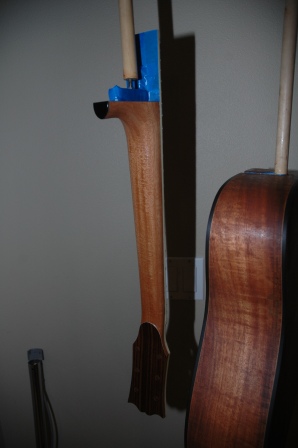
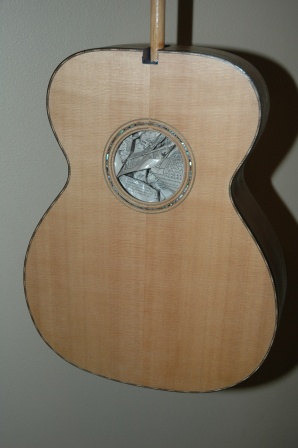
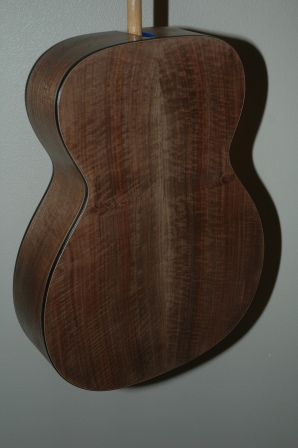
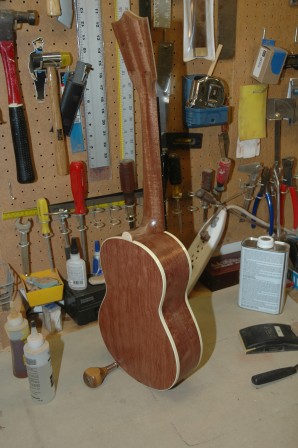
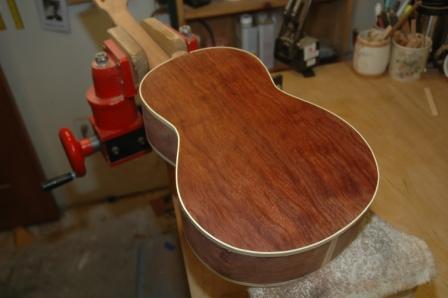
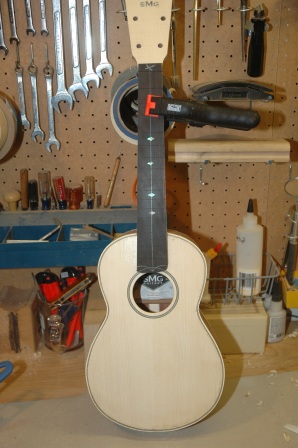
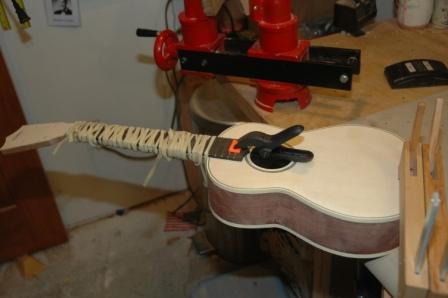
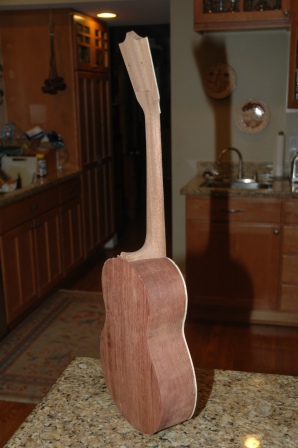
The stage is set for the dreaded retreat to the spray booth.  Spraying lacquer is a process which is a whole lot of setup followed by very brief spraying sessions culminating in a necessary yet dreaded cleanup.  It behooves one to have several guitars ready for spraying at the same time.  I have delayed spraying the koa dreadnought to get the walnut OM and the bubinga tenor uke ready for spraying as well.  That’s three instruments staged for spraying at the same time.

I have traditionally used nitrocellulose lacquer, with excellent results but questionable effect on my respiratory system.  Even though I use a vented booth and a respirator mask, I have experienced deleterious effects from the nitrocellulose.  This round of spraying will employ a water based lacquer, KTM-9.  I have used KTM-9 in the past, and applied it with a brush, and the results were good, yet I anticipate the spray application to be excellent.

I have had mixed results with the pore filling steps, and this time am committed to ensuring the pore filling will be immaculate regardless of how many applications I need to fulfill a mirror surface on the back, sides and neck.

The proposed steps are:

1.  One coat of lacquer sanding sealer

2.  Several applications of pore filler, until smooth

3.  Sand until smooth without penetrating sanding sealer

4.  3 coats of lacquer applied every hour

5.  Cure 24 hours, scuff sand

6.  3 coats (that makes 6), cure 24 hours, scuff sand

7.  3 coats (that makes 9), cure 24 hours, scuff sand

8.  Determine need for 3 more coats or proceed to finish

9.  After 2 weeks of cure, progressive sanding, starting with 400 through 1200 wet sand

10.  Buff

These steps precede attaching the bridge, bolting on the neck and moving to final setup (fret dressing, nut and saddle shaping, install tuning machines).  Based on this schedule, I am about 3 weeks away from completion.

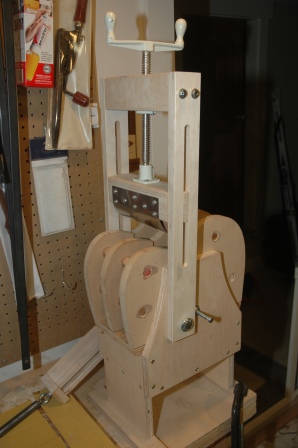
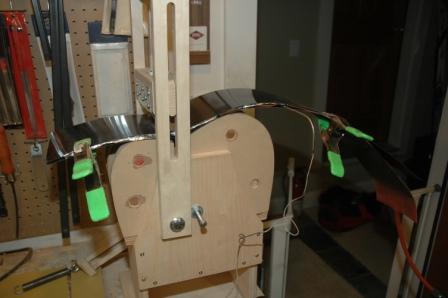
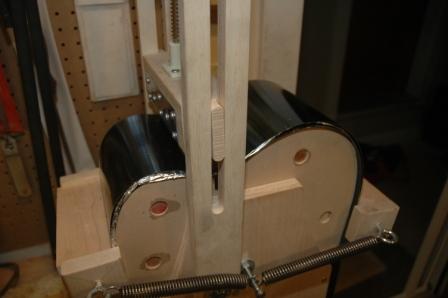
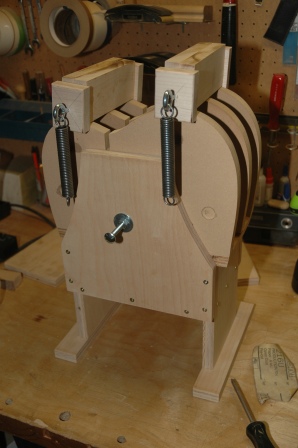
Spraying is a lot of hurrying to wait.  I can fill the gaps in time by continuing on construction of the hybrid Macaferri and the koa tenor uke.  Next week I will be receiving a cutaway ram to install on my side bending machine.  I have also devised a use for this ram on a side bending machine built purposely for uke sides.  Since my current machine is too large to properly bend uke sides, I am constructing a bending platform which will use the cutaway ram for the waist bend for uke sides.  Pictures coming later.

Uke 1001 – Bubinga Sanded

December 22, 2010

I’ve been working on Guitar 1001 all day, but took a little time to sand down the back of the uke to see how this Bubinga stuff is going to look once finished.

101222back

Uke 1101 – New Project, Koa Tenor

December 21, 2010

Sister Cyndy was in town and she assisted in starting her koa tenor uke.  Some really fine koa for this uke.

101221backandtop

This is the top and back after joining.

101221topdetail

Detail of the top is shown.

Uke 1001 – Test Uke advances past the quarterfinals

December 11, 2010

I think I’ll give this uke a name, other than Test Uke.  I’ve always resisted anthropomorphizing my possessions, as it puts too much pressure on them.  They lament, they worry, they feel like they just can’t live up to a name.  But, fuck ’em.  I’m going to call this uke Stutter.  Stutter just can’t seem to finish a phrase.  Each step has one little thing that could be better.  Sure, if you stand back everything looks great.  Get a little closer, and you feel bad for the little feller.  Because of Stutter, the world will be a better place.  Every uke that comes after Stutter will have learned from him and be better for it.

I believe, actually, that Stutter will sound great, and be fun to play.  Maybe his name will change, and be more about his looks than his voice.  Until then, he’s Stutter.

101211neckdry

I installed the fretwire after shaping the soundhole end of the fretboard.  I’m using a mandolin fretwire, hoping to see if this gauge would be better than a standard guitar fretwire.  The next uke will use standard, and I can compare.

Using the amazing rubber band, I glued the fretboard to the uke, and didn’t even need to index.

101211fretboardglue

Uke 1001 – Bound and Banded

December 4, 2010

I am using a plastic cream for the binding and a BWB for the top purfling.  I’ve learned many things building this first uke, and the binding/purfling channel challenge is one of them.  Spanish heel neck makes hand chiselling around the neck and heel necessary.  I’m just not as smooth as a router bit.

Before binding:

101203prebound

First, install the back binding.  No purfling here.

101203boundnbanded

The top has the purfling.  Using vinyl cement is sure a lot cleaner than white glue.

101204boundnbanded

The giant elastic band has proven really effective.  The binding comes out completely trim with the body, with no gaps.

« Prev - Next »