Archive for the 'Uke 1001 – Bubinga Tenor' Category

Ukes – Working Jigs and Rosette

October 30, 2010

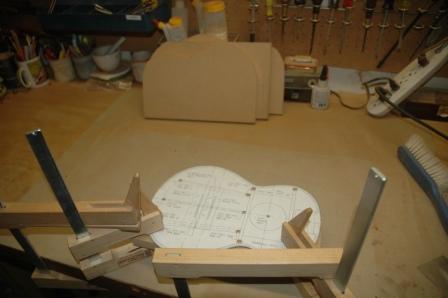
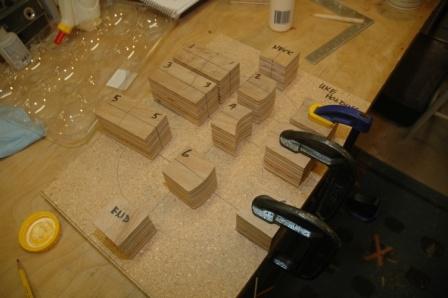
Work work work, busy busy busy.  Mostly I’ve been finishing up work boards for uke construction.  Today I finished gluing up the holding board (to retain bent sides before installing).

101030holdingmold

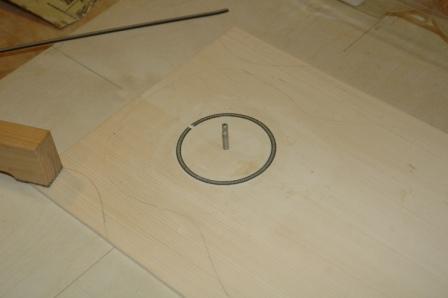
I also thickness planed the spruce top and installed a herringbone rosette.

101030herringbone

Ukes – Uke 1001, Bubinga and Spruce

October 28, 2010

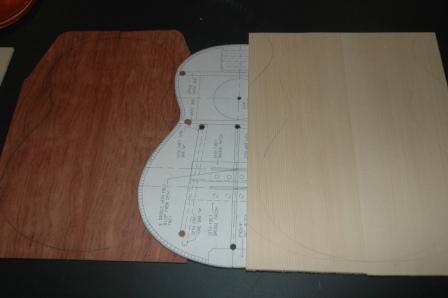
Uke work is underway!  I’ve designed the first uke to make use of some Waterfall Bubinga and an Engleman Spruce top.

101028backtop

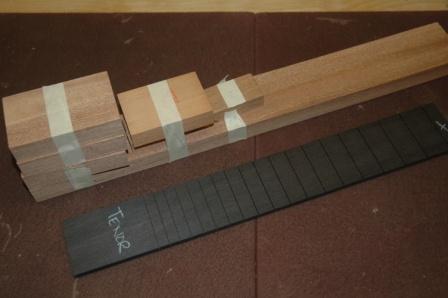
I’ve got a design for work boards and have built the bending mold for the sides.  The neck is blocked out and the fretboard has markers installed.  I’m trying to balance work on the ukes with completing Guitar 1001.

Ukes – Taper Sled and Fretboard Inlay

October 3, 2010

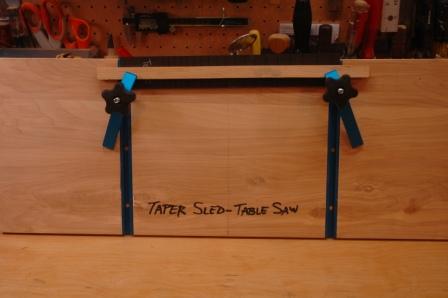
Happy October everyone.  I’ve been working on ukes this weekend, which means focus on jigs and such.  I crafted a taper sled, which allows me to make taper cuts on the table saw.  It’s just a slab of 3/4″ birch ply with two t-channels, channel clamps, and a guide strip on the back.  Fingerboards need to be tapered, and after marking the taper line, clamp the fretboard into the sled and slide it through the table saw, and shazam!
101003tapersled

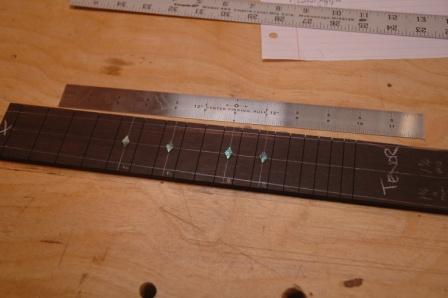
Prior to doing the taper cut, I need to inlay the fret markers.  I’m using diamond shaped paua.  The fretboard is marked with a center line, and additional lines are scored at the 5th, 7th, 10th and 12th fret.  Note that ukes don’t use the same fret marker patterns as guitars.

The shell is glued to the surface of the fretboard to allow for later scoring around the shell.
101003layoutshell

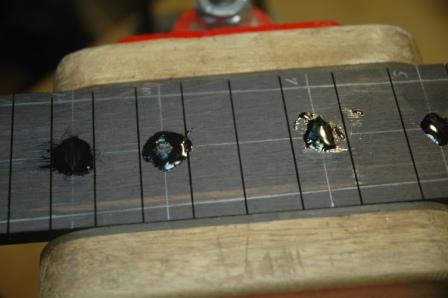
The shell is removed after scoring, then the cavity is cut out and black epoxy is added to the cavity.  The shell is pressed in, and additional epoxy is glooped over the top to fill any gaps.  After 24 hours, the fretboard can be sanded.
101003epoxyshell

Looks funky now, but it’s like unburying treasure once you sand it down.
Ukes – Bending Mold

September 28, 2010

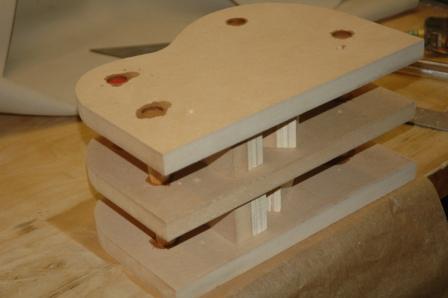
Now that I’ve settled on Tenor as the size for my first uke constructions, I need to make jigs and molds.  The side bending mold, which fits into my side bending machine will be the first to tackle.

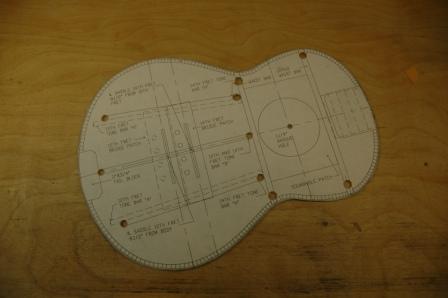
The mold is constructed from three pieces of MDF joined with 3/4″ dowel.  The master template shape is derived from the plexiglass template I created from the uke plans.  I rough cut 3 pieces of MDF for the bending mold and final shaped the first template piece.

100927platetemplate

Once this piece is properly shaped, it’s used as a guide to shape the next two plates.  A router bit with bearing is used to do the finish shaping.

100927moltplates

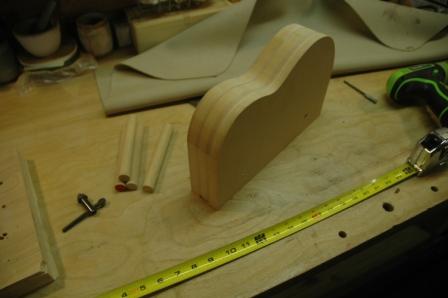
3/4″ holes are drilled into the plates to accept dowels, 4 @ 6″ lengths.  The plates are separated and held in place with spacers as the dowels are pressed into the holes.  CA glue is flooded into the seams, and voila, a side bending mold.  A channel needs to be sawn out at the waist to accept the holding plate on the screw press, then side bending can commence!

100927bendingmold

Uke Prep

September 6, 2010

The new venture of building ukes starts with making jigs, molds, templates and patterns for uke construction.  I will need:

1.  Bending mold for use in the side bender.

2.  Template for back and top.

100905template

3.  Workboard and side mold.

4.  Shooting board (to cut tapers for sides and fretboard).

The top and back template is complete, and is used to trace out the bending mold.

Ukes – The Journey Begins

September 1, 2010

I’ve already generated some interest in ukes, and several clients are awaiting the outcome of the first few before making a commitment.  I’ve gathered some plans and materials to start building tenor ukes.

The first will be a Bubinga back and sides with an Engelman spruce top.

100901bubingaandspruce

Once this first “test uke” passes final inspection, I’ll make any necessary adjustments and build a couple of koa ukes with some mighty fine stock I procured from my friend Bruce at Notable Woods.  I may be presumptive calling Bruce my friend, but I have used lots of his wood (koa and walnut) and did pay him a visit on Lopez to hand pick the uke wood.

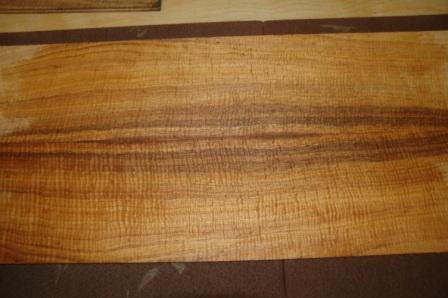
100901koabackandtops

This is the stock I’ll use for the backs and tops (enough for two ukes).

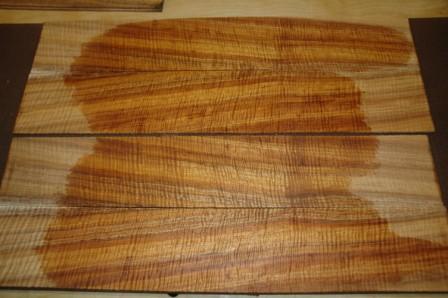
100901koasides

The side wood is nicely flamed and should produce some handsome ukes.

I found a supplier in Hawaii which sells slotted fretboards and mahogany neck stock.

100901neckfret

« Prev