Uke 1101 – Taking Form
April 26, 2011
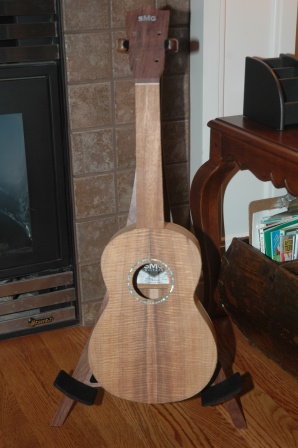
It’s a uke!
April 26, 2011
It’s a uke!
April 26, 2011
Got a lot done today between printing lesson plans and teaching 9th graders how to divide exponents. I planed and radius sanded the back until it was in shape to accept kerfing.
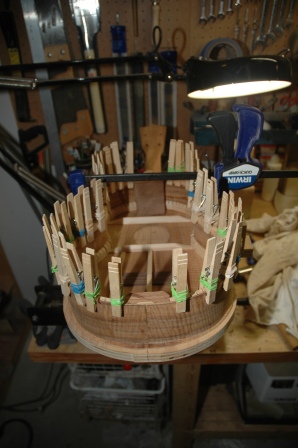
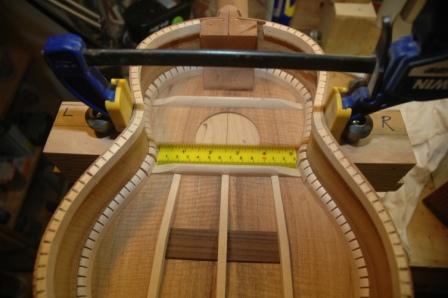
Lots to do on the inside before gluing on the back. Side reinforcements go in, three to a side.
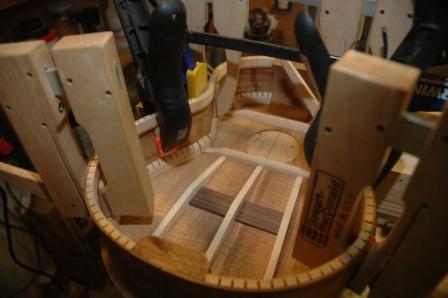
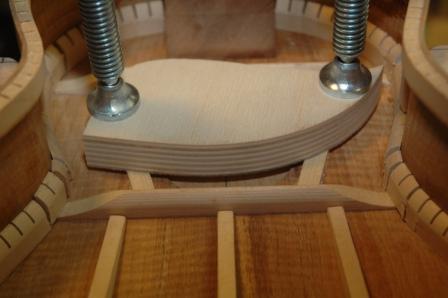
The soundhole needs to be reinforced with two spruce braces.
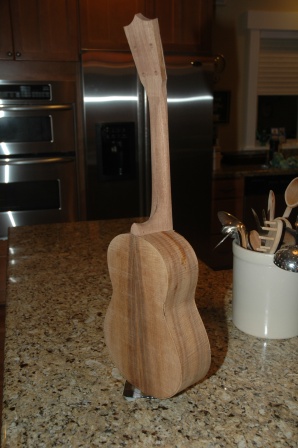
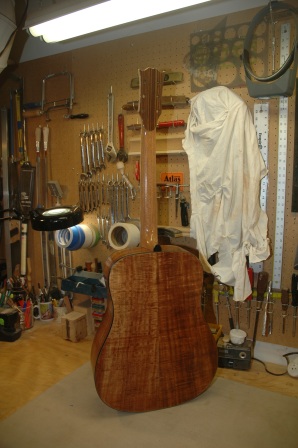
The ladder bracing on the back was trimmed back, and a label was secured to the back as well. The soundhole is too small to get my fat mitts into to glue in the label, which is what I usually do with guitars. The back was trimmed down at the waist to accomodate a clamp to press in against the side waist to square up the sides.
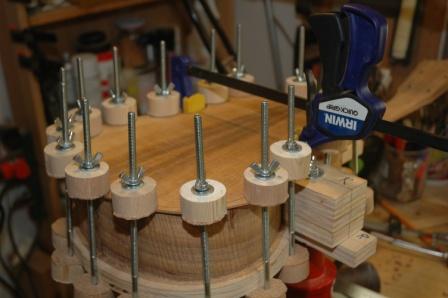
The back is glued to the kerf and held down with spool clamps.
Later tonight, after the glue dries, I’ll flush up the sides and it will appear to be a ukulele.
April 24, 2011
To recover from the wrong way heel slots, I filled with mahogany plates.
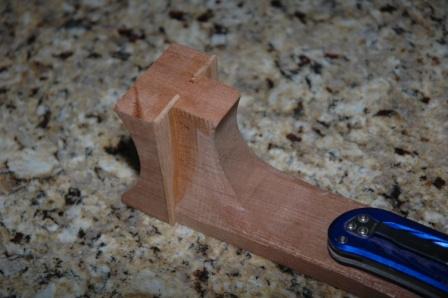
I had to carefully build a holding jig for the neck in the table saw which stabilized the neck while I drew it through the 5 degree angled blade. Slots came out well, and I spent time shaping the heel in preparation for joining the top to the neck.
The top of the neck is routed out to accommodate the thickness of the top and ensure a flat transition from the top of the neck and the face of the top. Center lines are matched, and the top is glued to the neck at the neck block portion of the neck.
Once the joint is dry, it can be turned around and mounted onto the workboard. After several dry fit attempts, everything lined up well, and glue was applied to the neck slots and the glue line along the inside of the top where the sides meet. I probably should not have glued the slot, as I need to shim a wee bit of the sides to press against the heel for a tight fit. So, there is a little gap between the heel and the sides which I may be able to shim out, but probably not. The gap is very small, and will disappear when lacquered (or I can fill it).
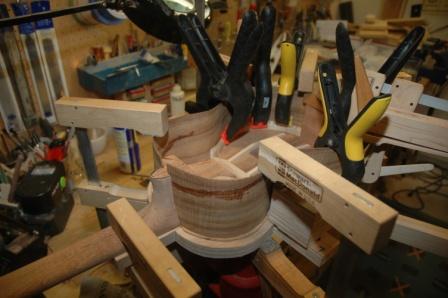
The sides are clamped to the top, and while drying, the kerfing process can begin.
April 23, 2011
The lacquer on the koa dreadnought has cured for two weeks so it is time for knockdown. Knockdown is where you sand the lacquer with increasing fineness of grade sandpaper on blocks. The key is to remove all high spots, orange peel and drips until the surface is mirror smooth. Each decreasing grade of grit removes any scratch marks from the previously higher grade of sandpaper. It’s critical not to sand through the lacquer.
220 dry to remove drips
400 dry to bring surface down to flat, removing orange peel.
600 wet
1200 wet
Buff!

These shots are before sanding.
Note the rosewood veneer backing on the headstock.

The koa is just magnificent.
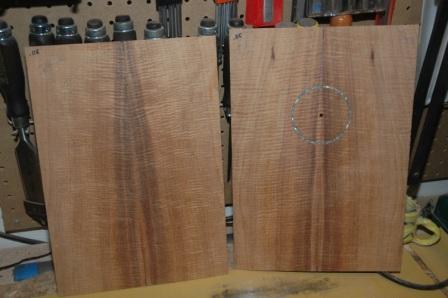
April 23, 2011
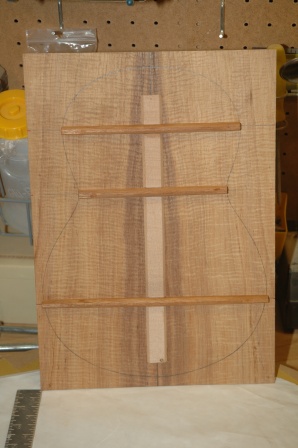
I completed the bracing for the back and top today.
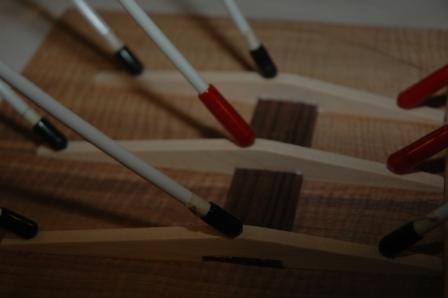
The bridge patch is rosewood, and the bracing for the top is flat (not radiussed) using sitka spruce.

The back is braced with 15′ radiussed mahogany ladder bracing.
My dyslexic brain allowed me to cut the slots in the neck for the spanish heel at the opposite angle. The plan for recovery is complicated and will require me to build a jig to hold the neck and accurately cut the correct slots. First I’ll patch the “bad” slots to return material to the neck block before I cut new slots. The fortunate aspect of this problem is that the patch will only be visible inside the uke where the heel meets the sides.
April 21, 2011
The first bent side is out of the bending machine.
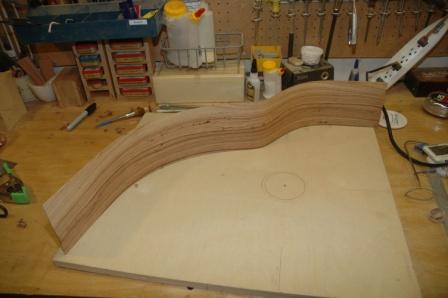
The resulting bend is accurate yet not tight enough. I’m resigned to the fact that I also need to apply more bend with the bending iron.
I’ve had limited success with the bending iron, mostly due to wood being too thick and preloaded with tiny cracks. The machine bend of the first side did produce two minor cracks, which I filled with CA glue. I took a first pass attempt at increasing the tightness of the bends with the bending iron, and found I could make some headway on tightening the bends and not introducing new or wider cracks: all due to the nice .070″ thickness of the sides.
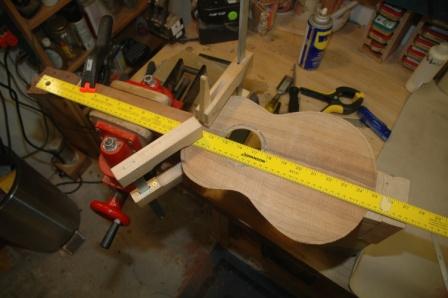
I will complete the hand bending just prior to installing the sides onto the work board, which is still under construction.
The workboard will be finished with sliding cauls along the outside border of the sides. The sliding feature will allow me to use this workboard for dreadnoughts, OM’s and this Macaferri style body, along with others in between.
I usually build in a mold, which is only appropriate for guitars with dovetail or mortise/tenon bolt on necks. The workboard is necessary for the spanish heel type construction. This will all become obvious when I get to the step where the sides are glued to the top which has been attached to the neck.
I will have to provide a small radius bowl in the lower bout area of the workboard to accommodate radiussed X bracing.
April 21, 2011
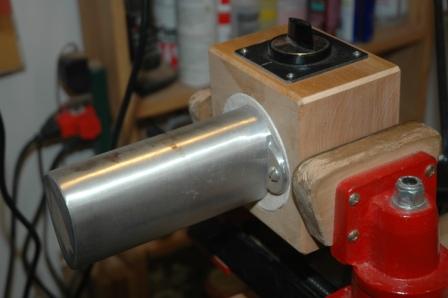
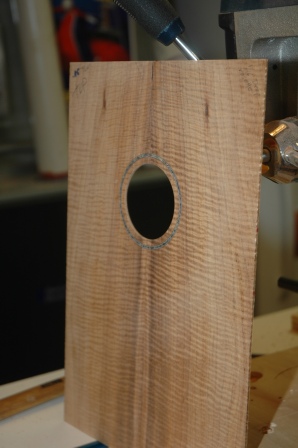
Used a circle cutting bit for the drill press to produce the soundhole in the top. I usually use a dremel and down cut mills, but the circle jig won’t adjust down small enough for the uke soundhole. The top plate must be carefully positioned under the circle cutting bit as any off center positioning will show in relation to the installed rosette.
April 20, 2011
Palo Escrito is a pleasure to work with. I first planed the sides down to about .075″ with the Safe-T-Planer then passed them through my newly repapered drum sander to smooth them and bring down to .070″. This is very thin, but not so for a cutaway bend. I bent the non-cutaway side first to practice bending this stuff for the first time.
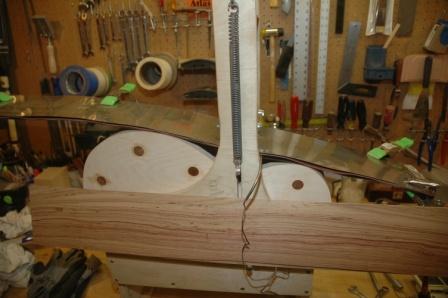
This photo shows the setup before plunging the waist press, then drawing the spring bars down across the bouts.
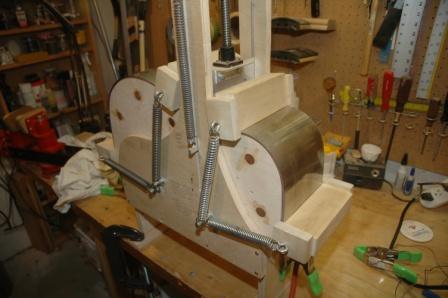
I’ll let this sit for a couple of hours, reheat then let sit overnight.
April 20, 2011
I enacted my theory to eliminate burning on the drum sander. First, I replaced the sandpaper with a new roll and mounted it such that there is a barber pole install with a 1/8″ gap instead of butted flush. Then I slowed the drive belt speed down to the minimum and began thickness sanding the koa back and top (should it be called thinness sanding?).
I took these plates down from .120″ to .100″ without any burning! I’m smugly pleased.
April 18, 2011
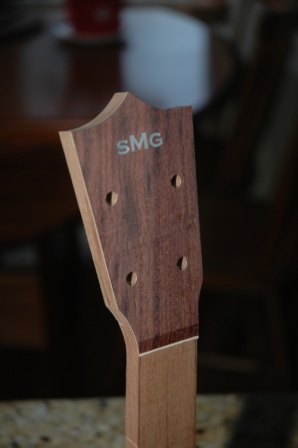
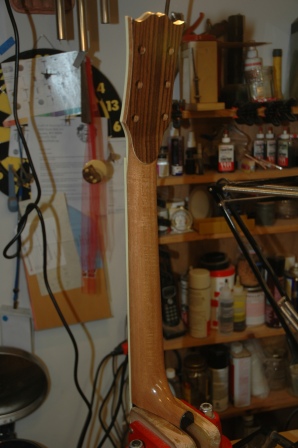
Over the past two days, the headplate with a contrasting maple veneer was installed and trimmed. Tuning machine holes were also drilled.