Archive for the 'Guitar 905 – The Auction Guitar' Category

Back in the shop

October 20, 2009

Yes, it’s been three weeks since I laid hands on any guitar work.  The primary distraction  has been the building of a new spray booth.  I constructed an enclosed booth in the garage with an exhaust fan, lighting, electricity, and units to hang guitar components for spraying and drying.  The majority of the work is done, it just needs a few wrap-ups from the punch list.  I will complete those wrap-ups just prior to my next need for spraying guitars 905 and 906.

I have a considerable backlog of work.  The following list is to help me prioritize.

1.  Guitar 905:  Back is attached to sides, next step is to finish brace shaping and sanding for the top, then installing the top.

2.  Guitar 906:  Box is assembled, next step is to bend binding, route, then install binding.

3.  Guitar 903:  This guitar still has no identity, yet I’m leaning toward a dreadnought, just because.  After I adjust the drum sander, I can thickness sand the sides then bend.  I need to identify and prepare a top.  The Ovankol back is joined and ready for thickness sanding.

4.  Oliver Classical Guitar Repair:  Thank God my brother in law is understanding.  Starting this repair is hard to think about.

5.  Oliver A  Mandolin Repair:  I’ll begin tackling this repair ASAP.  I know what needs to be done, it just needs to be done.

6.  Tepp A  Mandolin Repair:  Much progress made, much to go.  It will be a good companion to the Oliver A Mandolin repair.

7.  Tepp Ukulele:  Modest repair can be done now that I have my RARE Earth magnets.

8.  New Repair Job:  Expecting a guitar to come into the shop Wednesday to improve intonation, probably through a bridge saddle replacement.

Stand by, the Dude Abides.
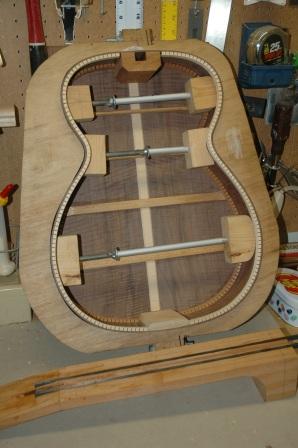
Guitar 905 – Back assembled, graphite in neck

September 11, 2009

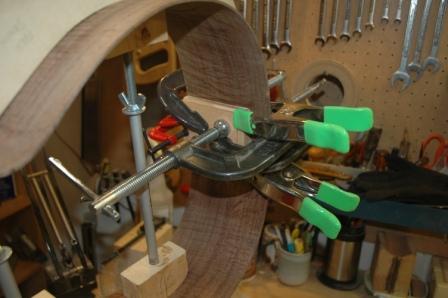
Got my shipment of graphite rods, installed with epoxy into neck and attached back to sides.

090911backneck.jpg

Guitar 905 – Planing down the sides

September 7, 2009

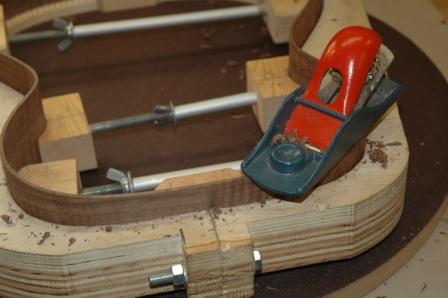
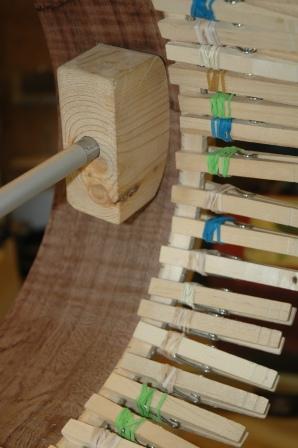
The top has been kerfed.  I need to bring the back down to the blocks and accomodate the 15′ radius as I plane.  Still have a bit to go.

090907planesides.jpg

Guitar 905 – Kerfing

September 5, 2009

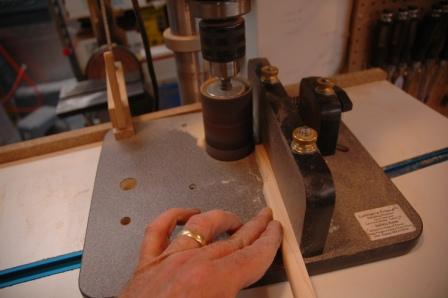
Got the sides in the mold, did some preliminary planing to bring sides down close to final width, then used the 30′ radius dish to shape top side then installed top kerf.

090905kerf.jpg

Guitar 905 – Sides in mold, butt block attached

September 3, 2009

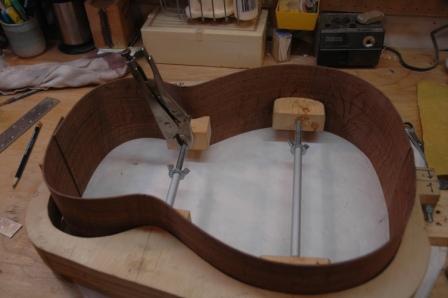
I freed up the spreaders from the Koa/Redwood Parlor.  I was able to insert the walnut sides I bent previously in the mold and then attach the end block.

090903sidesinmold.jpg

090903buttblock.jpg

Guitar 905 – Headstock Veneer

August 27, 2009

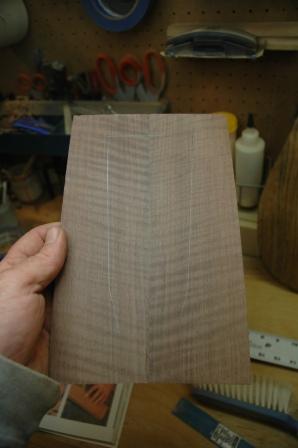
I was able to extract enough material from the walnut back to craft a headstock veneer of flamed walnut.  I jointed the sides, carefully matched up the sides and joined and thickness sanded.

090827headveneer.jpg

Guitar 905 and 906 – Neck work

August 26, 2009

Worked simultaneously on necks for 905 and 906.  Got both stacked, glued and somewhat trimmed.

090826necks.jpg

Neck on top is 906, the parlor.  It’s ready for chanelling for graphite and truss rod.  Neck 905 is a little further along and also is ready for graphite and truss rod.

Both guitars have the rosewood bridge reinforcement installed and next step is to trim the bracing.

Guitar 905 – Neck construction and bracing top

August 26, 2009

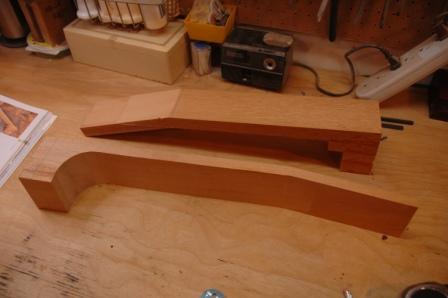
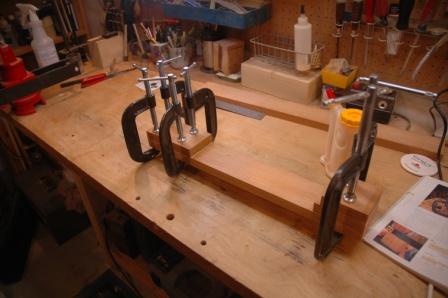
Between back bracing clamp and glue drying and constructing braces for the top, I built the rough neck using a 3″ x 1″ mahogany neck blank and the stack method.  The neck blank is cut into 5 pieces, one for the headstock, one for the neck, and three for the stacking heel block.  The neck blank is marked before cutting to ensure that all pieces are aligned.  I planed the gluing surfaces before cutting to create a perfectly flat surface for invisible glue lines.

090826neckstack.jpg

While this sucker dries, I profiled all the top braces prior to gluing.

090826braceprofile.jpg

Profiling brings the brace down to it’s approximate shape and size.  Final shaping and sizing is done with a chisel and plane after the braces have been glued to the soundboard.

Prior to installing the braces, the soundboard is marked to show exact locations for each brace.

090826bracepatter.jpg

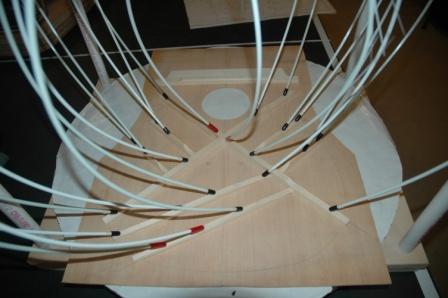
The only brace which is radiussed for the top is the X Brace, at 15′.  This is just enough to give spherical support to the bridge, and still be close to flat.  The X Brace is installed first, followed by the remaining braces.

090826topbracing.jpg

Guitar 905 – Rosette installed, top ready for bracing

August 23, 2009

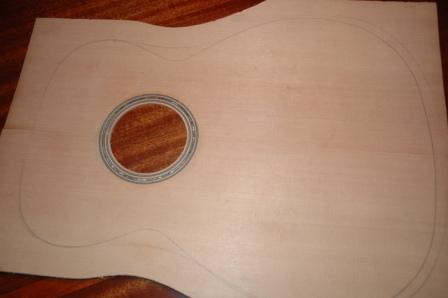
The rosette is in and the soundhole is open.  I’m ready to install braces.

090823top.jpg

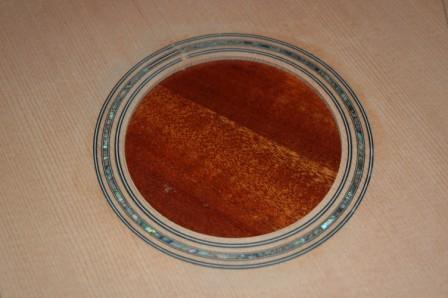
090823rosette.jpg

Rosette is a bit dull and not fully down to the spruce surface.  It will all come clean with fine sanding after the bracing and install to the sides.

Guitar 905 – Work on top and rosette

August 22, 2009

Went back down into the man cave and finished sanding the top after it came out of the joining jig.

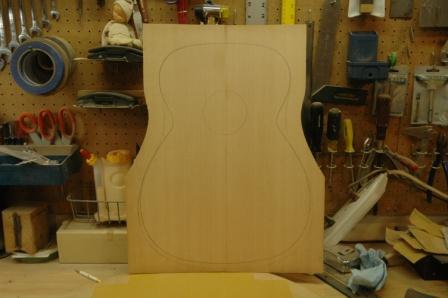
090822topsanded.jpg

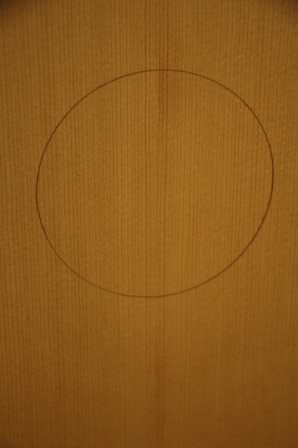
Such a fine piece of spruce.  The joint is wonderful.

090822soundholeloc.jpg

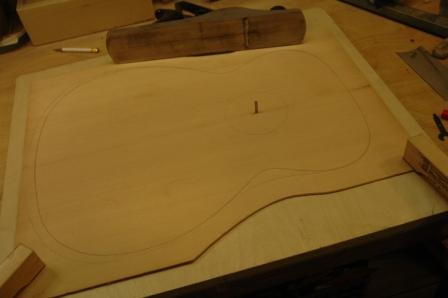
Located the center hole, drilled the 3/16″ pilot hole and mounted on the workboard.

090822toponworkboard.jpg

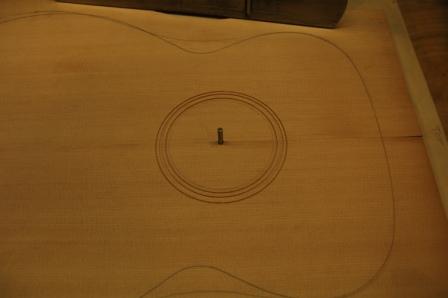
Routed the channels for the rosette.

090822rosettechannels.jpg

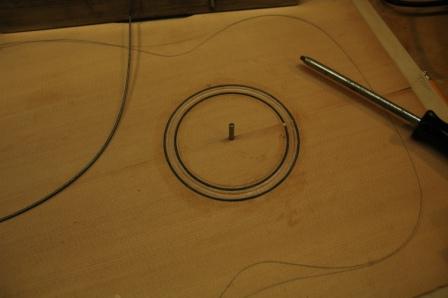
Started with installing the inner and outer ring.  After they set and I can scrape them down, I need to widen the center channel just a tad to accept the bwb/teflon/bwb.  I’ll pull the teflon then insert the paua.

090822rosette.jpg

« Prev - Next »