Archive for the 'Guitar 905 – The Auction Guitar' Category

Guitar 905 and 906 – Fair and Square

January 15, 2010

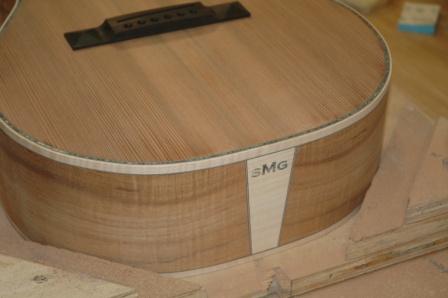
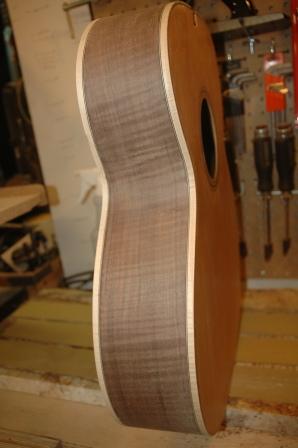
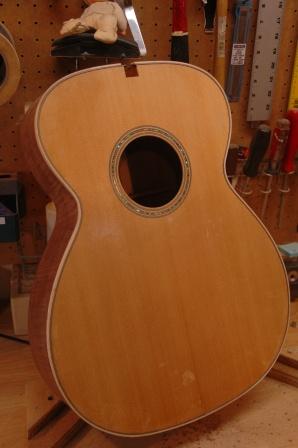
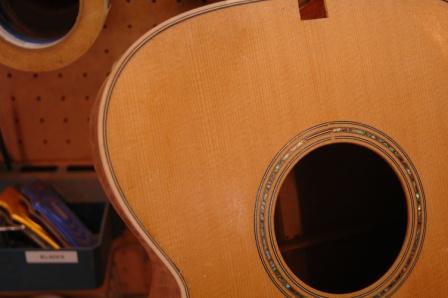
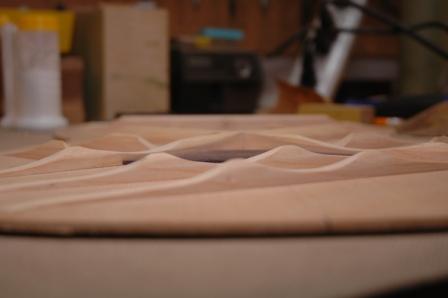
I don’t like to fair and square, but I do like the end result.  The fair and square step is to bring the box down to its final shape/dimension after the binding has been installed and before the neck angle is determined.  The binding and top, sides and back need to be flush, free from any gaps and squared up.  Most important is the upper bout area of the top.  Between the soundhole and neck joint, you need to establish absolute flatness.  This assures a clean transition between neck and guitar to avoid a 14th fret hump (or worse, dip).

Both guitars had a shellac coating on the tops to protect and reduce grain pullout from the binding tape.  It’s a pain in the ass to sand back down through the shellac, and I’m rethinking the use of shellac in future construction.  That means I will have to rethink using binding tape for securing the binding during installation.  Some luthiers use a fabric wrap or rope wrap while installing binding, which I’m going to look into for the next guitar.

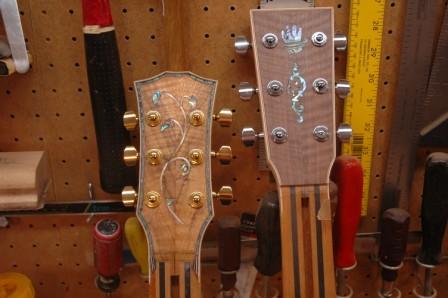
I’m ready to measure the neck angles and use my tenon jig to route out the tenon on each neck, in advance of final neck shaping, fretboard installation and hammering in the frets.  There’s very little left before diving into the new spray booth and spritzing away.  It’s been raining constantly for the past week, and the garage is swimming in drips.

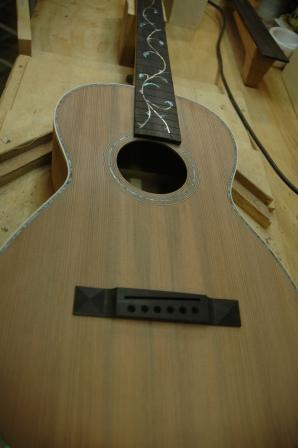
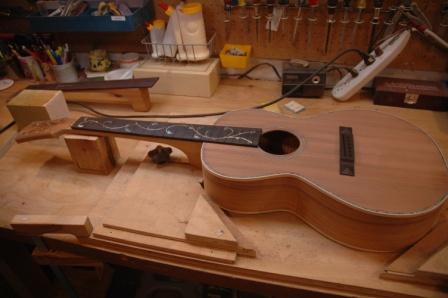
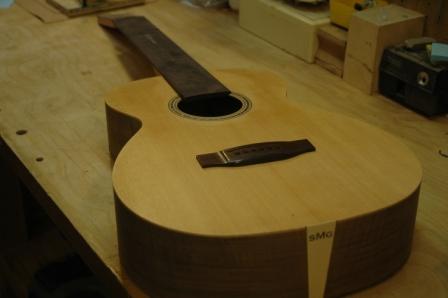
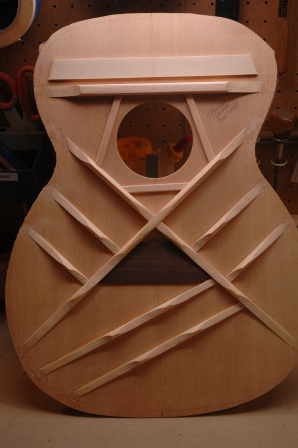
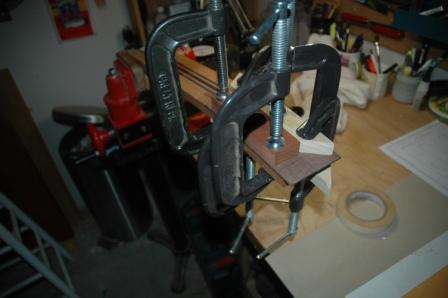
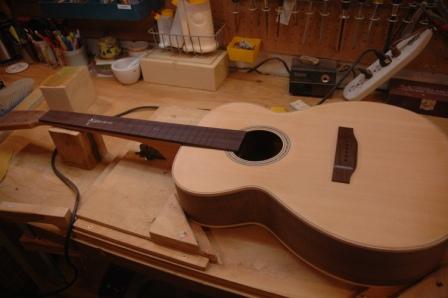
Here’s 905, ready for cutting out the neck tenon:

100115end.jpg

100115readytofit.jpg

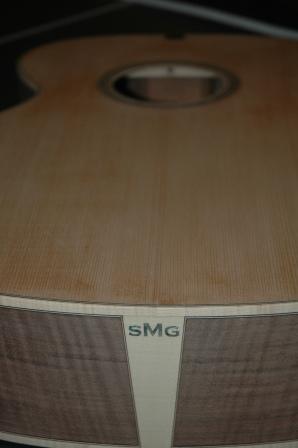
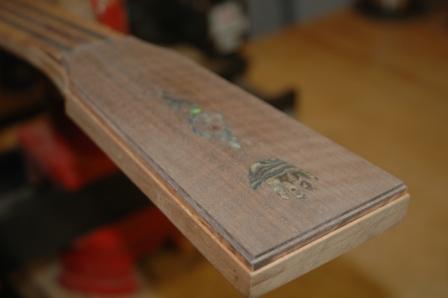
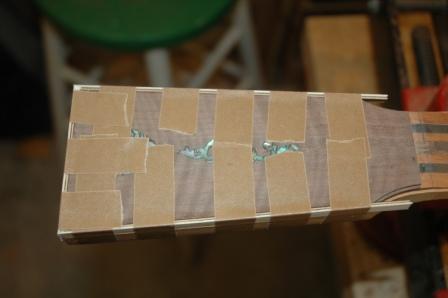
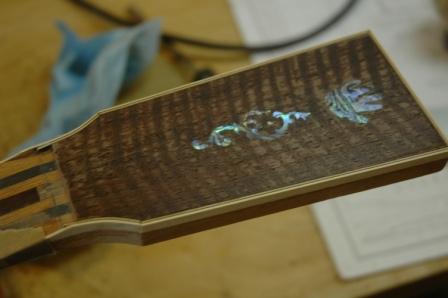
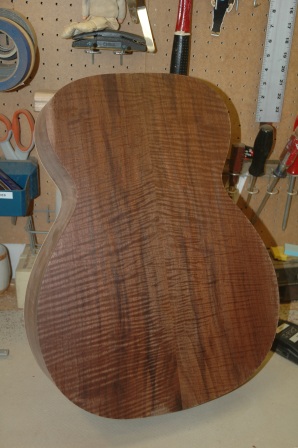
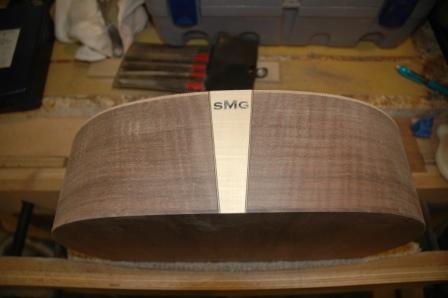
And 906 in a similar state:

100115end.jpg

100115dryfit.jpg

100115readytofit.jpg

Guitar 905 and 906 – Headstock Preview

January 11, 2010

100111headstockpreview.jpg

Guitar 905 – Body bound, head bind, head press

January 10, 2010

Finished the binding of the body, lots of cleanup and sanding to do.  I love/hate this part.  It’s a lot of work, but the result is oh-so-satisfying.

100110binding.jpg

Tackled the headstock binding:  first routing out the channels to accept the very simple maple, bwb.

100110headchannel.jpg

Installation of the binding and purfling was quite straightforward as this headstock is all square, little curve.

100110headbinding.jpg

End result, just fine.

100110bound.jpg

Guitar 905 – Binding (Curly Maple) Installed

January 9, 2010

I haven’t been posting over the holidays, but I was still working.  Spent lots of time installing the curly maple binding with the BWB purfling.  Got a hint/trick from Rick Davis.  After the binding is installed, often there are small gaps between the binding/purfling/guitar body.  In the past I have filled these small gaps.  Now, after the glue has cured, I clamp the binding where there are gaps then use a heat gun (think hair dryer with temperature control) and apply forced air heat at the gap, and magically, the glue softens and the clamped area gaps tighten up.  Very cool.

100108bindingtopview.jpg

100108bindingdetail.jpg

Next step is to level/sand the binding to be flush with the guitar body and prepare for the neck fitting.

Wintergrass 2010

December 24, 2009

Wintergrass is a family-friendly Bluegrass music festival, with concerts and dances at 4 different stages. There are also two Academies, workshops, impromptu jams, and a chance to see and hear some great music.  This year it is being held in Bellevue, WA, Februrary 24 – 28.

I will be displaying guitars 905 and 906 as part of the Seattle Luthier’s Guild exhibition.  If you are attending, drop by the exhibition hall and take a look.

Guitar 905 – Rebraced, box assembled, ready for binding

December 20, 2009

I reinstalled two new lower bout braces to bring the back to a 15′ radius dome.   The first step was to remove the original braces then put the back on the 15′ radius dish held down by the go-bar clamps.  Once the new braces were shaped and kerf was removed where the braces meet the sides, they were glued in place and clamped in the go-bar platform.  Kerf was then reinstalled over the braces.

After drying, the top was glued on.  The back and sides were no longer in the mold, so to ensure the back dome remained, I clamped the back down through the soundhole, then glued the top to the sides.  After setting, I removed from the go-bar and trimmed the top and back scarf using a flush router bit, sanded the hell out of the whole thing then installed the butt graft.

091219backbetter.jpg

091219endblock.jpg

I sawed fret slots through the installed inlay and sanded the headstock in preparation for binding the headstock.

091219fretboard.jpg

091219head.jpg

To protect the top during the remainder of construction I applied a light coat of shellac.  It will be sanded off prior to finishing with lacquer.  Here’s a first look prior to binding and installing the neck.

091219whatitmigt.jpg

Guitar 905 – Teapot dome

December 19, 2009

Discovered that the backplate dome had compressed.  This means that the natural dome shape of the back had flattened.  This is not a good thing.  Many options, but the best was to remove the lower bout braces and replace, then assure the dome is retained as the top is installed.

091219bracesremoved.jpg

So the first step was to use the dremel to scour out the bottom two ladder braces and keep it in the go-bar clamp to teach it to be radiussed in preparation for installation of new braces, a little beefier and spruce instead of mahogany for lateral integrity.

0912219bracesinstalled.jpg

Once the braces are installed, new kerf pieces were installed to hold the end pieces of the braces down and retain the dome.   I’ll hold the back braced box in place in the go-bar clamp until I’m ready to install the top.

The top is fully braced and has the appropriate tap tone and is therefore ready for installation.  I’ll let the back and braces sit overnight to cure before I install the top.

091219bracelandscape.jpg

I’ve used a scallop approach to bracing the top.  After repeated tapping, I think that this arrangement will produce the tone I’m looking for.  The top is around .120 to .115″ thick, the bracing is sufficiently scalloped and feathered to zero toward the kerf line.  As guitar building is controversial, some will say “don’t feather, you idiot” or “the soundboard is not a speaker cone, you idiot” or “did you hear the falling of the water over the pebbles of Buddha” or “what were you thinking?”.  All of these comments are valid, but we must take our own journeys and arrive at our own conclusions.  I think, based upon what I hear, that this guitar soundboard will sing.  If not, many of us will be disappointed.

091219topbraced.jpg

I signed the top plate, and tomorrow it gets installed.  Whee.

Guitar 905 – Prepping for headstock and fretboard inlay

December 3, 2009

Used my newly acquired skills to outline the headstock handprint inlay then saw out then lay on the headstock for tracing.  Did the same lay on the headstock with the peghead shell procured from Luthier Supply.

091203head.jpg

The customer wants a torch style inlay on the fretboard, which I also procured from Luthier Supply.  I showed him two options, 5th fret or 12th fret, suggesting the 5th fret would be better as there will be fewer fret crossings which hide the inlay.

0912035thfret.jpg

09120312thfret.jpg

Guitar 905 – Inlay work proceeds

November 30, 2009

I had the honor of taking an inlay class from Rick Davis at Sound Guitar Workshop.  The customer for guitar 905 wants a custom inlay of his baby’s handprint, and I have not yet ventured into the cutting of shell.  The class was an excellent introduction to design, cutting and inlaying.

We itemized the necessary tools and jigs, of which I have procured a jeweler’s saw, 3/0 blades, some “Burr Life” blade lubricant, and have constructed a jig/platform for the cutting of shell.

091130shelljig.jpg

The customer has given me a jpeg with the handprint which I will use as the outline to cut the shell.  I’ve ordered shell blanks which are in transit.

torch-inlay_0.jpg

This torch inlay will be used on the fret board.

headstock_inlay3.jpg

The handprint was turned into an outline on photoshop by good friend Tom.  I will print it, then glue it to the surface of the shell as a guide to saw.

Guitar 905 – Working neck

091113headstock.jpg

November 13, 2009

Added the walnut headplate.

« Prev - Next »