Archive for the 'Guitar Building Logs' Category
February 4, 2012
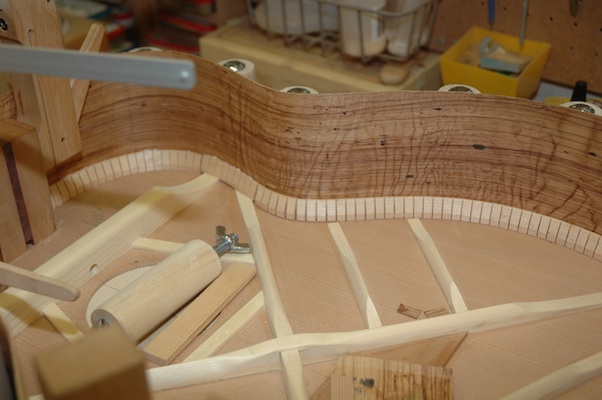
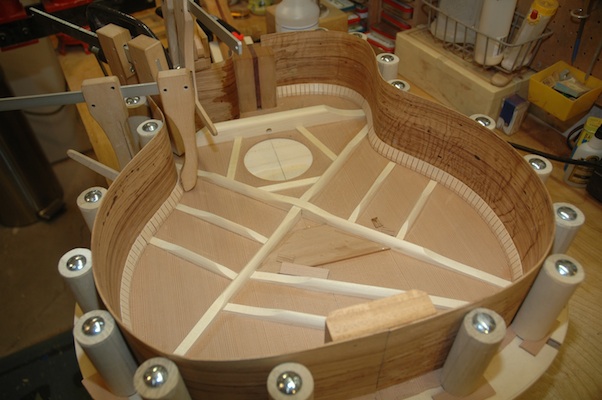
Well, the repaired crack didn’t survive. What I’ve done is attach the sides to the top and join the cracked section with a piece of engleman spruce backing. After the box is constructed, with both the top and the back attached to the sides, I will trim out the ragged edges, down to the spruce backing, and insert a binding bordered patch. Patch is the wrong word; inlay is better. The binding will match the body binding and the inlay will mimic the end graft, which I believe is rosewood.
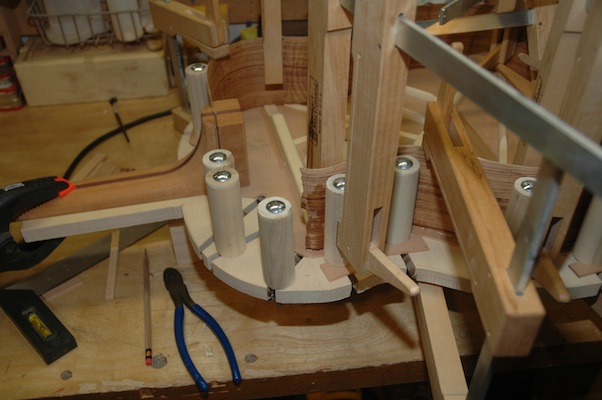
The kerf for the top is installed, and once this dries, along with the spruce backing on the cutaway, I can begin to trim the sides in preparation for installing the back.
Published by Stephen on 04 Feb 2012 under Guitar 1002 - Hybrid Cutaway,Guitar Building Logs
Tags: Box Construction, Kerfing
Comments: 1
February 4, 2012
As mentioned previously, the cutaway bend probably cracked. I let the bent sides sit in the bender overnight so as to allow the bends to settle, then opened the bender carefully.
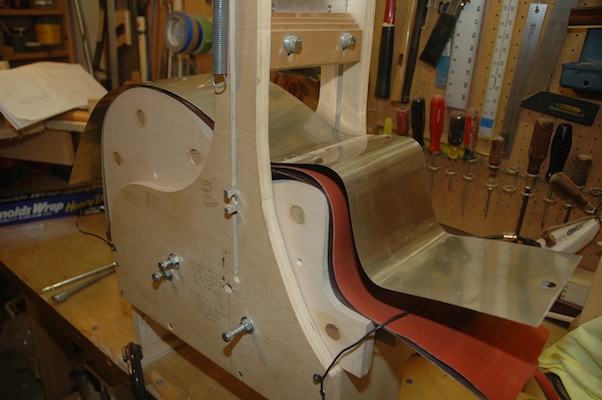
The underside of the sandwich was held in place with a bit of wire to keep it from springing up and pushing against the bent side. After removing from the machine, the crack was evident.
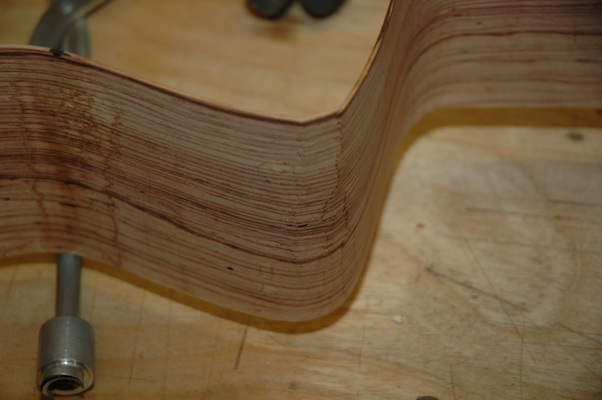
Two cracks, on either side of the outer bend can be repaired with CA glue, then the bend can be rounded on the hand bending heater before attaching to the guitar top. This piece is salvageable and will be fine. After aggressive sanding and fairing, there should be no evidence of the crack. I might consider gluing a small spruce caul into the inside of the bend to provide stability.
I began installing the non-cutaway side. First I increased the bends on the hand bender, determined the position of the cut for each end to shorten the side piece, applied glue to the butt block, neck slot and joint between the side and the top. It slipped into the workboard easily, and followed the trace of the joint nicely, so I was able, on the first pass, to clamp down.
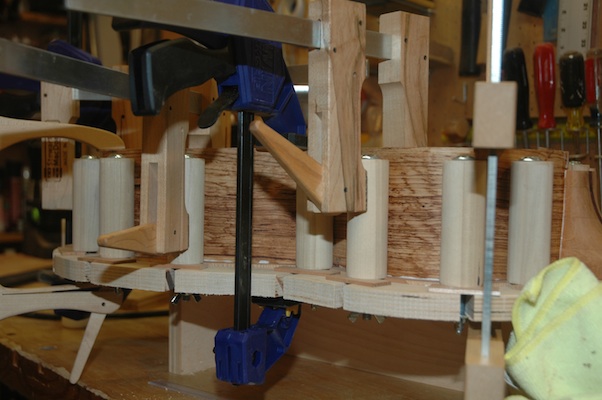
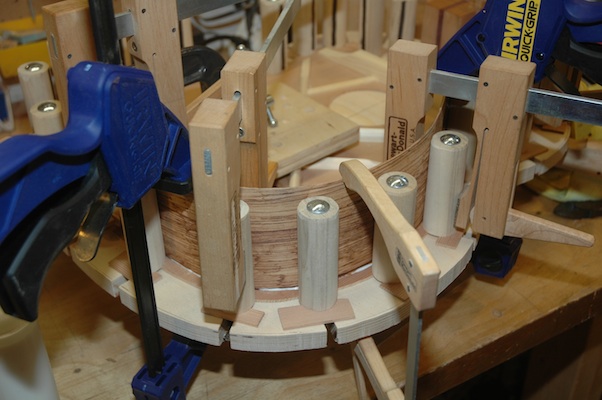
Published by Stephen on 04 Feb 2012 under Guitar 1002 - Hybrid Cutaway,Guitar Building Logs
Tags: Box Construction, Cutaway, Hybrid, Side Bender
Comments: none
January 31, 2012
I finally bit the bullet and went headlong into the cutaway bend. First I needed to locate the pivot point for the cutaway ram to be mounted on the bending machine. After several dry runs, I committed to a hole location for the ram pivot. I drilled the holes, installed the ram and placed the side sandwich in the bender and cranked up the heat. I bent the butt end first then took a deep breath.
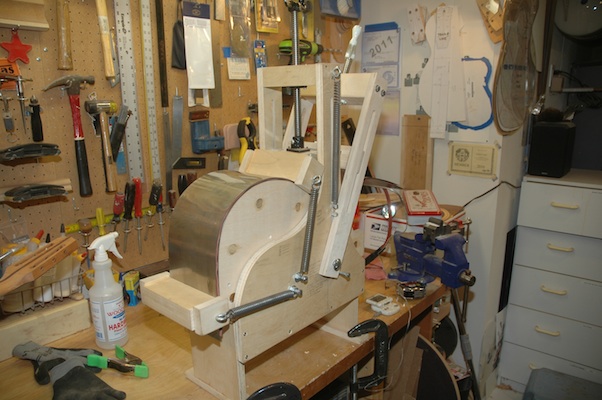
The concern is that the bend is severe, and the side wood tends to crack. The ram is screwed down tight into the vee between the waist and the rise in the upper bout.
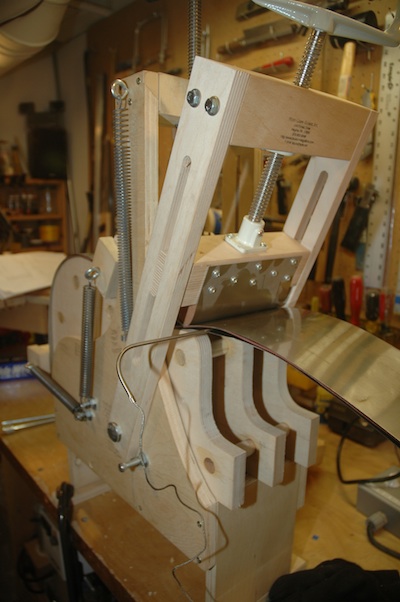
As the ram is pulled away from the waist, it must be released to follow the rise of the upper bout. Just at the point the bend starts down, the ram must be pulled while advancing the press screw then immediately start to push the ram as it travels down the cutaway until it reaches the bottom of the cutaway.
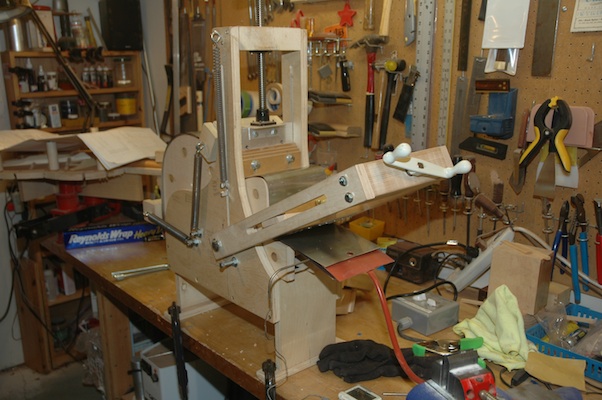
The waist press, up to this point, has only been advanced to an eighth of an inch from bottom. Finally, the waist press is clamped down to push the waist down and pull the sides “in” onto the bouts. A quick inspection from the side of the sandwich showed the tight bend did indeed crack, but to what extent, and knowing if it is useable will only be discovered when the package is opened. A spring bar was draped over the upper bout at the cutaway bend to add pressure at the bend. One more round of cranking up the heating blanket then a cool down may very well improve the roundness of the side bend at the cutaway peak.
Published by Stephen on 31 Jan 2012 under Guitar 1002 - Hybrid Cutaway,Guitar Building Logs
Tags: Cutaway, Hybrid, Side Bender
Comments: none
January 29, 2012
I finished detailing the bracing on the top and trimmed back the ends to make room for the attachment of the sides to the top. The butt block was radiused and trimmed to length (about 1/8″ longer than actual) and glued to the top.
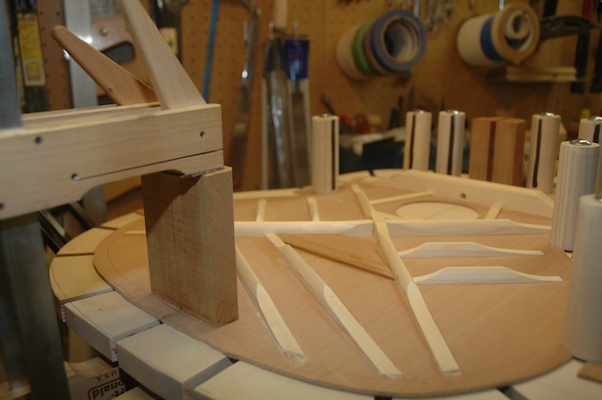
I also trimmed the sides to the same width as the butt block height then proceeded to bend the non-cutaway side.
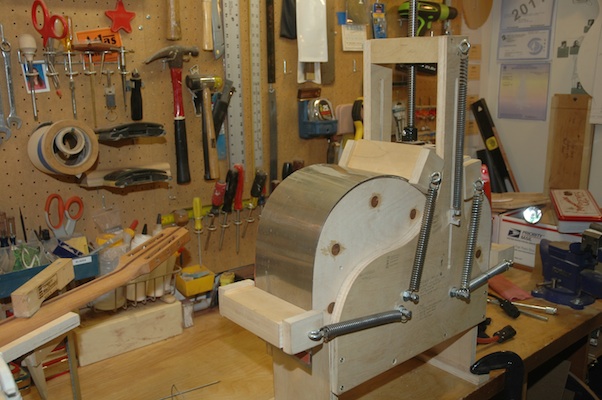
After heating and bending, the side is allowed to cool, then the heat is turned back on for 15 minutes, then the side will sit in the mold overnight. After removal, it will need more hand bending to bring it to the desired curve to avoid having to spring the side into the workboard, which puts stress at the butt block and neck joint points which can cause splitting.
The cutaway side remains to be bent, but first I have to devise where the cutaway ram will be mounted on the bending machine. Hope I get it right. I’ve been avoiding this bend for months, and I am fully prepared to order new sides if I muck this up. So much for practicing on throwaway stock.
Published by Stephen on 29 Jan 2012 under Guitar 1002 - Hybrid Cutaway,Guitar Building Logs
Tags: End Block, Hand Bending, Hybrid, Side Bender
Comments: 1
January 22, 2012
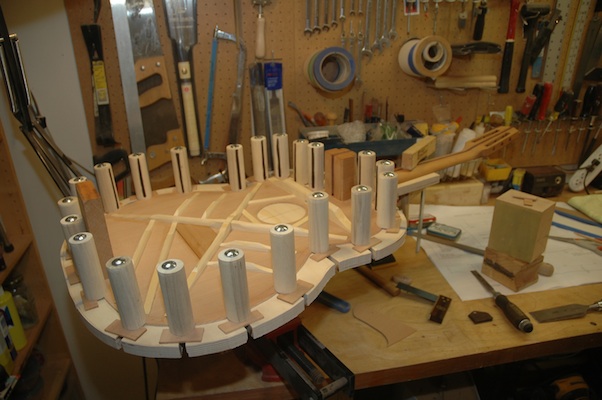
I built this workboard several months ago. It’s adapted from the workboard I used for the ukes and examples I’ve seen at luthier suppliers. The next step is to shape and dimension the butt block then glue it in place in preparation for the attachment of the sides.
Published by Stephen on 22 Jan 2012 under Guitar 1002 - Hybrid Cutaway,Guitar Building Logs
Tags: Hybrid, Workboard
Comments: none
January 22, 2012
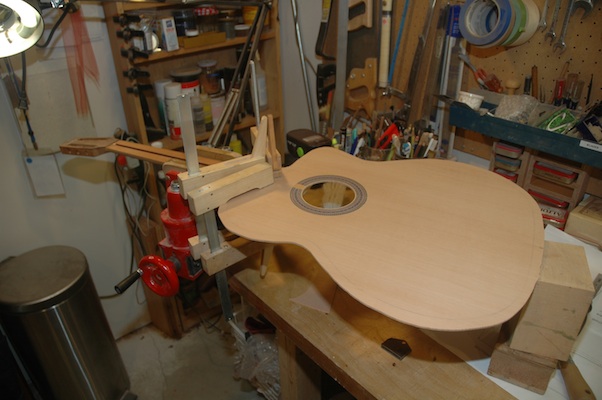
The neck was notched on the router table to accept the top. The center lines were aligned, pilot holes drilled, and the neck has been glued to the top. After drying, the neck and top will be mounted to the workboard in preparation for attaching the butt block and joining the sides to the top.
Published by Stephen on 22 Jan 2012 under Guitar 1002 - Hybrid Cutaway,Guitar Building Logs
Tags: Hybrid, Neck Join
Comments: 1
December 22, 2011
Back to work in the shop. I’ve done the fretboard inlay for the hybrid, and started tackling portions of guitar 1202, the Rosewood OM also known as Bob. First, I joined the back.

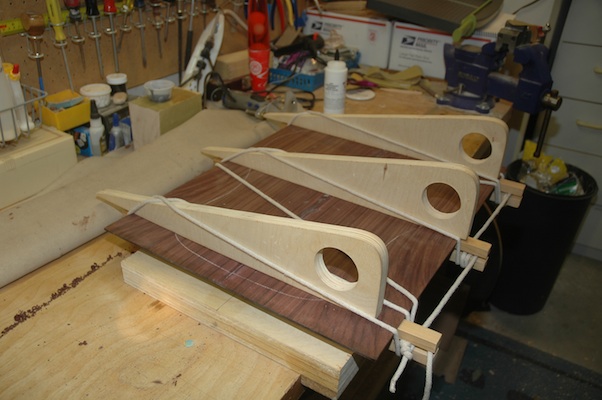
I tried using tempera paint to outline the thorn and vine inlay for the fretboard.
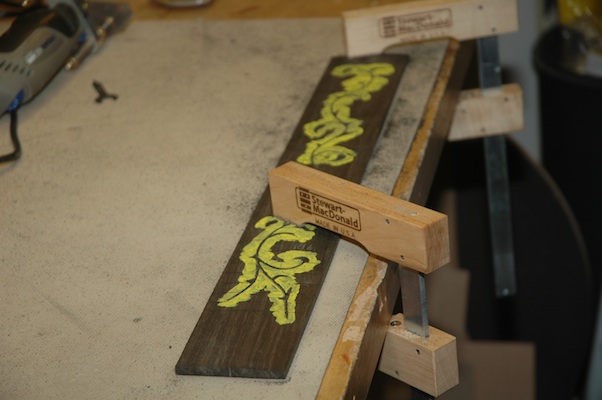
It certainly made for a clear distinction when diving in with the router to clear out the channel for the shell. I was a bit sloppy wity the application and got too much on the shell and had to spend extra time to remove the paint from the shell before installing.
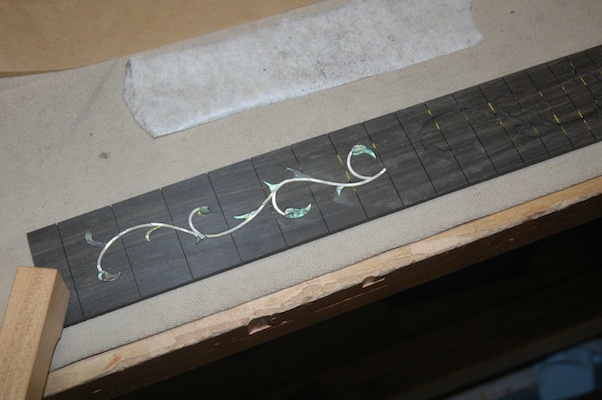
Finally, using black epoxy, the shell was glued in. Note the excess splurted over the top. This ensures all gaps get filled, and a nice clean seam between the shell and the fretboard.
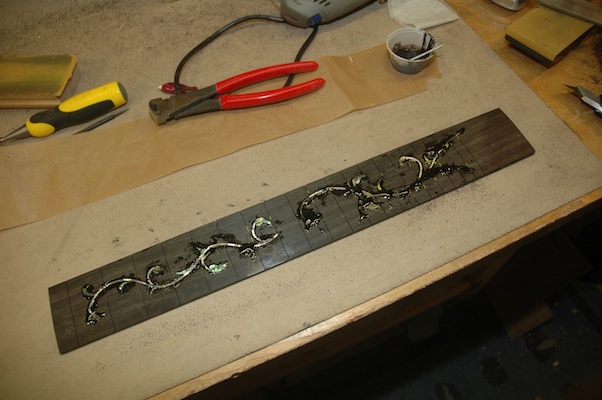
Published by Stephen on 22 Dec 2011 under Guitar 1202 - Rosewood OM (Bob),Guitar Building Logs
Tags: Fretboard, Inlay, Plate Joining
Comments: none
November 19, 2011
After joining the myrtle back for Rachel’s parlor:
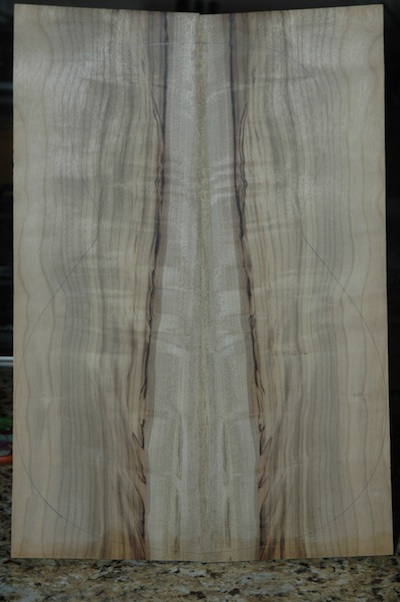
Yum.
Four more days before we load the dog in the car and trek to SLC for family Thanksgiving. I’ve finished applying the lacquer and have started knockdown.
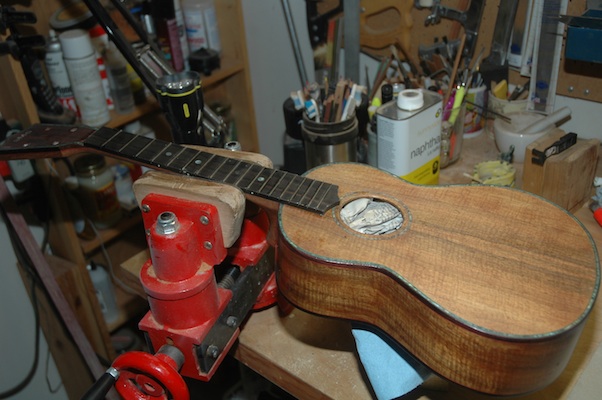
The lacquer is still a wee rubbery, but hell, I can’t let that stop me. 440, then 800 grit on a sanding block, and I have the top and the headstock knocked down. I finished with 1200 grit wet sanding, then buffed (top only) in preparation to mount the bridge. I figure I can mount the bridge, and while it is clamped up, I can proceed to knockdown the rest, clean up the fretboard, and start to shape the nut and saddle.
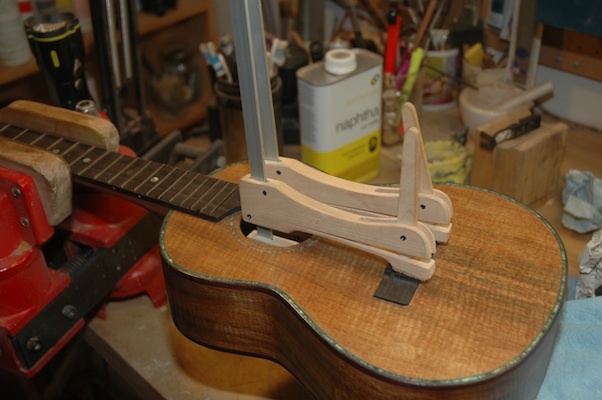
I’m absolutely sure this will be a playable uke by Tuesday, and it will ride with us to SLC.
Published by Stephen on 19 Nov 2011 under Guitar 1201 - Myrtle Parlor,Guitar Building Logs,Uke 1101 - Koa Tenor,Uke Building Logs
Tags: Bridge, Knockdown, Koa, Myrtle, Uke
Comments: none
November 6, 2011
Devin dropped by today and we polished up his frets, nut, saddle, and installed a pickguard. Looks like it’s really done.
I’ve been applying lacquer to the Bubinga Uke and the Koa Uke. The Bubinga is fully lacquered and is sitting in cure mode for a couple of more weeks.
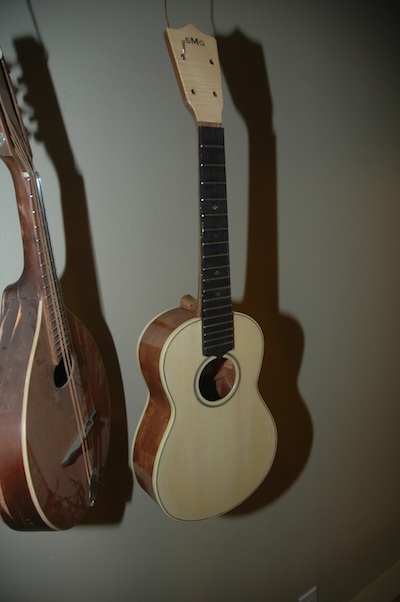
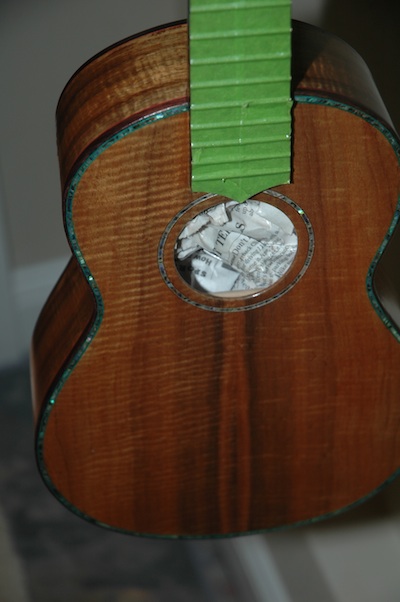
The Koa uke has 16 coats, and I think 24 will be the cat’s pajamas. I should be able to get the 24 applied by Tuesday evening.
Between lacquer applications (wait one hour please) I’ve been bracing the Myrtle Parlor (for Rachel) and I joined the back plates.
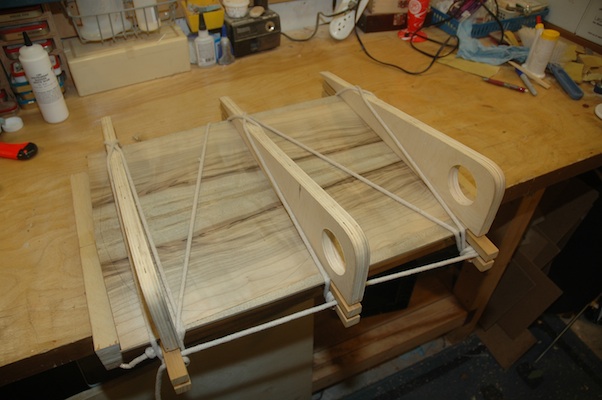
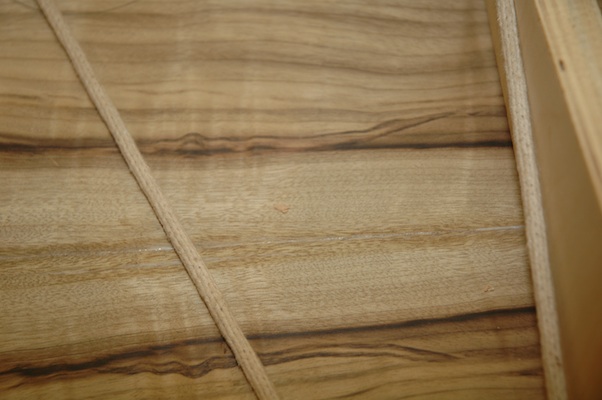
I’m liking this myrtle, and it seems like it will be nice to work on. It planed easily while preparing the plate joint.
Published by Stephen on 06 Nov 2011 under Guitar 1201 - Myrtle Parlor,Guitar Building Logs,Uke 1001 - Bubinga Tenor,Uke 1101 - Koa Tenor,Uke Building Logs
Tags: Bubinga, Koa, Myrtle, Parlor, Spray Lacquer, Uke
Comments: none
November 30, 2011
Let’s start with the Lava Light.
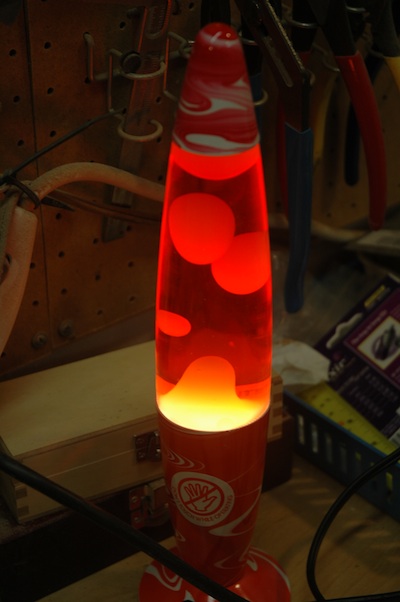
After William left for UW, several items which I coveted were left behind. Lava Light (or Lamp)!
I mapped out a schedule for the completion of Uke 1101, and it is possible to complete before I go to Salt Lake for Thanksgiving. It will be a bit tricky to continue working on the uke while the lacquer is curing. Today, I finished the 8th coat of lacquer, with an intention of putting on 20 coats. Tomorrow I’ll add 4 more coats. Coincidentally, I am adding coats to the Bubinga uke, and after tomorrow’s application, it will have 24 coats.
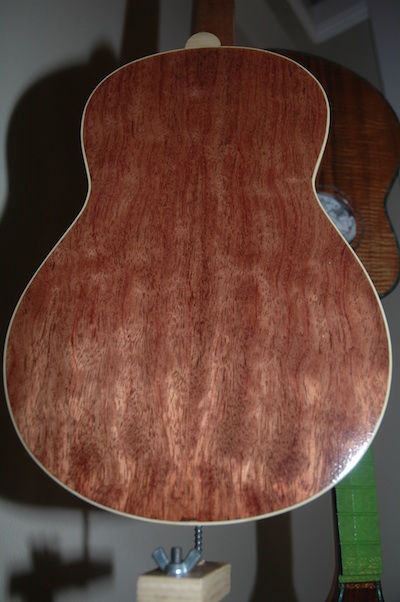
This is the back of the Bubinga.
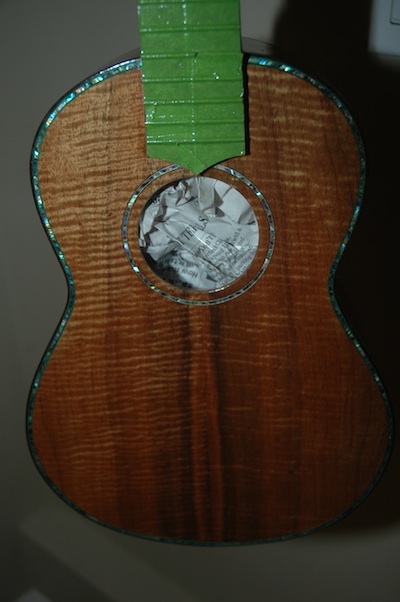
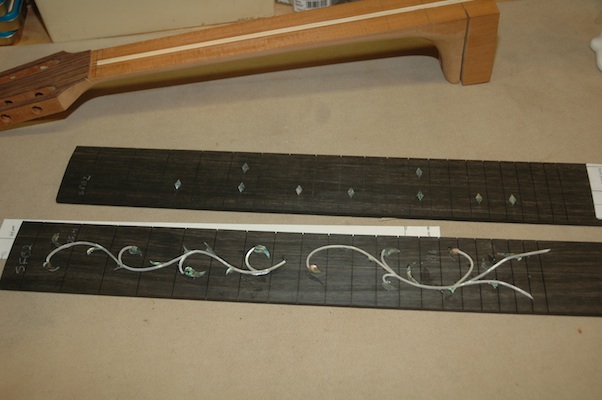
Between coats I attached the fret markers to the Hybrid’s fretboard and the Thorn and Vine to 1202 (Bob). The shell is glued to the surface with white glue. I will score a border around the glued shell, then pop off the shell in preparation for routing a channel.
Published by Stephen on 30 Oct 2011 under Guitar 1002 - Hybrid Cutaway,Guitar 1202 - Rosewood OM (Bob),Guitar Building Logs,Uke 1001 - Bubinga Tenor,Uke 1101 - Koa Tenor,Uke Building Logs
Tags: Bubinga, Fret Markers, Hybrid, Koa, Spray Lacquer, Uke
Comments: none
« Prev - Next »


