Archive for the 'Uke Building Logs' Category

Uke 1001 – Mission Accomplished

November 28, 2010

Like GWBush, I’m a bit premature in claiming mission accomplishment.  But, I have accomplished the major construction piece of my first uke.  It’s a box with a neck.

101128ukefront

101128ukeback

Before I move on to the binding install and the fretboard install, I’ll get back to Guitar 1001 which is awaiting the neck shaping before moving on to the finish work (water based lacquer finish).

Uke 1001 – Body kerfed and closed up

November 28, 2010

Heads down work today.  After cracking a side, repairing and letting set, I applied a 15 foot radius to the back and glued on the kerf.

101128kerfback

A few hours later, I sanded down the kerf and glued the back on and secured with spool clamps (left over from my first guitar build).

101128spoolclamp

In another hour, I’m back down to the man cave to release the clamps and trim back the overhang.  It should actually look like a uke.

Uke 1001 – Sides glued to top

November 27, 2010

The top is glued to the neck before attaching sides.  The top nestles into the top of the neck, which is a one piece spanish heel design.  The top and neck are indexed with pins to keep the top from skating when gluing and clamping.

101127indextoptoneck

101127underside

Once the neck and top are joined, the sides can be glued using a special workboard designed for the soprano uke using a spanish heel.  The top and neck are laid face down on the workboard, which has two waist clamps to push the sides together, into the spanish heel slots and against the heel block which has already been glued in place.

101127gluingsides

After one side has been glued and clamped, the other side is installed.  Spool clamps hold the sides against the top, and C clamps hold the sides against the heel block.

101127sidesglued

Kerfing will be added to secure the joint between the top and the sides.

101127topandneck

Uke 1001 – Installing braces and bridge plate

November 26, 2010

The braces and center patch for the back plate have been installed.  The braces are radiused to 15 feet to give the back a dome shape.

101126backbrace

The top’s soundhole has been cut, and bracing, tone bar and bridge plate have been installed.

101126fingerbrace

Uke 1001 – Progress on neck

November 16, 2010

Neck nibbling, tapering, shaping and installing of the headstock veneer.

101116necknibble

101116ears

101116headclamp

101116neckwithheadstock

Uke 1001 – Rosette

November 5, 2010

Time to fall back.  Since I’m gaining an hour this weekend, I’m sure I’ll get a lot done.  The uke sides are sitting in a mold, the back is waiting to be thicknessed, and the top is ready for bracing.

101005rosette

Uke 1001 – Bent sides into the Holding Form

November 1, 2010

Side bending went swimmingly.   Did a little cleaning up of a few minor flat spots from the bending which are a result of the sides being a wee bit thicker than ideal.  The holding frame works really well and I’m considering building for guitars as well.

101101ukeholdingform

Ukes – Working Jigs and Rosette

October 30, 2010

Work work work, busy busy busy.  Mostly I’ve been finishing up work boards for uke construction.  Today I finished gluing up the holding board (to retain bent sides before installing).

101030holdingmold

I also thickness planed the spruce top and installed a herringbone rosette.

101030herringbone

Ukes – Uke 1001, Bubinga and Spruce

October 28, 2010

Uke work is underway!  I’ve designed the first uke to make use of some Waterfall Bubinga and an Engleman Spruce top.

101028backtop

I’ve got a design for work boards and have built the bending mold for the sides.  The neck is blocked out and the fretboard has markers installed.  I’m trying to balance work on the ukes with completing Guitar 1001.

Ukes – Taper Sled and Fretboard Inlay

October 3, 2010

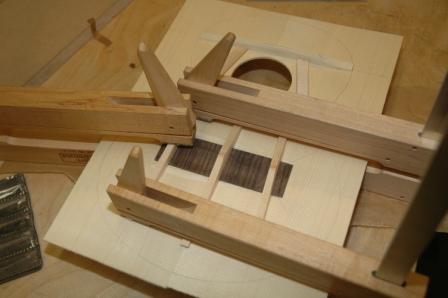
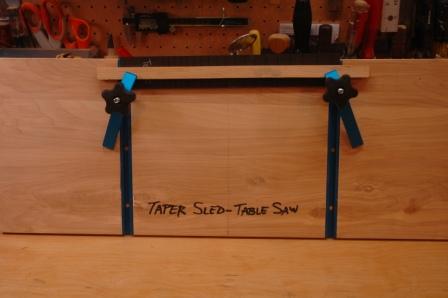
Happy October everyone.  I’ve been working on ukes this weekend, which means focus on jigs and such.  I crafted a taper sled, which allows me to make taper cuts on the table saw.  It’s just a slab of 3/4″ birch ply with two t-channels, channel clamps, and a guide strip on the back.  Fingerboards need to be tapered, and after marking the taper line, clamp the fretboard into the sled and slide it through the table saw, and shazam!

101003tapersled

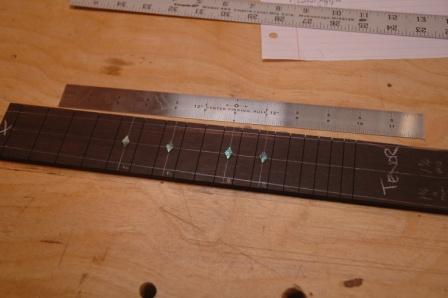
Prior to doing the taper cut, I need to inlay the fret markers.  I’m using diamond shaped paua.  The fretboard is marked with a center line, and additional lines are scored at the 5th, 7th, 10th and 12th fret.  Note that ukes don’t use the same fret marker patterns as guitars.

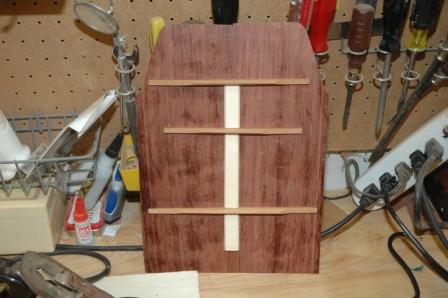
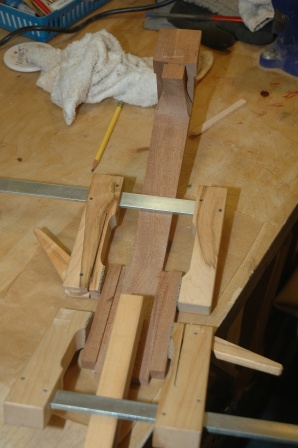
The shell is glued to the surface of the fretboard to allow for later scoring around the shell.

101003layoutshell

The shell is removed after scoring, then the cavity is cut out and black epoxy is added to the cavity.  The shell is pressed in, and additional epoxy is glooped over the top to fill any gaps.  After 24 hours, the fretboard can be sanded.

101003epoxyshell

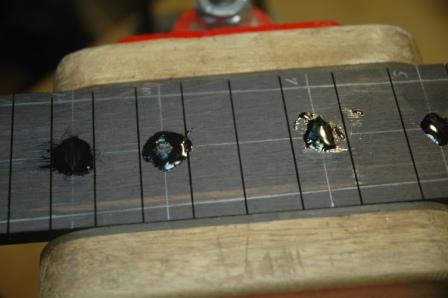
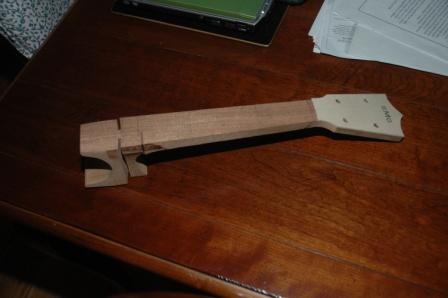
Looks funky now, but it’s like unburying treasure once you sand it down.

« Prev - Next »