Uke 1001 – Test Uke advances past the quarterfinals

December 11, 2010

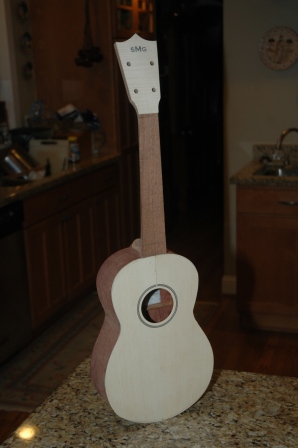
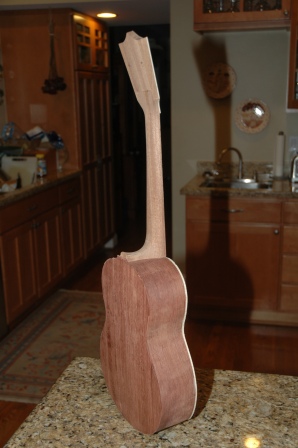
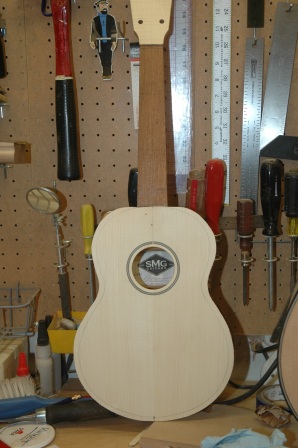
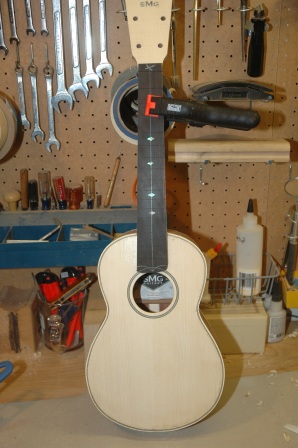
I think I’ll give this uke a name, other than Test Uke.  I’ve always resisted anthropomorphizing my possessions, as it puts too much pressure on them.  They lament, they worry, they feel like they just can’t live up to a name.  But, fuck ’em.  I’m going to call this uke Stutter.  Stutter just can’t seem to finish a phrase.  Each step has one little thing that could be better.  Sure, if you stand back everything looks great.  Get a little closer, and you feel bad for the little feller.  Because of Stutter, the world will be a better place.  Every uke that comes after Stutter will have learned from him and be better for it.

I believe, actually, that Stutter will sound great, and be fun to play.  Maybe his name will change, and be more about his looks than his voice.  Until then, he’s Stutter.

101211neckdry

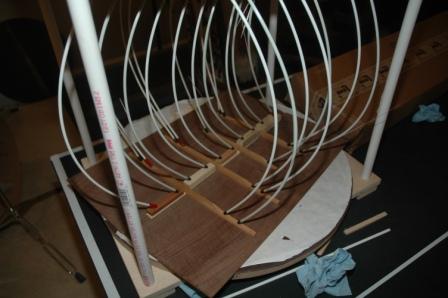
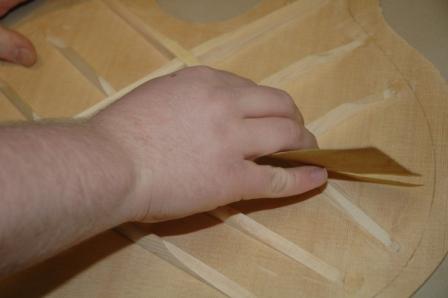
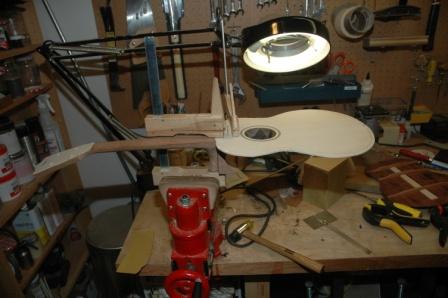
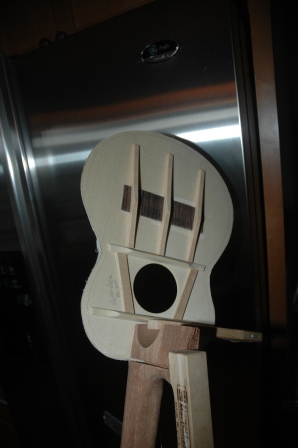
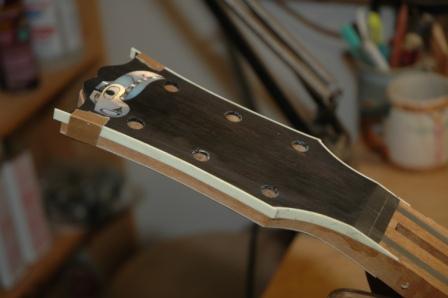
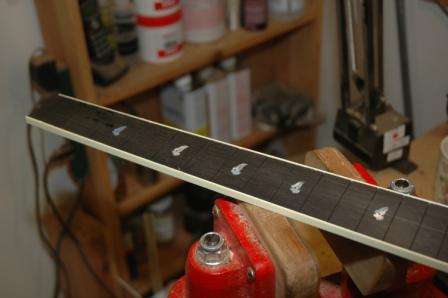
I installed the fretwire after shaping the soundhole end of the fretboard.  I’m using a mandolin fretwire, hoping to see if this gauge would be better than a standard guitar fretwire.  The next uke will use standard, and I can compare.

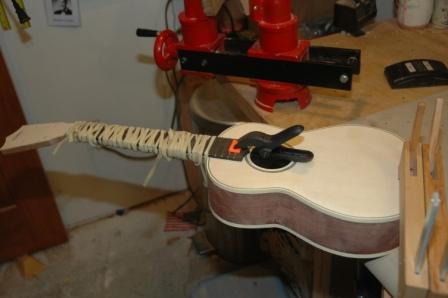
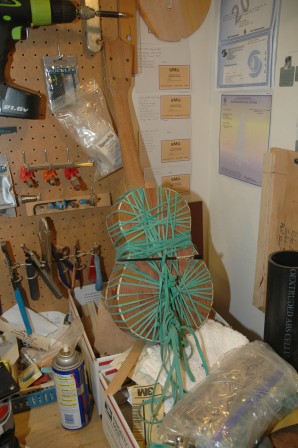
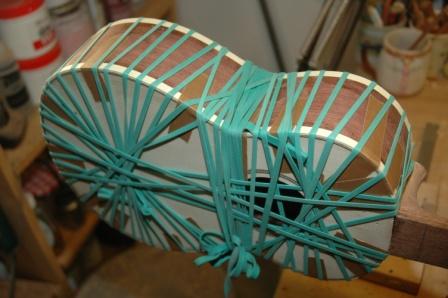
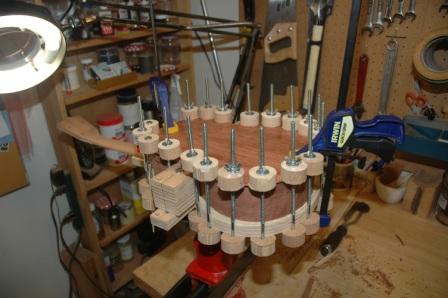
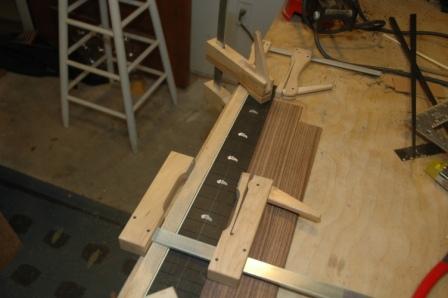
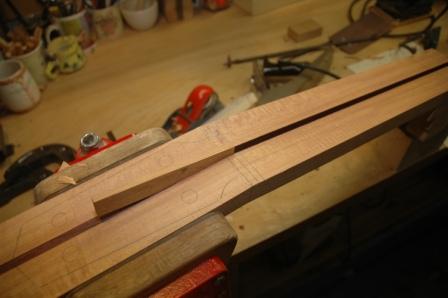
Using the amazing rubber band, I glued the fretboard to the uke, and didn’t even need to index.

101211fretboardglue

Guitar 903 – Box trimming, neck shaping

December 11, 2010

Devin is putting the finishing touches on shaping the neck.  The heel and neck to transition still need working, and the headstock is in need of thinning to accept the newly arrived tuning machines.

101211neckshaping

The box plates have been installed, and after removing from the go-bar clamp, the excess scarf was removed with a router.

101211backinstalled

101211topinstalled

Devin’s pretty happy with the results.  He took some time to scrape the back with a cabinet scraper.  After removing minor burn streaks left by the drum thicknesser, new colors and flame were revealed.

101211scrapeback

This is one really nice piece of walnut.

We experimented with the Wagner Safe-T-Planer, a drill press inserted planer that some luthier’s have claimed success with.  We were able to take 1/8″ thick stock and plane it down to around .090″, the desired thickness for binding.  We were able to get 4 reasonable binding strips out of the band saw, and are crossing our fingers that this will bend up nicely without cracking.

The issue is with the wood.  We are using purple heart, which I haven’t seen used before, and my suspicion is that it doesn’t bend well.  We may have to rethink the binding after it comes out of the bending machine.

Uke 1001 – Bound and Banded

December 4, 2010

I am using a plastic cream for the binding and a BWB for the top purfling.  I’ve learned many things building this first uke, and the binding/purfling channel challenge is one of them.  Spanish heel neck makes hand chiselling around the neck and heel necessary.  I’m just not as smooth as a router bit.

Before binding:

101203prebound

First, install the back binding.  No purfling here.

101203boundnbanded

The top has the purfling.  Using vinyl cement is sure a lot cleaner than white glue.

101204boundnbanded

The giant elastic band has proven really effective.  The binding comes out completely trim with the body, with no gaps.

Guitar 903 – Ready for Box Build

December 4, 2010

The back is braced.

101204backbrace

Devin is working on his first top bracing.

101204sandtop

Uke 1001 – Mission Accomplished

November 28, 2010

Like GWBush, I’m a bit premature in claiming mission accomplishment.  But, I have accomplished the major construction piece of my first uke.  It’s a box with a neck.

101128ukefront

101128ukeback

Before I move on to the binding install and the fretboard install, I’ll get back to Guitar 1001 which is awaiting the neck shaping before moving on to the finish work (water based lacquer finish).

Uke 1001 – Body kerfed and closed up

November 28, 2010

Heads down work today.  After cracking a side, repairing and letting set, I applied a 15 foot radius to the back and glued on the kerf.

101128kerfback

A few hours later, I sanded down the kerf and glued the back on and secured with spool clamps (left over from my first guitar build).

101128spoolclamp

In another hour, I’m back down to the man cave to release the clamps and trim back the overhang.  It should actually look like a uke.

Uke 1001 – Sides glued to top

November 27, 2010

The top is glued to the neck before attaching sides.  The top nestles into the top of the neck, which is a one piece spanish heel design.  The top and neck are indexed with pins to keep the top from skating when gluing and clamping.

101127indextoptoneck

101127underside

Once the neck and top are joined, the sides can be glued using a special workboard designed for the soprano uke using a spanish heel.  The top and neck are laid face down on the workboard, which has two waist clamps to push the sides together, into the spanish heel slots and against the heel block which has already been glued in place.

101127gluingsides

After one side has been glued and clamped, the other side is installed.  Spool clamps hold the sides against the top, and C clamps hold the sides against the heel block.

101127sidesglued

Kerfing will be added to secure the joint between the top and the sides.

101127topandneck

Uke 1001 – Installing braces and bridge plate

November 26, 2010

The braces and center patch for the back plate have been installed.  The braces are radiused to 15 feet to give the back a dome shape.

101126backbrace

The top’s soundhole has been cut, and bracing, tone bar and bridge plate have been installed.

101126fingerbrace

Guitar 1001 – Headstock and fretboard binding

November 26, 2010

I’m binding the headstock and the fretboard with ivroid.  The headstock channel was cut with a router.  Ivroid was glued in in stages, first the sides, then the taper to the neck, then finally the top end.  The ivroid needed to be heated and bent before gluing.

101126headbinding

101126headivroid

The neck ivroid was installed after the neck was tapered.

101126fretbinding

101126fretboardbound

Guitar 1002 – Neck routed for truss rod

November 26, 2010

I continue to work on the neck for the hybrid guitar.  The center lam strip has been installed.  I routed out a channel to accept the truss rod (access will be through soundhole) and plugged up the neck end with a piece of mahogany.

101126neckplug

This piece has been trimmed down flush with the neck and headstock.

« Prev - Next »