Guitar 905 – Fret dressing in progress

June 10, 2010

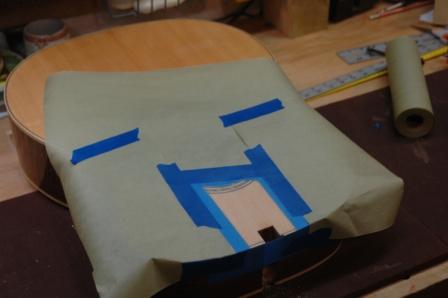
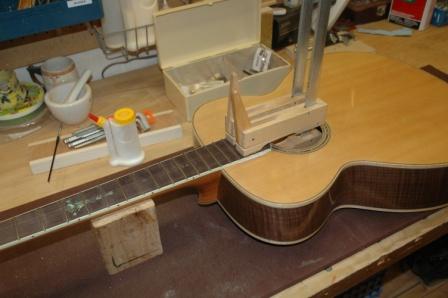
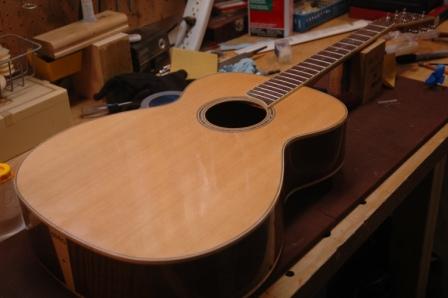
I masked off the guitar body to avoid getting fret shavings on the finish or in the soundhole.
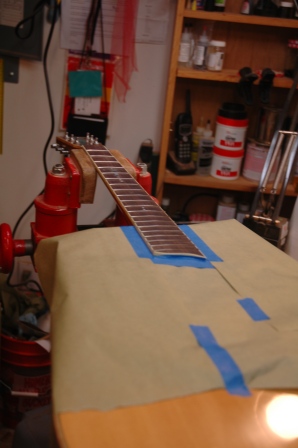
100610maskbody

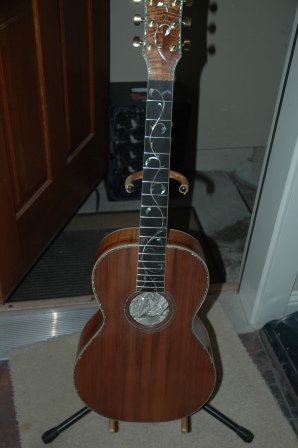
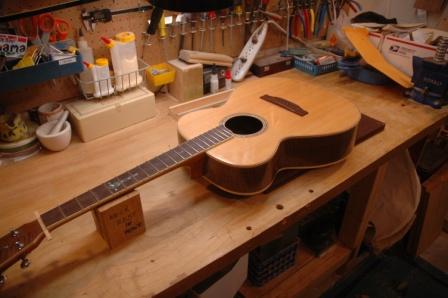
The first opportunity is to use a file to level the frets with each other.  Fret 5 and 14 were the highest, so I filed to and between them until I started to see filing marks on the frets in between.  Next I drew the file across all 20 frets attempting to create one continuous flat surface across all frets.  Once I was close, I bevelled the ends of the frets to a 45 degree angle and removed most of the overhang for each fret.  I went back and dressed more until the frets were essentially flat.  I still had a wee bit of clearance between the straightedge and frets 1 and 2.  A quick truss rod adjustment brought those into a tolerable distance.
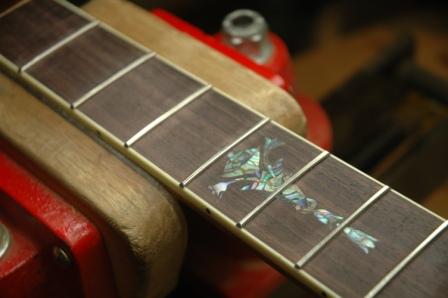
100610firstfretdress

I’ll dry install the nut, saddle and strings before crowning and polishing the frets.  This will allow me to set the correct string height and check for any fretting problems which need further filing.  Once (and it’s usually two or three) I have the proper setup, I can go back and crown, dress and polish the frets and install the nut and strings permanently (don’t forget to install the label after blowing out all the crap in the box Stephen!).

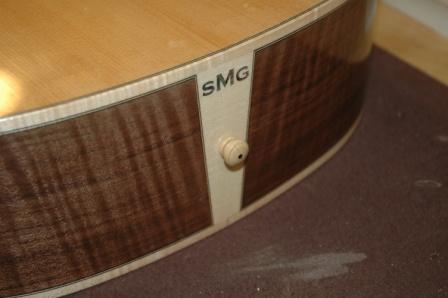
Install the strap peg on the heel, give it one last polish on the buffer, and this guitar will be done!
Guitar 1001 – Further progress on the neck

June 10, 2010

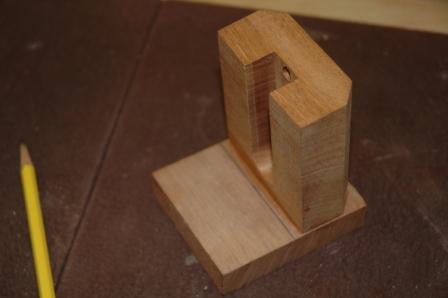
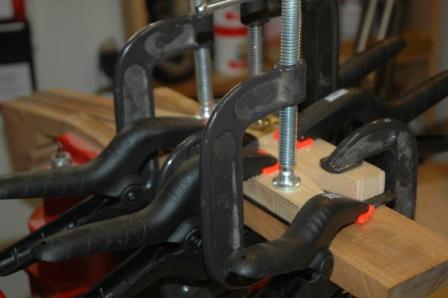
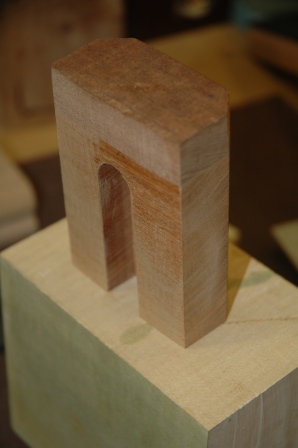
After the neck block extension came out of the clamps, I was able to trim it down and flush it up with the original block.

100610neckblockextended

It is now a wee bit oversized, but I’ll trim down the height just before gluing it to the sides.

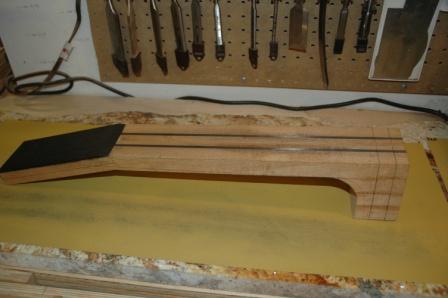
I trimmed up the ebony headstock veneer after it too came out of the clamps.  I level sanded the neck where it glues to the fretboard, remeasured where the 14th fret should land and traced out the heel curve, then sanded it out with the spindle sander.

100610neckblocked

I also sketched in the eventual thickness of the headstock and the taper for the back of the neck from the headstock to the heel.  After installing a new blade in the bandsaw, I’ll cut to the sketch lines in preparation for initial neck shaping.  I won’t shape the neck until I receive the headstock inlay, as routing out the inlay channel will be easier to do with a squared headstock secured in the vise.

Guitar 1001 – Neck work

June 9, 2010

I augmented an OM neck block to accomodate the larger size needed for a dreadnought.

100609neckblock

The added piece is oriented with the same grain direction.  It will be trimmed to match the dimensions of the existing neck block.

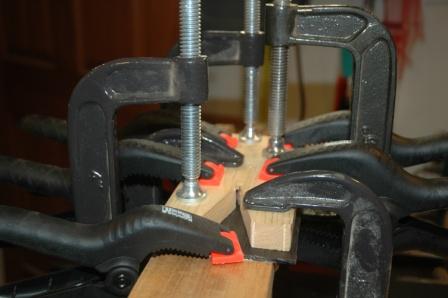
Spent considerable time flattening the top of the neck and the headstock.  Installed the ebony headplate and will trim down flush with the mahogany once glue sets.

100609clampveneer

100609headveneer

I’m waiting for a designed/constructed headplate inlay.  I’ll determine the headstock shape based on the inlay design.

Guitar 905 – Ready for fret dress

June 9, 2010

I’ve ordered a 3 degree reamer to properly set the bridge pins.  While waiting, I have shaped the nut and saddle and will dress (level) the frets, then install strings to do final setup adjustments.

Guitar 906 – Fretted, ready for neck set

June 9, 2010

I may have already mentioned this, but the neck is ready for setting.  Just a little more sanding of the body and a nice polish.

100609fretted

Guitar 905 – Bridge installed, ready for setup

June 8, 2010

Well, the final steps are looming.  The neck is installed, the bridge is installed and the next step is to shape the saddle and nut and level the frets.

100608bridge

100608fendpin

Guitar 1001 – All components in hand

June 8, 2010

All components to make Guitar 1001 have been secured.  There are a few design issues outstanding, and can be made later in the process.

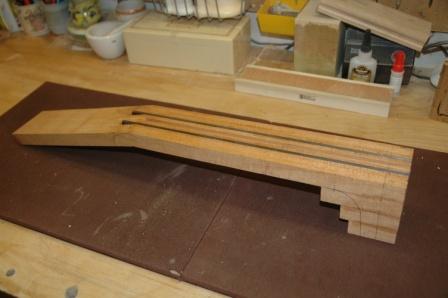
Started with constructing the neck from the neck blank.  I will use a stacked heel and reverse attached headstock.  I glued and clamped then chanelled for the truss rod and the graphite support rods.

100608neckconstructed

Guitar 905 – Neck secured

May 25, 2010

Taped off the area where the lacquer needed removing for neck gluing.

100525mask

I use a lacquer stripper then scrape away with a razor blade.  This surface needs to be brought back down to raw wood for gluing the fretboard to the soundboard.

100525clamp

Once the surface is prepared, glue is applied, then the neck is bolted on and clamped.

100525necksecured

Next, position the bridge and similarly remove the lacquer to allow gluing.

Guitar Repair – Rickenbacker Fret Dress

May 19, 2010

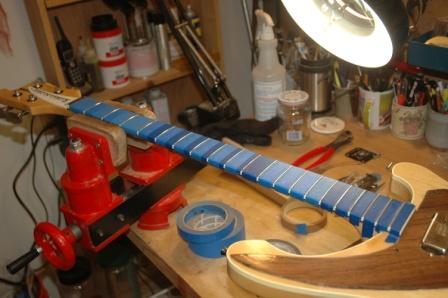
I completed the fret dress on the Rickenbacker bass.  It cleaned up real nice.  The frets were pitted in several positions from the 3rd up through the 9th frets.  I was able to dress down the frets leaving only one small deviation.  These frets are now down as far as they should go before a refret.

10001rick100519fretdress

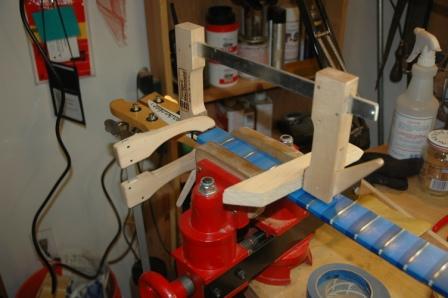
After filing the frets, the fretboard is protected with tape.  Each fret is then sanded and buffed.

10001rick100519nutglue

The nut was removed prior to filing.  The nut is glued (lightly) back in place after the frets have been polished.  New strings were strung, took it for a test drive, and it’s a fine result.

Guitar 906 – Comfort Update

May 19, 2010

Carl, just an update to comfort you.  I filled the hole with koa dust, capped with clear epoxy and let dry overnight.  Filed down, sanded, buffed, and…you can’t tell it’s a hole!  It looks like it belongs there.

Guitar making is just like professional golf.  The good ones are the guys who can recover from a bad shot.

« Prev - Next »