Ovation Repair – Head Reattached

May 28, 2011

The neck clamp has been removed and the glue squeeze out sanded away.  The finish is wonky on the face of the headstock and will require extensive filling.

110528neckgluedova

The crack is visible on the backside due to stress of the finish pulling away from the surface.

110528attachedova

If the customer wants, I can stop here and restring.  To complete refinishing and buffing and polishing will take another two weeks due to curing time.

The Curious Case of the Severed Head

May 27, 2011

Happy Birthday Mom!

A colleague has requested a repair of his 12-string Ovation which has the sad malady of a severed head.

Fortunately, the break was clean, along grain, and in a location which will be easy to clamp.

A bit of cleanup on the center lamination, then a dry fit clamping to test crack closure before gluing up and clamping to set overnight.

The time consuming portion of this repair will be in cleaning up the finish and filling the gaps.  Still it should come in well under the estimate.

110527neckstubovation

110527severedheadova

110527clampedovation

110527clampdetailova

Moving Forward

May 15, 2011

“He who works with his hands is a laborer.  He who works with his hands and his head is a craftsman.  He who works with his hands and his head and his heart is an artist.”  St. Francis of Assisi.

Is there any significance to May 15th?  Half way into the 5th month of the 11th year of the 21st century?  Maybe.  The significance for me is that I’m done with my student teaching, and I will be co-teaching at my high school only until June 8th.  On that date I will submit my portfolio to CityU, and they will go through the process of confirming all my requirements in order to issue a certificate of completion so the state can provide me with my teaching certificate.  Then I can start looking for a job teaching high school mathematics.  The prospects are dismal.  In 1978 I was granted an elementary education teaching certificate in an era very much like this one.  Tenured teachers were sitting on the bench waiting for job openings, and no jobs were being offered to the newly minted teachers like myself.  That’s when I got into Information Technology, into which I dallied and tarried for the subsequent 30 years.  Deja vu all over again.

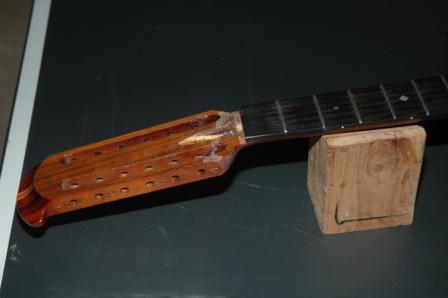
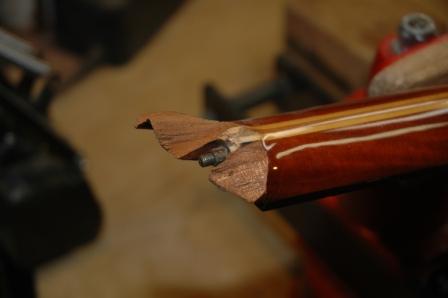
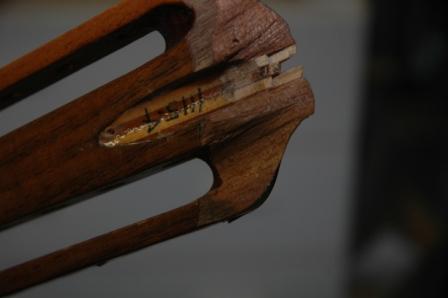
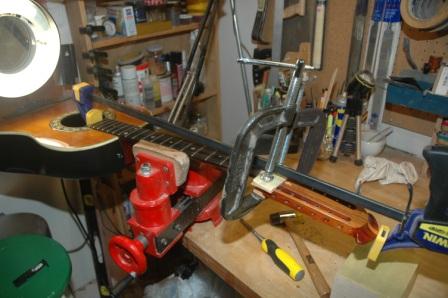
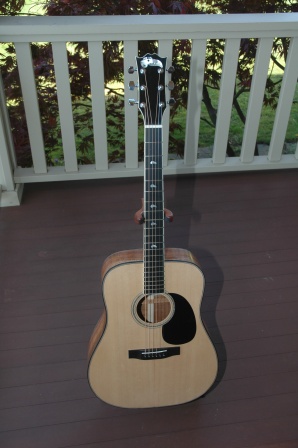
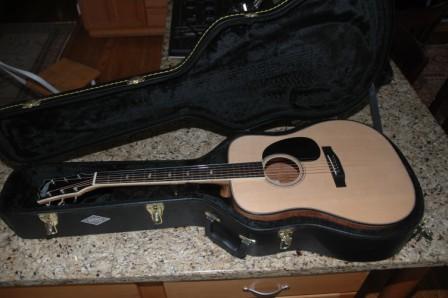
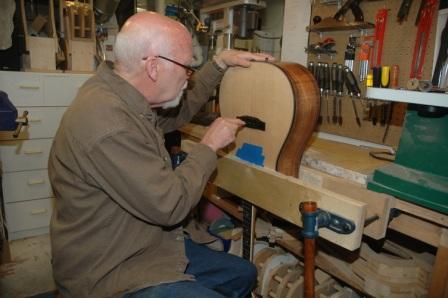
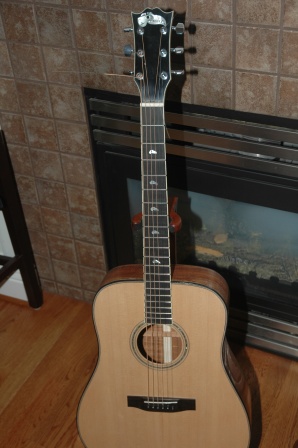
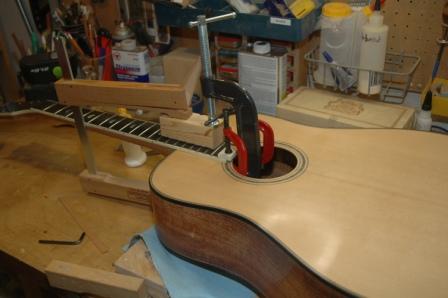
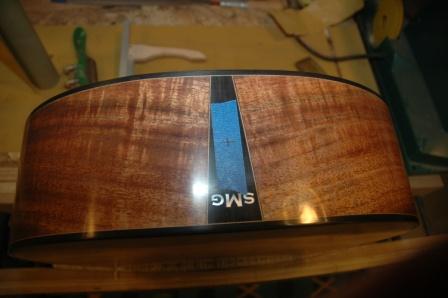
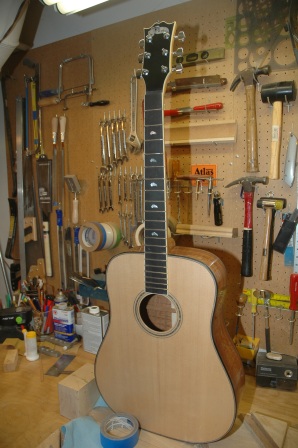
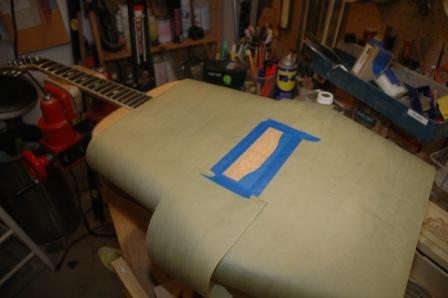
I ventured into guitar building in 2008, not to support myself financially, but to leave something behind and to find my inner artist.  I come from a family of very much NON artists.  Our upbringing did not emphasize artistic exploration, and none of us siblings showed any signs of artistic expression.  At least, that’s how I saw it until my sister Cyndy exploded with prolific artistic output that made me question where it came from.  Maybe there was some of that artist in me too.  Thus began the artistic investigation through guitar building.

My building fills many holes I suspected needing filling.  Manipulative skill and craftsmanship have always been important to me.  Music has been part of my life since I was a teenager.  And, beauty.  This guitar building adventure has been filling those holes in a very satisfying way, and I can always find better instruments and other equipment at sites like musiccritic.com.   I have to eat, support a family, and keep the dog alive.  Building won’t satisfy those requirements, hence the teaching as income endeavor.

So, the path is defined for employment for income (OK, I do like teaching and math).  But the path for craftsmanship and artistry is also defined, and I am planning my journey, which includes:

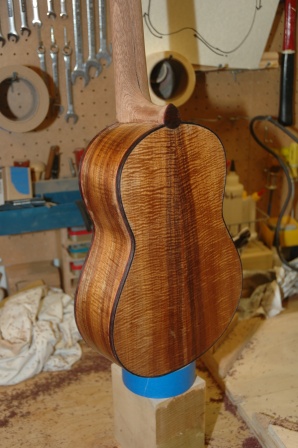
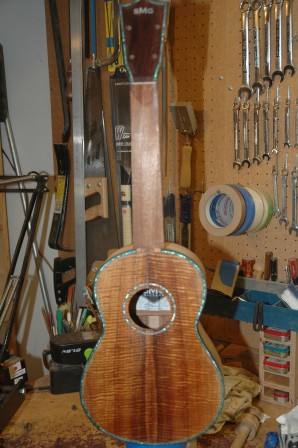
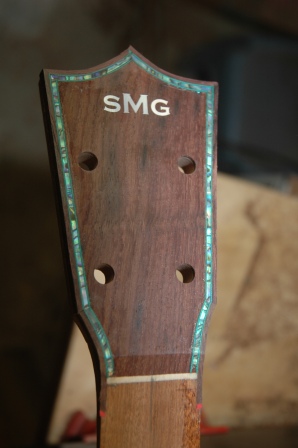
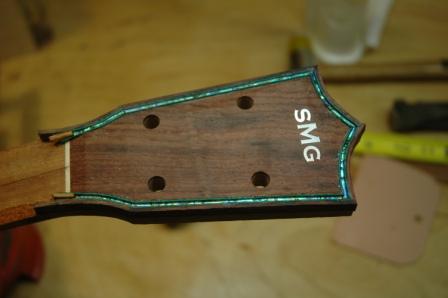
1.  Finish Uke number 1.

2.  Finish Uke number 2.

3.  Help Devin finish his Walnut OM and watch him leave with a guitar and a smile.

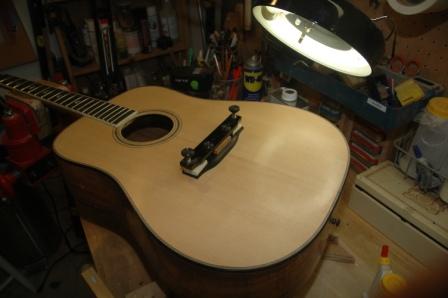
4.  Start/Finish Jim’s Hybrid Macaferri.

5.  Design a new guitar for my daughter Rachel.  She keeps playing Carol’s parlor.  The most beautiful guitar in the world is worth shit if you don’t play it.

6.  Start another Uke.

7.  Plan the next 3 guitars (which is two less than the number of back and side sets I have waiting in the wings).


Guitar 1001 – Ready for Delivery

May 14, 2011

What with going to school and learning to teach, and actually then teaching, I have seen serious erosion of my time available to devote to building.  So it has been almost a year in elapsed time since I started this Koa Dreadnought.

Today, it is finished.  I have contacted the client to arrange pickup.  He can take his time, as I will get to play it more the longer he waits.  It’s hard to give up these guitars, I want to keep them all, but I have too many anyway to begin with.

Today I crept down into the shop, trying not to wake my sleeping son who was crashed in the basement after his night out at the prom.  Dress the frets, polish the saddle and nut, oil the fretboard, install the pickguard, put the strings back on, whoops, clean out the ort from inside the box, install the label, then put the strings back on.  Tune it, play it, smile, weep, move on.

110514dredheadfront

110514dredheadback

I like this little rosewood veneer backing.

110514dredbackfinished

110514dredfrontfinished

110514dredincase

Guitar 1001 – Moments from Completion

May 13, 2011

I predicted I would be done with the Koa Dreadnought by Sunday, and I even stuck my neck out and told the customer.  So damnit, I will finish it by Sunday.  The frets have been levelled and sanded as well as tapered.  The nut and saddle have been roughed out to approximate shape and dry fit onto the guitar.  The bridge pin holes have been tapered and string slots have been sawn in.

110513pinslots

I have employed Professor Cuthbert Calculus to do some work for me as you can see in the photo above.

I strung it up, tuned it and let the strings settle in.  To my amazement, my rough setup work was perfect.  The saddle is the proper height, the nut string slots are at the perfect depth, and the fret levelling was flawless.  I think all those previous guitar setups have proven to be useful.  Perhaps I now know what I’m doing.  Nice bold sound, as is the custom for a dreadnought.

110513strung

So, I’ll let it settle overnight, then tomorrow I’ll hit the punch list:

1.  Install sMg label after blowing out all the crud inside the box.

2.  Final buffing.

3.  Shape then polish nut, glue to neck.

4.  Shape then polish saddle, place in bridge.

5.  Dress frets and fretboard.

6.  Tighten truss rod for miniscule concave setting.

7.  Install pick guard.

8.  Clean case and attach sMg Guitars label.

9.  Call Steve and have him come pick it up.

Guitar 1001 – Knocked Down and Buffed Up

May 7, 2011

Happy Birthday Sister Cyndy!  In honor of your birthday, I did NOT work on your uke.  Rather, I finished knocking down and buffing the Koa Dreadnought.

The finish will get another buff after setup to bring on a real shine.  The lacquer under the fretboard extension was stripped off, and the neck was glued and bolted on.

110507clampneck

After setting, the end pin hole was drilled and the tuning machines were installed.

110507markendpin

110507neckmounted

The bridge location was determined using MATH!  The lacquer under the bridge was stripped in preparation for gluing.

110507stripbridgelacquer

The bridge was glued and clamped with the fancy bridge clamp from LMI.

110507bridgemount

Guitar 1001 – Knockdown Countdown

May 6, 2011

Spent several hours today knocking down the lacquer finish on the Koa Dreadnought.  A light first brush with 220 grit on the high spots, followed by a serious attack with 400 grit until NO shiny dimples remain.  A thorough dry sand with 800 grit leaves a very smooth flat surface without breaking through to the wood.

Tomorrow a quick wet sand with 1000 grit before the two stage buff on the buffing wheels.  The neck will be checked for fit and adjusted if necessary.  The lacquer on the top which is under the fretboard will be removed with Stryp-Eze then the neck will be bolted and glued in place.

Uke 1101 – The Naptha Preview

May 4, 2011

There’s a little known trick of the luthier (OK, everybody knows it).  It’s called the Naptha Preview.  Before final sanding and finishing with lacquer, you clean off the instrument with a naptha bathed cloth.  It brings out the color of the wood that will appear with lacquer application and points out any spots where there’s still glue that needs sanding (the glue spots won’t absorb the lacquer).

So before I set the uke aside to finish Guitar 1001, here’s the Naptha Preview.

110504napthaback

110504napthafront

Uke 1101 – Bound and Purfled

May 1, 2011

First thing this morning I took my little finger plane and smoothed the headstock down.

110501headscraped

Since this little uke has a spanish heel, I need to route out binding channels between the top and the neck which can’t be reached by the bearing router bit.  I improvised with my dremel circle cutting jig mounted on a plate clamped to the body.

110501bindingjig

This worked well, and I proceeded to install the binding and purfling.  The bent binding came out of the bending machine almost perfect.  I only had to add a little more bend via the bending iron before proceeding.

First, the top binding and purfling was installed.  This side will also have abalam purfling, so the initial install uses teflon to create the channel to accept the abalam.

110501topteflon

The back only has a small accent strip for the purfling.  I’ve used red to trim the binding at the sides, green for the top, and blue for the back.  Oooh, lots of different colors sure is fun.

110501backbinding

Once the glue for the top dried, I removed the binding tape and the teflon, inserted abalam and flooded with CA glue.  Flooding will be several steps until the channel is filled and the CA glue (dried) is flush with the top.  The abalam actually rests below the surface of the top.

110501toppurfling

I’ve constructed a rosewood heel cap that will drift into the body at the back, which I will install after the CA glue dries.

Uke 1101 – Paua Purfling for the Headstock

April 30, 2011

This is one of my favorite parts of building:  Paua purfling.  I use abalam from the Duke of Pearl (apparently he invented abalam, which is appropriately laminated abalone).  I’ve settled on rosewood for the binding, and have prepared all the binding with red accent strips, then thinning it down to around .080″.  Four strips are sitting in the side bender overnight.  I’ll pull them out tomorrow and add more curve with the bending iron.  The channels are already cut into the body to accept the binding and purfling.  I do, however, still need to chisel out the channels where the body meets the neck.  The router bit can’t be taken too close to the neck so as to avoid putting big inappropriate divots in the neck, hence the need to chisel.

In the meantime, while the binding cures in the bender, I tackled the headstock.

110430headpurfling

« Prev - Next »