Archive for the 'Guitar 1001 – Auction 2 Guitar' Category

Guitar 1001 – Pore Filler Applied

March 11 , 2011

Well well well.  Dove on down to the shop, prepped the body for pore filling and dove in head first.  The back was tackled first, followed by side one then side two (A side and B side?).  First step was to apply a thick coat with a bristle brush.  Its’ consistency is somewhat like tahini.
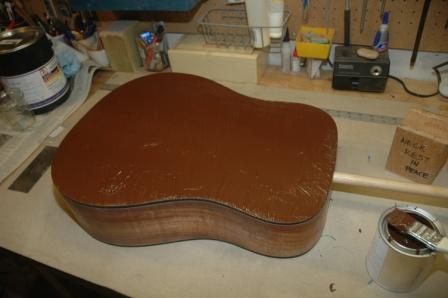
110311backappl

Or maybe, fudge brownie mix.  Next, dapple with the brush to force filler into pores.
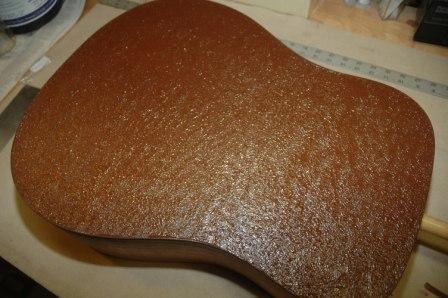
110311backdappled

Kind of reminds me of that textured ceiling spray.  I only let it sit for 5 minutes before taking the bondo scraper to it at a 45 degree angle.  It’s a bit of a messy process, and the filler tends to drool over the sides, and stray globs ended up on the top, but quick action removed the globs sufficiently.
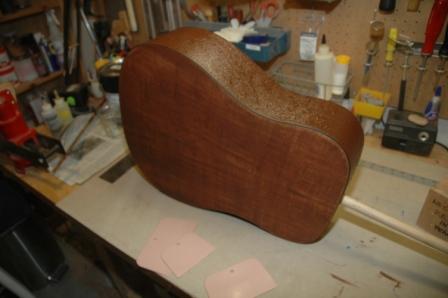
110311sideporefill

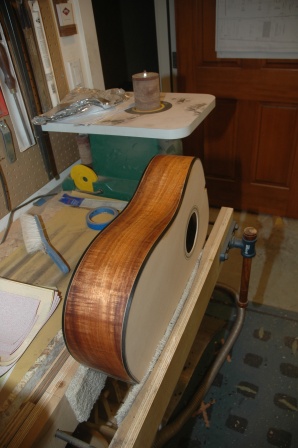
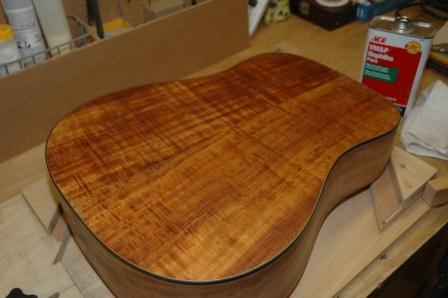
Next the sides were filled, one at a time (A and B, remember?), as the filler dries quickly, and the guitar is resting on the opposite side while applying.  Once all sides and the back were scraped clean, there was still quite a bit of filler floating on the surface.  With a shop towel (like burlap), the guitar was buffed, which removed most of the surface filler, yet kept the filled pores filled.
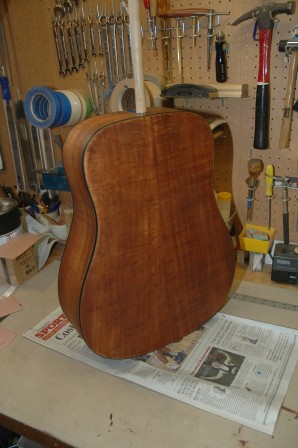
110311porefilled

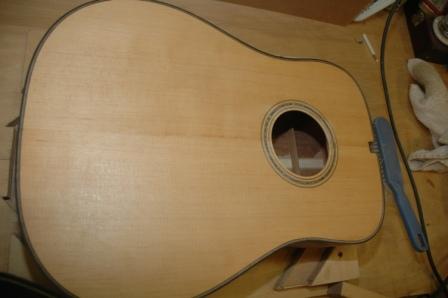
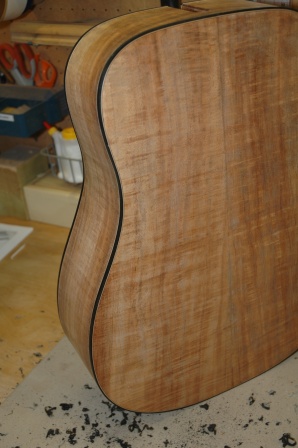
After several hours of setting, I will sand off the remaining filler that still coats the surface, resulting in a resumption of the koa golds, the white purfling, and mirror smooth surface (I hope).

I am NOT going to pore fill the mahogany neck.  Or am I?  Let me think on this one for a bit.
Guitar 1001 – Pore Filling

March 11, 2011

I have applied the first coat sanding sealer to Guitar 1001 in preparation for pore filling.  Today I will apply the pore filler first coat.  For the uke and the OM Walnut under construction, I used Z-Poxy as the pore filler with results that were not fully to my liking.  Although Z-Poxy is appropriate for pore filling, the application and knock down are difficult and time consuming.  Hearkening back to my lazy disposition, and not enjoying the whole knock down process, I will use a more traditional pore filling product, Chemcraft Pore Filler from LMI.

I ordered a pint of Chemcraft, colored Medium Brown, appropriate for koa, and it arrived earlier this week.  I have used Chemcraft on previous guitars with good results, but this time I’m determined to get exceptional results.  I learned from my previous forays with Chemcraft that one application is not enough:  the pores get semi-filled with one application, and two or more will be necessary to get mirror finish results (or full pore filling).

The online instructions from LMI are extensive for Chemcraft.  To gather my thoughts, I’ll recap here for you instruction geeks, and to set a roadmap for my work today.

1.  1 coat of sanding sealer (lacquer), thin.

2.  Apply with cheap bristle brush, across the grain.  “Hide” the wood under the filler.

3.  Blot or poke filler into pores with bristle brush at 90 degree angle.

4.  Wait until 70% of shine is gone and filler hazes over.  (Guess I’ll need my attenuated shine goggles for this measurement).  Instructions say 5 to 20 minutes.

5.  Remove excess with a squeegee into another jar (can be reused) at a 45 degree angle to the grain.  I have some bondo squeegees that I’ll give a try.  Some builders use old credit cards, etc.

6.  Any thin layer of filler left behind after using the squeegee can be removed with burlap or sanding after 12 – 24 hours of drying time.  Burlap can also be used 30 minutes after squeegeeing.  Rub across the grain.

Proper application can result in a one coat only experience.  If a second coat is necessary, it will be evident after sanding the dried pore filler.


Sanding Sealer

February 15, 2011

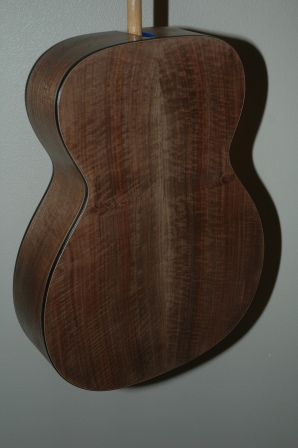
The spray odyssey begins.  One coat of sanding sealer (lacquer) before applying the pore filler.  The walnut OM color and grain is jumping out even with one coat.

110215topsealer

110215backsealed

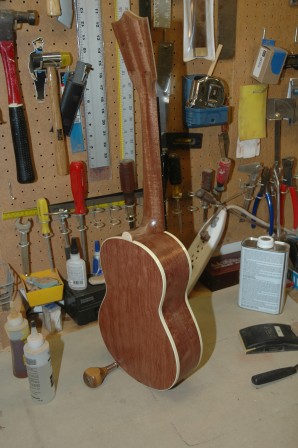
The bubinga uke got the first spray treatment.  Some imperfections revealed themselves, but should be hidden once the 12th coat of lacquer gets applied.

110215ukesealed

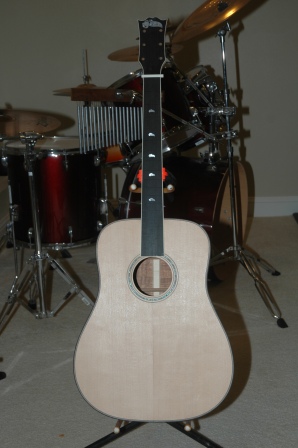
The koa dreadnought is awaiting further sanding.  I am going to sand this guitar way too much vs. previous attempts to sand too little.

Flurry of Activity on the Horizon

February 13, 2011

The stage is set for the dreaded retreat to the spray booth.  Spraying lacquer is a process which is a whole lot of setup followed by very brief spraying sessions culminating in a necessary yet dreaded cleanup.  It behooves one to have several guitars ready for spraying at the same time.  I have delayed spraying the koa dreadnought to get the walnut OM and the bubinga tenor uke ready for spraying as well.  That’s three instruments staged for spraying at the same time.

I have traditionally used nitrocellulose lacquer, with excellent results but questionable effect on my respiratory system.  Even though I use a vented booth and a respirator mask, I have experienced deleterious effects from the nitrocellulose.  This round of spraying will employ a water based lacquer, KTM-9.  I have used KTM-9 in the past, and applied it with a brush, and the results were good, yet I anticipate the spray application to be excellent.

I have had mixed results with the pore filling steps, and this time am committed to ensuring the pore filling will be immaculate regardless of how many applications I need to fulfill a mirror surface on the back, sides and neck.

The proposed steps are:

1.  One coat of lacquer sanding sealer

2.  Several applications of pore filler, until smooth

3.  Sand until smooth without penetrating sanding sealer

4.  3 coats of lacquer applied every hour

5.  Cure 24 hours, scuff sand

6.  3 coats (that makes 6), cure 24 hours, scuff sand

7.  3 coats (that makes 9), cure 24 hours, scuff sand

8.  Determine need for 3 more coats or proceed to finish

9.  After 2 weeks of cure, progressive sanding, starting with 400 through 1200 wet sand

10.  Buff

These steps precede attaching the bridge, bolting on the neck and moving to final setup (fret dressing, nut and saddle shaping, install tuning machines).  Based on this schedule, I am about 3 weeks away from completion.

Spraying is a lot of hurrying to wait.  I can fill the gaps in time by continuing on construction of the hybrid Macaferri and the koa tenor uke.  Next week I will be receiving a cutaway ram to install on my side bending machine.  I have also devised a use for this ram on a side bending machine built purposely for uke sides.  Since my current machine is too large to properly bend uke sides, I am constructing a bending platform which will use the cutaway ram for the waist bend for uke sides.  Pictures coming later.

Guitar 1001 – Neck Joint Finished

December 26, 2010

Today, I finished fine fitting the neck to body joint and installed the neck bolt inserts.

101226guitar

After shaving the inside of the neck where it meets the body, and sanding to ensure a flush fit between neck heel and body, I marked the location for the neck inserts and drilled two 10mm holes.

101226neckdrill

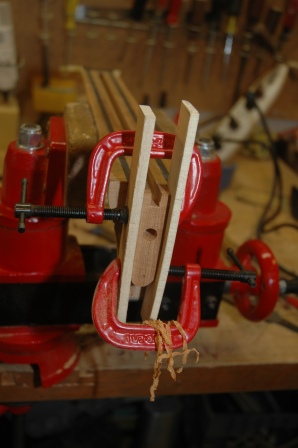
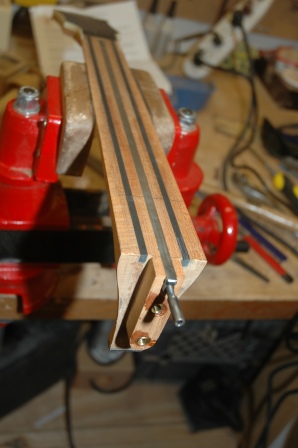
The sides of the tenon are clamped to prevent cracking when drilling and installing the inserts.  After the inserts are installed, CA glue is drizzled to secure the inserts and strenghten the tenon.  The truss rod is also inserted.

101226neckinsert

The neck is bolted to the guitar to check fit before installing the fretboard.  Later today I will further reduce the thickness of the fretboard, install frets then glue the fretboard to the neck.

Tomorrow, Steve, my customer, will drop by to check progress.  The neck is roughly finished, and Steve can provide input as to final neck shape and thickness.

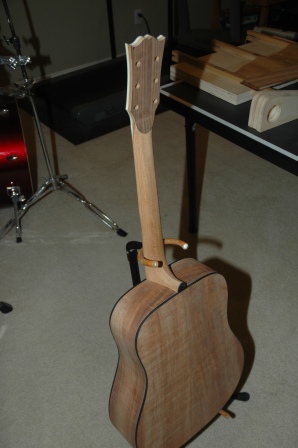
101226guitarback

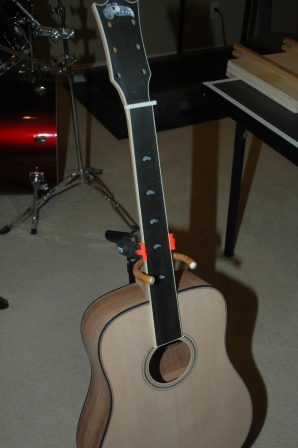
101226guitarfront

Guitar 1001 – Neck Ready for Fretboard

December 24, 2010

Twas the night before Christmas, and all through the house, the only stirring afoot was the Luthier Mouse.  The stockings were hung by the chimney with care, in hopes that St. Neckisloose would soon be there.  The Luthier trimmed and shaped and made dust in the night, and made all binding and neck cross sections right.

101224clampbinding

There’s neck joint alignment to do, and a check that the truss rod goes through.  Tomorrow will be a day with no dust, hoping that Santa will bring home a 3/4″ purfling muffler bearing.

Guitar 1001 – Neck Shaping

December 23, 2010

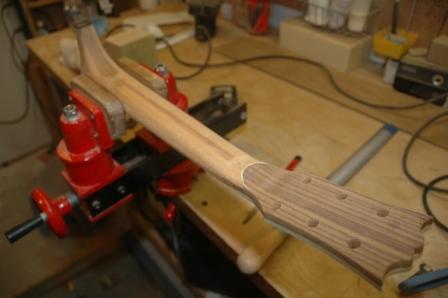
Slow and steady.  I’m resisting my desire to cut corners and am carefully rasping the neck to shape.  This neck has a veneer plate on the back of the headstock that I need to work carefully to create a clean transition.

101223neckshape1

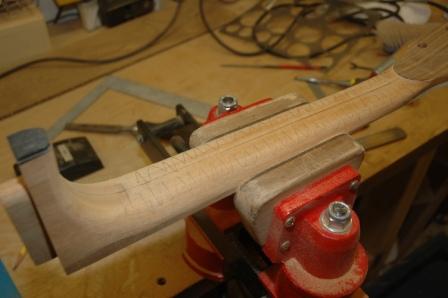
The neck thickness has been etched into the back of the neck at the 1st fret (15.6 mm) and at the 11th fret (23 mm).  Rasps are used to bring the neck down to the right dimensions and profile.

101223neckshaping

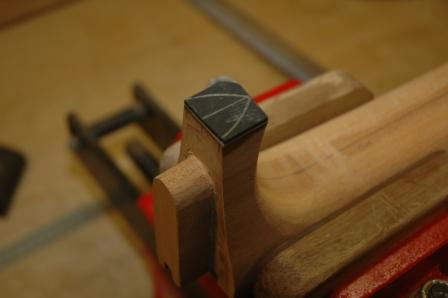
An ebony heel cap has been glued on and the final shape penciled on.

101223heelcap

Several more hours of rasping and sanding before the final shape has been achieved.

Guitar 1001 – Fair and Square, Neck Angle Measured

December 22, 2010

Spent several uninterrupted hours trimming down the binding flush to the body.  I used an orbital sander to start the finish sanding in preparation for determining the neck angle.  The binding and purfling is fit to the body very nicely, and I won’t have any gap repairs.

101222top

The top was getting a little ragged due to all the handling and the sanding brought it right back to perfect.

101222side

The back and sides have been cleaned with naptha, which brings out the color and shine that the lacquer finish will provide.

101222back

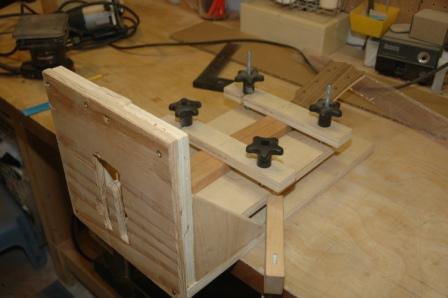
The neck angle on a guitar with a radiussed top is not exactly 90 degrees.  The neck angle needs to be determined to properly route out the tenon on the neck so the fretboard will lie flat on the upper body once attached.  I transfer the measured neck angle to the tenon routing jig and secure the neck into the jig.

101222neckjig

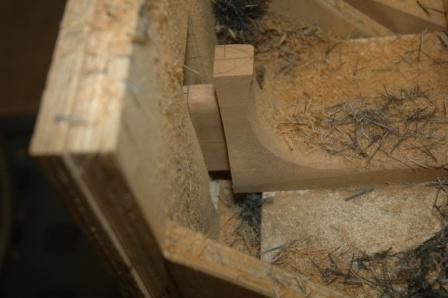
Using a bearing mounted flush cut router bit, I cut the tenon at the proper neck angle out of the neck.

101222necktenon

The tenon will need to be trimmed a bit, and any adjustments to the neck angle can be done with a chisel.  Once the neck set is finalized, I can install the neck bolt inserts and work on the final shaping of the neck.  After the first pass of shaping, the fretboard will be glued on, then final shaping, and I can start applying the lacquer.

101222necktenondone

Guitar 1001 – All Out Now

December 21, 2010

OK, it’s time to wrap up this guitar.  I’m at that stage where I have to spend hours fairing and squaring the body:  scraping the binding and back and sides to get them completely flush and all and any dried glue removed.

101221scrapingbinding

This is all the prelude to fitting the neck, which will need to have the tenon (or is it the mortise) shaped on the neck and angled properly to leave the neck flush with the top.

Guitar 1001 – Headstock and fretboard binding

November 26, 2010

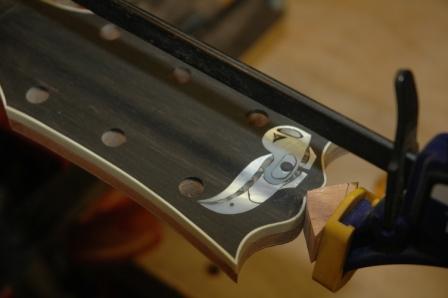
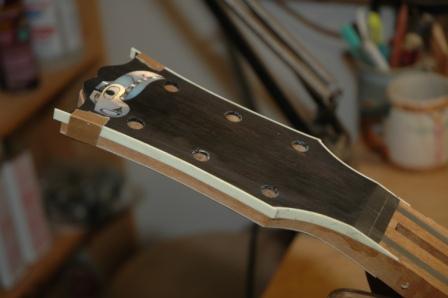
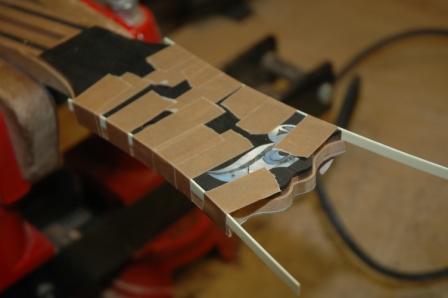
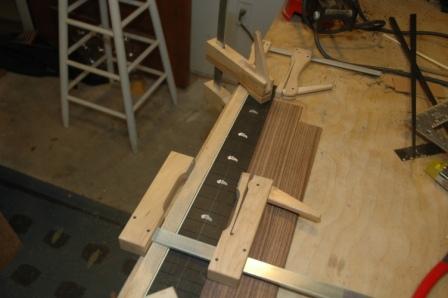
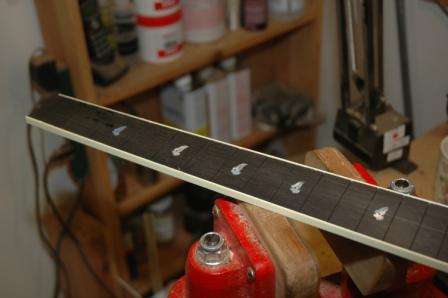
I’m binding the headstock and the fretboard with ivroid.  The headstock channel was cut with a router.  Ivroid was glued in in stages, first the sides, then the taper to the neck, then finally the top end.  The ivroid needed to be heated and bent before gluing.

101126headbinding

101126headivroid

The neck ivroid was installed after the neck was tapered.

101126fretbinding

101126fretboardbound

« Prev - Next »