Guitar 805 – Oh, I’m so tired
Februay 3, 2009
Blech. Look, see, react.
So, I diverted, but here’s the progress…
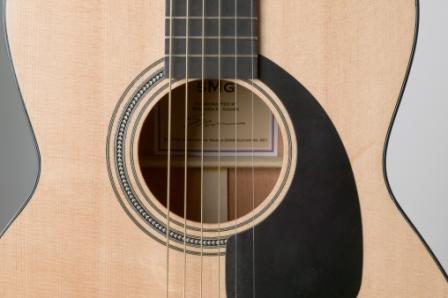
It’s a gallery of nitrocellulose…
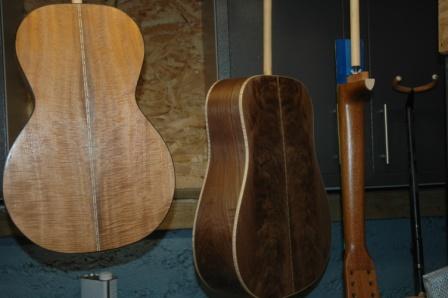
Next….beauty.
Februay 3, 2009
Blech. Look, see, react.
So, I diverted, but here’s the progress…
It’s a gallery of nitrocellulose…
Next….beauty.
January 31, 2009
Tomorrow William, my son, and I will watch the Superbowl. We are both heavily invested in illegal wagering and this is an annual tradition for us. When I devised my completion schedule for the 12 string, I did NOT factor in things like Superbowl, dinner, sleep, or brunch. But, with today’s progress, I am one day ahead of schedule and can use that down time to watch the Superbowl with William tomorrow.
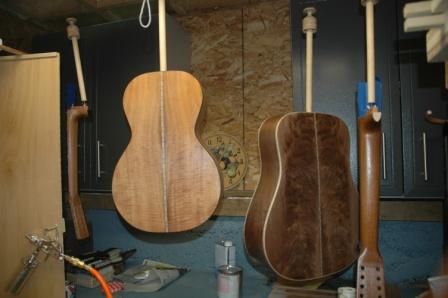
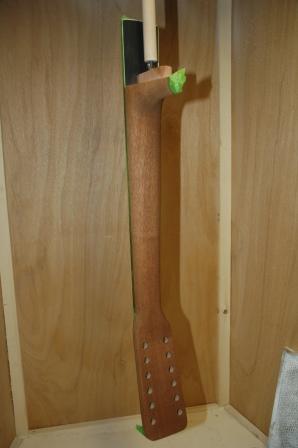
I sanded with 220 all day, stained the neck with Tobacco Brown, which I believe will give the mahogany neck a similar look to the unstained walnut. Applied vinyl sealer to the neck and body, and will let sit overnight before filling grain tomorrow.
January 30, 2009
I was worried. I was fretting (OK, this is a guitar analogy). But I’m very close to finishing this guitar before the deadline.
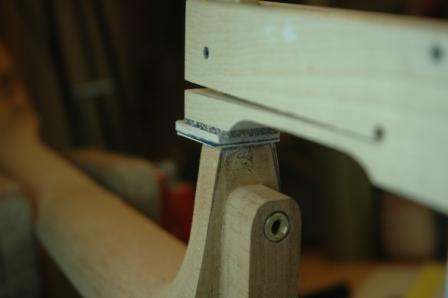
I installed a heel cap in keeping with BWB theme of the guitar.
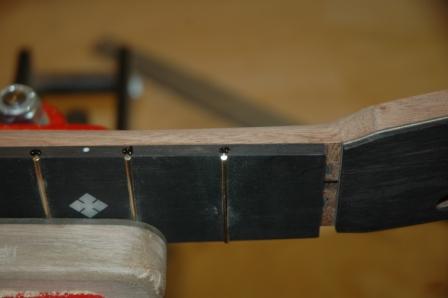
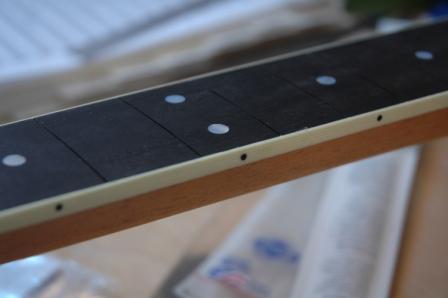
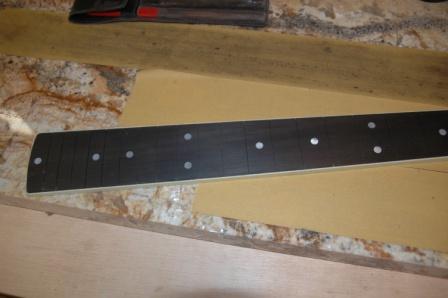
Next step was to glue on the fretboard and install the marker dots.
After recognizing that the neck needs some serious thinning, I still installed the bolt on inserts.
Next step, intall the frets.
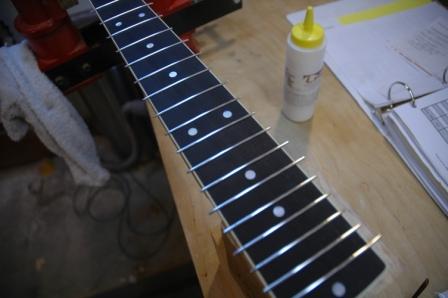
Trim them up and get ready to see what it looks like as a potential guitar. I did have to add some material to the area between the headstock and the fretboard, as there was a bit of dip which would effect the level set of the nut.

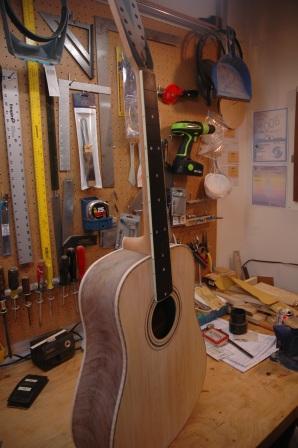
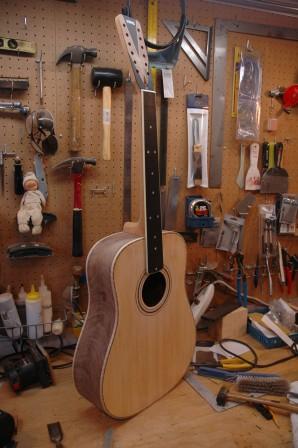
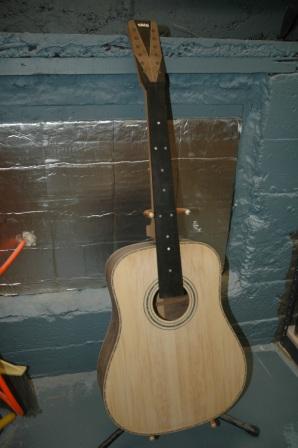
Once all this came together, it looked a lot like a guitar.
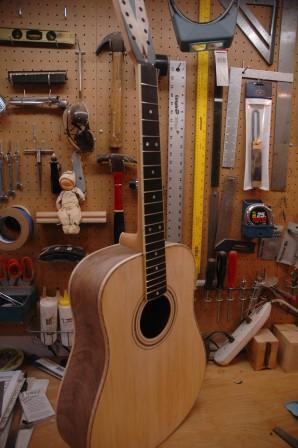
I’m tempted to see what it looks like in the case (I was worried the oversized headstock might not fit).
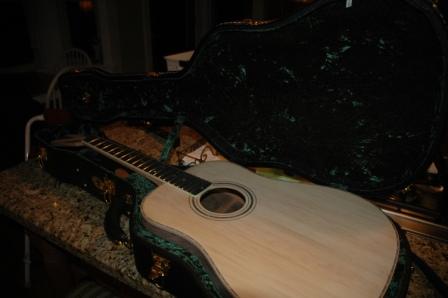
It fits! Tomorrow, some serious 220 grit sanding in preparation for the vinyl sealer.
January 30, 2009
Go to gallery to see all photos:
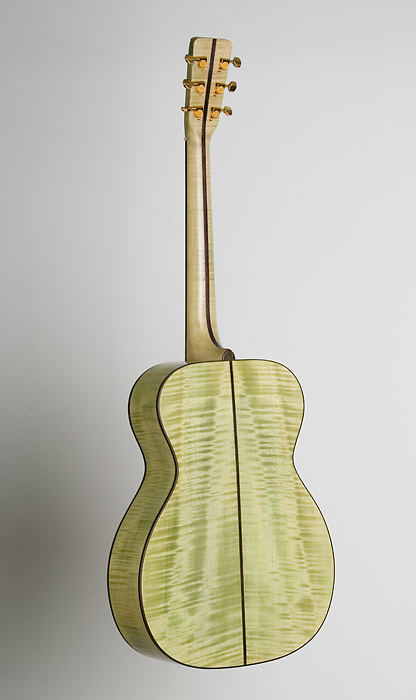
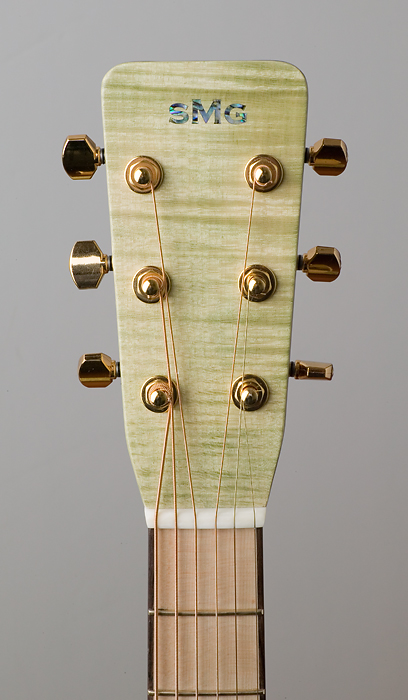
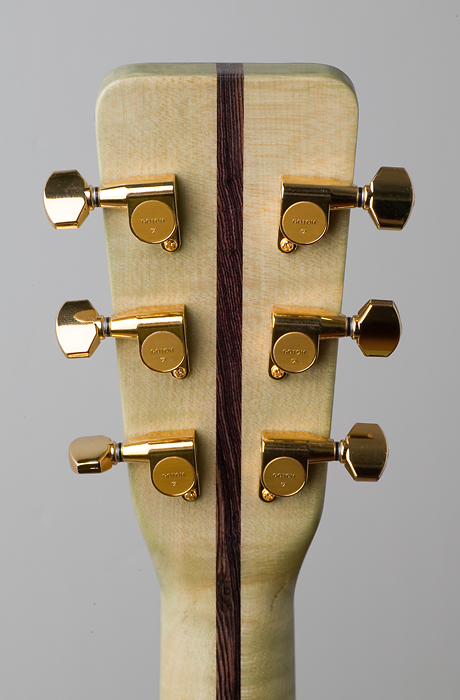
January 30, 2009
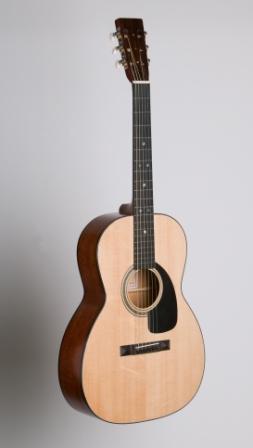
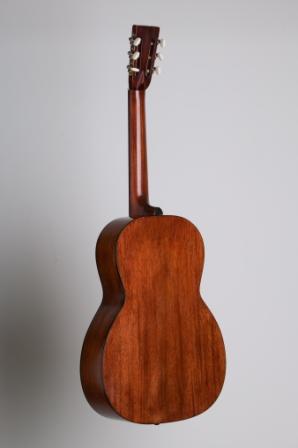
As a barter trade for banjo refretting, Tom has provided me professional renderings of my guitars. Here’s the Maple OM (go to gallery for all).

January 28, 2009
I have underestimated the time to shape the neck, so have taken two days to complete vs. one. The neck is now down to the desired thickness, but still needs to have the heel fully shaped.
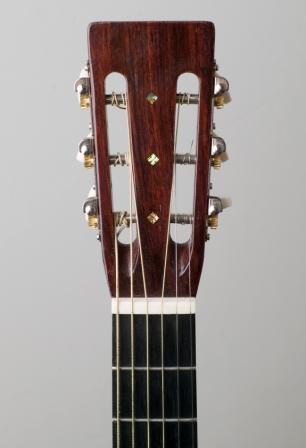
I oriented the truss rod up so the adjusting nut is accessed from outside the guitar at the head.
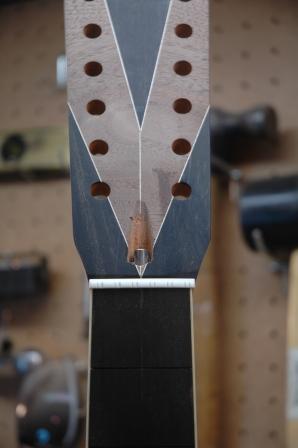
It will have an ebony cover plate. I also routed out the tenon, but will need to correct the neck angle as it is a little steep.

Did the first round of scraping and sanding, and it’s looking pretty good. I will test the new pore filler and lacquer on scrap before actually applying to the guitar.
Tomorrow: Finish shaping heel, add end cap, adjust neck angle, and if completed, glue on fretboard (after thinning it a bit).
January 26, 2009
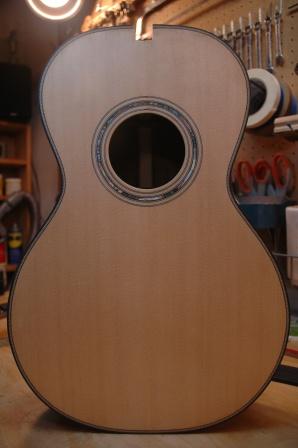
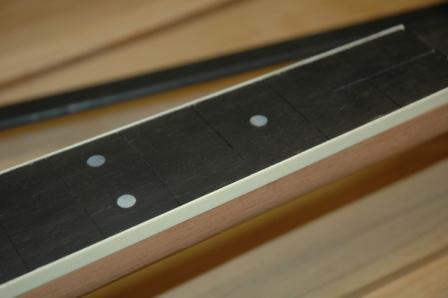
Ah I have completed my favorite part of guitar building: the installation of the binding and purfling and binding the fretboard.
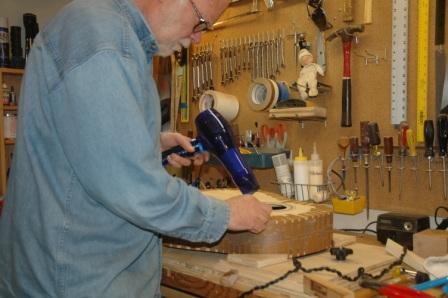
I now have a lot of “fairing and squaring” to do. I used ivroid for the first time (it cost me $20 extra buck just to have it shipped). I used #16 weld on cement and a hair dryer to soften for bending around the lower portion of the fretboard.
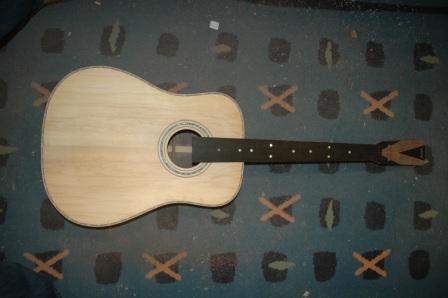
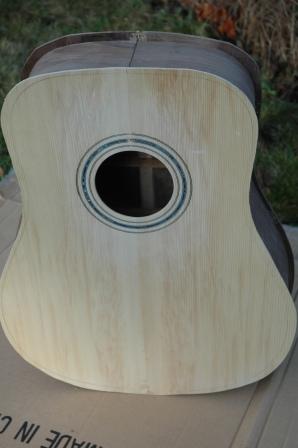
It’s very much like a guitar, and not hard to imagine what it will look like fully finished.
This was taken before I bound the fretboard, so it extends down farther than actual.
Time to tackle the shaping of the neck, oh, and I’m going to make a tracing/rubbing of my 12 string Taylor bridge. I like the shape, and I think it will look nicer than the std. Martin style bridge.
January 25, 2009
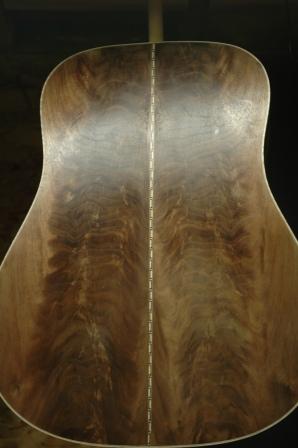
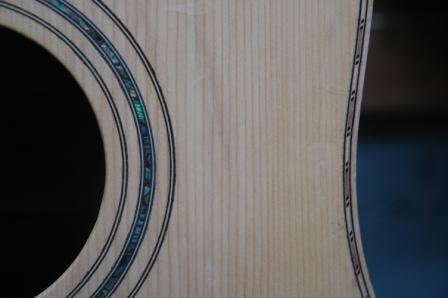
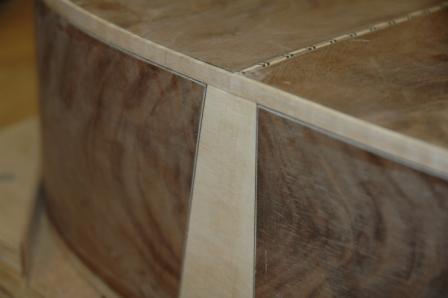
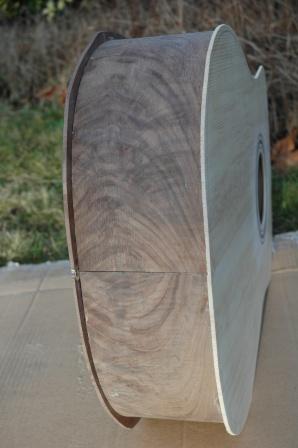
This guitar has the most complex binding/purfling combination to date. I added a Black/White strip to the curly maple binding that goes all around the sides and back. I preinstalled the B/W on the bottom of the binding then put in the bending machine. I later added another B/W strip to the bottom of the binding used for the back before installing.
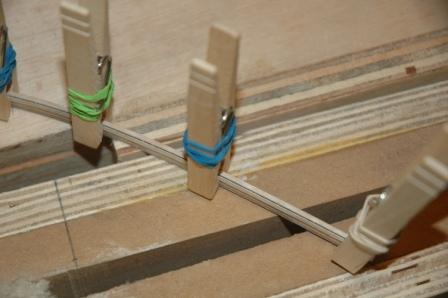
Spent the appropriate amount of time test cutting MDF before driving the router into the guitar body. The top needed two passes, one for the binding, one for the purfling.
Installed the top binding/purfling first, the concluded with the back binding, which had the attached B/W strips. The back has a severe radius, and the router needs to be used on a swivelled base to keep the channel somewhat upright. The channel is slightly deeper at the back surface, but that worked fine as the B/W strip essentially leveled the binding with the sides.
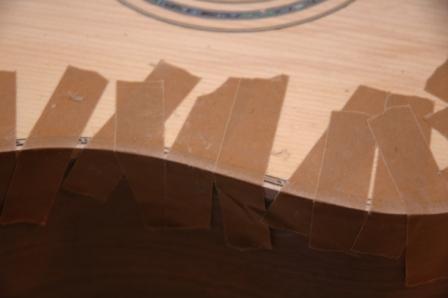
After setting for a few hours, I removed the binding tape with a hair dryer.
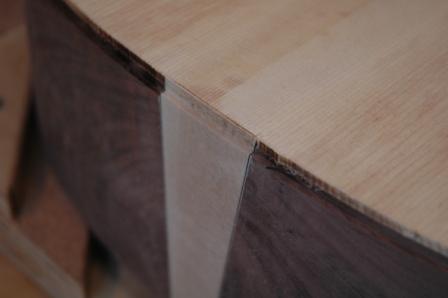
The binding and purfling installed without any signifcant gaps.
One problem of note, a section of binding on the back did crack.
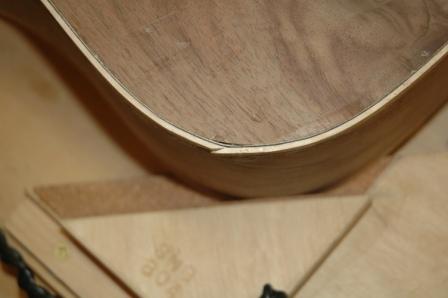
All things considered, I was pleased with the results. Professional golfers are successful due to their ability to get out of trouble. No matter how good you are, you occaisionally get into trouble. Knowing how to get out of trouble and being succesful at it is the secret. I’m getting better every day of getting out of trouble. I think I’ve got that crack repaired.
January 24, 2009
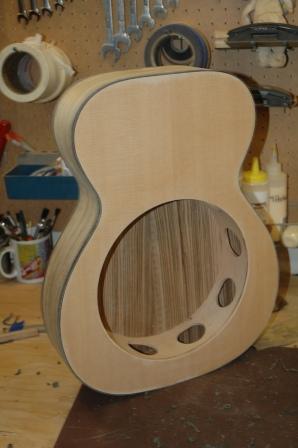
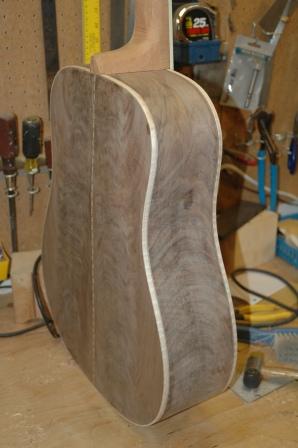
Momentum kept me going, and I got the body assembled. First, I put my handprints in cement…..
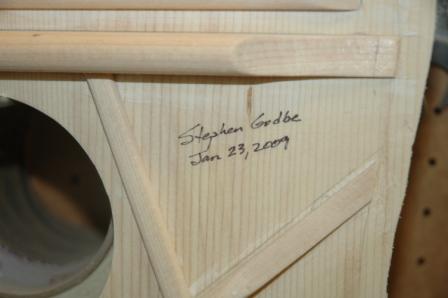
Carved out slots in the kerf to accept the braces that extend into them. I had left some brace work on the back until just before assembly. I managed to get everything assemble with a proper fit.
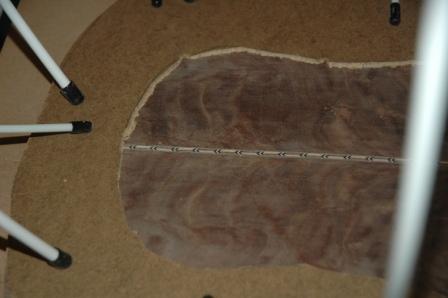
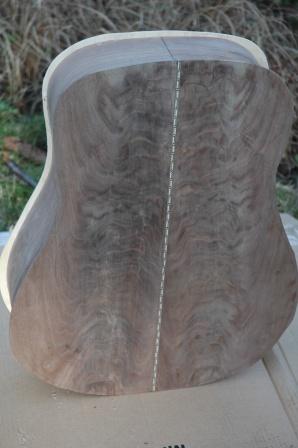
I do admit that the back strip is slightly off center at the butt end. I will compensate with the end graft piece, so that visually it aligns.
I must let Mr. Wood and Ms. Commissionee know that the walnut is now a guitar.
Next step: binding and purfling and end grafting.
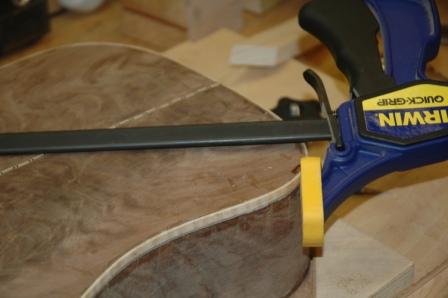
January 24, 2009
I’m preparing the Koa Parlor to be ready for applying lacquer at the same time I do the 12 string. Worked really late last night, and as the 12 string sat in the go bar clamp, I filled fret slots with black super glue and hand sanded the body til it looked like butter.