Uke 1101 – Frets
June 19, 2011
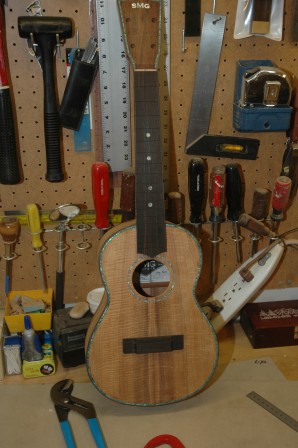
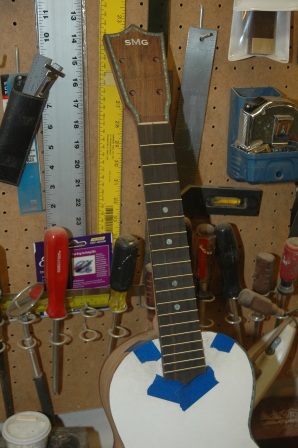
Sanded the fretboard smooth down to 220 grit. Pounded in frets and trimmed.
June 19, 2011
Sanded the fretboard smooth down to 220 grit. Pounded in frets and trimmed.
June 19, 2011
Bracing is installed and trimmed, awaiting final sanding. Bridge plate installed and X-brace patch installed.
June 16, 2011
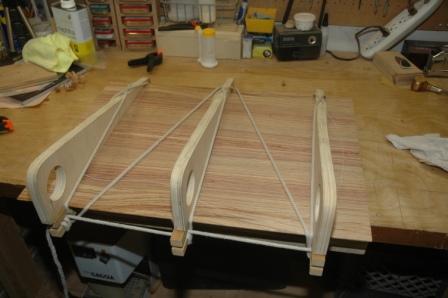
All back bracing and top bracing/tonebars have been installed (glued and clamped).
The braces have been pre-shaped for minimal chiseling. After further shaping, and feathering the ends down toward the edges, I will install an x-brace patch over the joint, then sand.
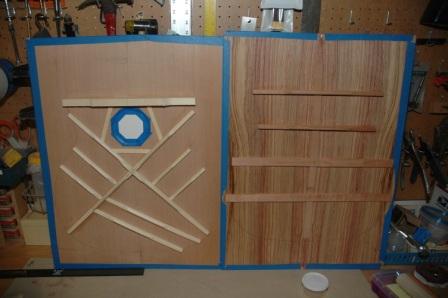
The bridge plate will finally be installed prior to joining back, sides and top.
June 12, 2011
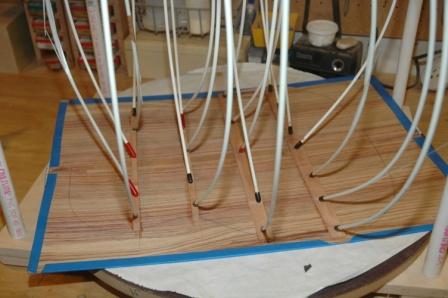
I have begun the process of finger planing/shaping the back braces. I’m also 75% complete on gluing/clamping all the top braces. I’m heavily preshaping the top braces as my past experience has been that this is a more efficient method than planing/shaping after the braces have been installed.
The owner of 1001 dropped by to request a tweak. His open A string had the dreaded wolf-tone which was really a small gap underneath the nut on the fretboard side. A simple filing of the nut slot to release the gap fixed the problem.
I’m also continuing to apply lacquer filler to the headstock for the 12 string Ovation repair. I’ve reattached the sheared headstock, repaired are relacquered the truss rod cover, and after the lacquer filler cures I’ll spray several coats of touch up lacquer then sand and buff. It should be ready later next week. I would like to get this back to the customer before we head out to Alaska for our RV adventure.
June 10, 2011
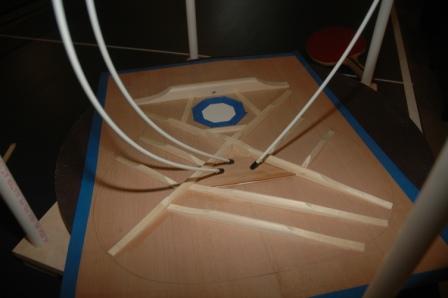
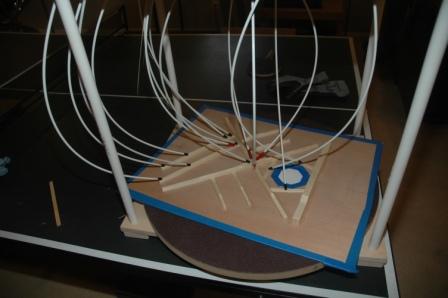
I completed the side supports for the workboard for Guitar 1002. The workboard is an alternative to the body mold which I have used for previous guitars. As I’m using a Spanish Heel, the neck will be attached to the top plate before the sides are installed. The workboard allows the top and neck to be secured.
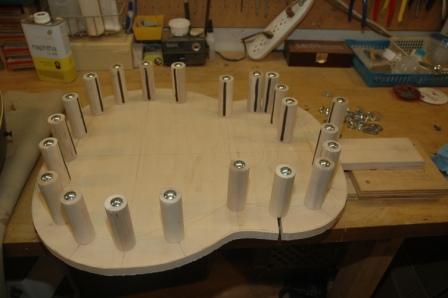
Each dowel side support will be in a slot to allow adjusting the position to create the final and proper shape for the sides before gluing to the top. I will also need to dish out the lower bout area of the workboard to accommodate the radius bulge of the top from the X-bracing.
I have rough cut all the bracing. The top bracing will be spruce, and back bracing cedar. The back bracing is radiussed to 15′ before gluing.
May 30, 2011
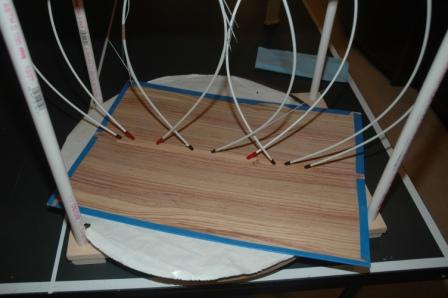
I used the drum sander to bring the back plates down to .090″ then jointed and joined in the spanish joiner jig.
After drying, the joint was sanded, a protective posterboard cover was taped to the outside, and the center strip was glued using the go-bar clamp.
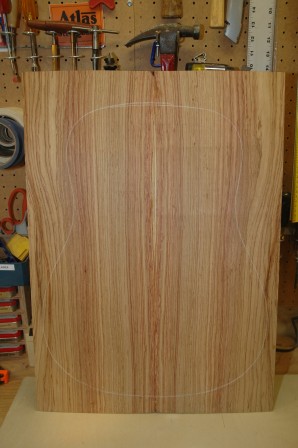
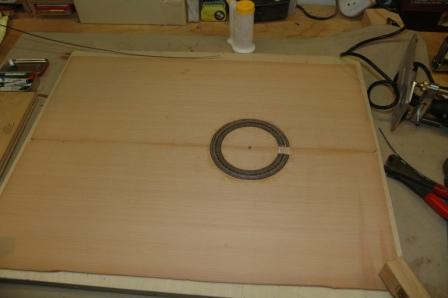
The top was similarly protected with posterboard (I’ve dinged too many top plates) and the bracing pattern was pencilled in.
May 30, 2011
I am having problems with Linksalpha. This is a test to see if it posts to facebook.
May 30, 2011
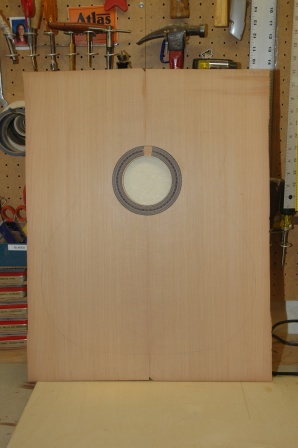
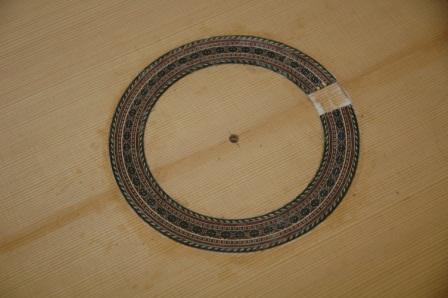
After installing the rosette and sanding it down flush, the soundhole has been opened.
May 29, 2011
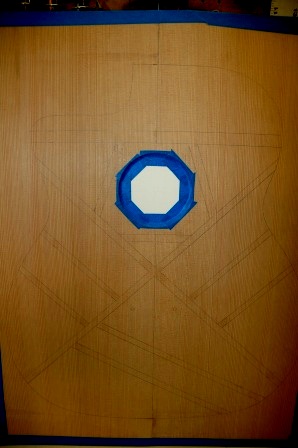
Planed the top plates down to .115″, jointed, then joined. Routed for the rosette, then proceeded to glue it in upside down. Really? Pulled it out quickly, reversed it, and pushed it back in right side up. Everything looks a bit wonky from all the glue about, but experience shows that scraping and sanding cleans it all up beautifully.
May 28, 2011
Using the rubber band/index pin method, the fretboard has been installed.