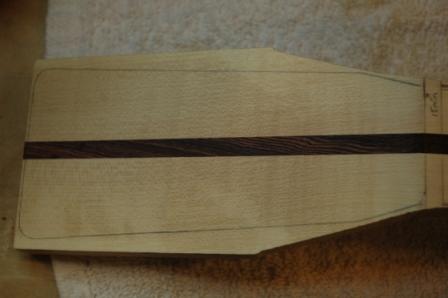
Archive for the 'Guitar 803 – OM Maple' Category

Guitar 0308 – Plan of attack

July 9, 2008

  1. Build jig for slotting neck for install of graphite rods
  2. Trim headstock veneer
  3. Build routing jig for neck tenon and body mortise
  4. Build bench end guitar body vise
  5. Sharpen/burnish scraper
  6. scrape sides, fair and square
  7. install binding
  8. Route neck / body after determining neck angle

Guitar 0308 – Headstock veneer installed

July 8, 2008

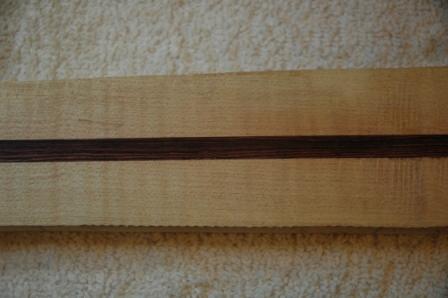
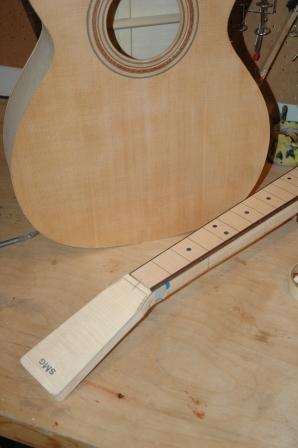
I prematurely glued down the headstock veneer on the maple neck. I say prematurely as I purchased graphite rods to set into the neck, and the presence of the headstock veneer will make the channel routing all that more difficult.

dsc_1006.jpg

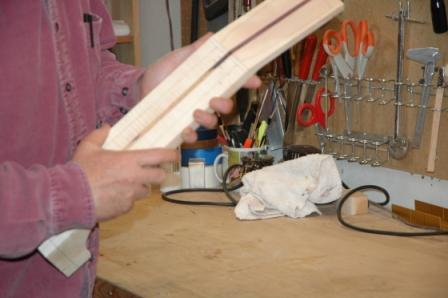
Maple necks are notoriously heavy and prone to movement or warping. The introduction of graphite rods (2, either side of the truss rod) will reduce the neck weight and give it stability to prevent future movement of the neck.

dsc_1007.jpg

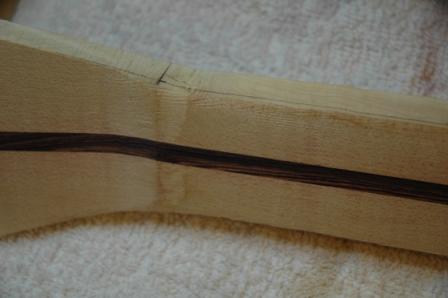
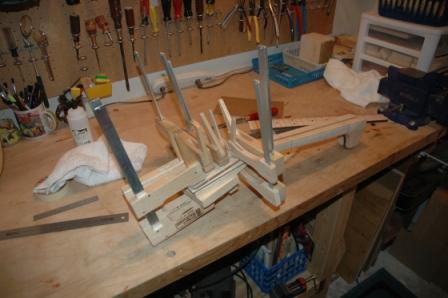
I’ll need to build a jig for sawing the slots before heading out to Vashon to use Carl’s table saw. Even with that, I will run short of the desired length of the slots, as I’ll run up against the headstock veneer. I’ll probably need to finish off the channels with my Dremel, which for a short distance, will work well.

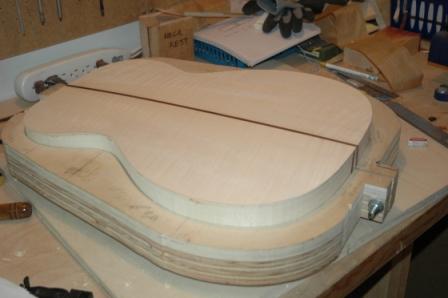
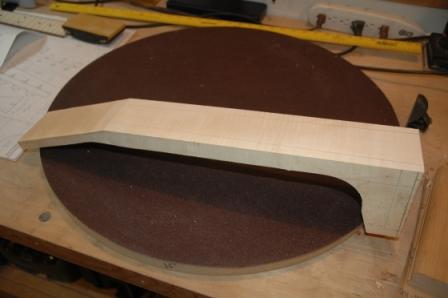
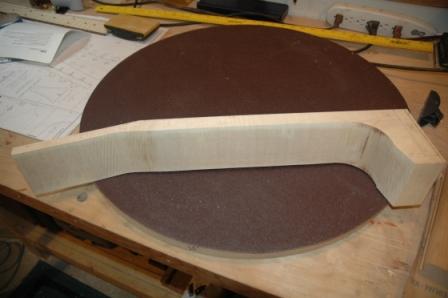
My next challenge is routing out the tenon channel in the body and creating a matching tenon on the neck with the proper neck angle. O’Brien has a nice jig example, and I can apply the knowledge of setting neck angle from my ASL workshop.

Guitar 0308 – Back and Sides

June 28, 2008

Finished gluing on the back and sides on the Maple OM.  I also, before assembling top, routed out the truss rod channel and drilled the neck bolt holes in the neck block.  Looks good.  Next step fairing and truing the sides before I move on to binding.

Applied first set of practical knowledge from workshop by creating a posterboard template, then a plexiglass template for the headstock.  This will allow me to center my MOP on the headstock plate when gluing the veneer, and accurately locate the tuning machine holes.

Guitar 0308 – Back attached, top bracing in progress

June 21, 2008

Cut down fiberglass rod stock (1/4″) to 18″ lengths to use in go bar clamping deck for attaching back and top.  Worked verrrrrry carefully to notch out kerfing on back to accept bracing.  Intentionally routed out less depth than needed, then checked and used a mini-rasp to deepen each notch as needed.  Also used glue verrrrry sparingly on kerfing.  The new rods for the go bar gave plenty of pressure, the small amount of glue held and I had no squeeze out to clean up after.

080621inside.jpg

080621backend.jpg

Returned to working on the top bracing.  Trimmed back the side bracing fingers to accept the X braces snugly between the bridge plate and the side braces.  Trimmed down the side braces, bringing them to a point.  Notched the flat brace at the top to leave room for the truss rod adjust and glued in the mid cross brace just above the soundhole.  This brace was drilled prior to gluing for allen wrench access to the truss rod.

080621topbrace.jpg

Guitar 0308 – Top bracing

June 18, 2008

I’m applying the top braces in the order recommended in Cumpiano.  First bridge plate, then uppermost thin brace then side braces.  X brace will be last after side braces are shaped and sanded.  I shaped the tapers of the braces on the bandsaw in pairs to give exact matches of tapers on like braces.  I used a french curve to pencil in the tapers for a clean swoop.

Next, I’ll use the finger plane to crown the side braces before installing the X brace.

080616topbrace.jpg

080616topbrace1.jpg

Guitar 0308 – Started the carve

June 14, 2008

Spent some experimental time working on the maple neck. I say experimental as these are my first forays into neck carving. I routed the truss rod channel, trimmed down to the approximate size with the band saw and began trying the different shaping tools I have: Japanese rasp, spoke shave, regular rasp, and chisel.

080614head.jpg

080614neck.jpg

The rosewood used for the center strip is really red, and donates color to the maple when rasping. I think I’ll be able to eliminate most of the red from the maple, but even if some is left behind, I think it will be a positive tint which will add a bit of pink to the neck.

080615necklam.jpg

080614neckback.jpg

Guitar 0308 – Neck is trimmed, ready to join

June 10, 2008

Carl returned the maple neck to me, nicely squared up and trimmed down the middle, ready to join with a rosewood blank.

080610trilaminateneck.jpg

Guitar 0308 – I’ve Sent the Neck to the Doctor

June 5, 2008

After doing the cutout of the maple neck blank from the maple log, I needed to cut it down the middle to insert the rosewood trim (acutally a fretboard blank) to create the trilaminate neck maple/rosewood/maple.  I want this cut to be dead on accurate and clean.  My bandsaw won’t do.

I plopped it in the very capable hands of my friend Carl, who has a top quality table saw where he can accurately square up the sides and run a clean full cut dead center.  Thanks Dr. Carl.  He’ll return it next Monday when we (Carl, Larry and I) get together for our weekly music session.

Guitar 0308 – Back brace shaping and neck block cutout

June 1, 2008

Still haven’t moved on the finish on the OM Rosewood.  I’m too distracted by working on this maple.  I worked a bit on the back brace shaping, then moved to the cutout of the neck pieces from the humongous maple neck block.  The piece was large enough to craft two necks, and I’m glad there was as the first cut ended up with a headstock too thin and out of square.  Second go around of the cutout resulted in a near perfect, and square, neck cutout.  This is just the first part of an adventure I’ve not yet embarked upon.  I’ve got the tools and plenty of advice from the O’Brien DVD, the K. book, and the Cumpiano book, where I should have a modicum of success, if I take my time.

Maybe tomorrow I’ll take a break from the maple and get on the finish work for the next 3 lacquer coats for the rosewood.

080601backbrace.jpg

080601neck.jpg

080601neck2.jpg

Guitar 0308 – What’s wrong with this picture?

June 1, 2008

Happy June everybody.  Clearly no one is paying careful attention, or you think my way is the right way.  In yesterday’s post, I showed two examples with fret dots set on top of the fretboard to see which looked better:  without the 3rd and with the 3rd.  But nobody called me a bonehead because I showed dots on the 14th and 16th instead of the 15th and 17th.  Mixolodian.

Anyway, fret dot placement exposes my dyslexia.  I’ve installed on the 11th (my Spinal Tap Dot) and offcenter and too deep and akimbo.  Just getting all the wrong possibilities out of the way.

« Prev - Next »