Archive for the 'Guitar 804 – Koa Parlor' Category

Guitar 804 – Top and back braced

September 28, 2008

This weekend I completed the bracing of the top and back.  Used my sanding machine to shape the braces and am very pleased with the outcome.  Last time I mounted raw braces (after radiussing) and chiseled them to shape.  This time I shaped the braces to a sharp peak using the belt sander after using the Luthier’s Friend to taper the ends.

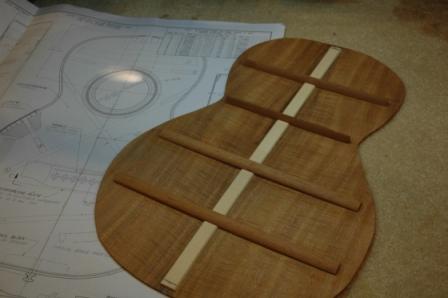
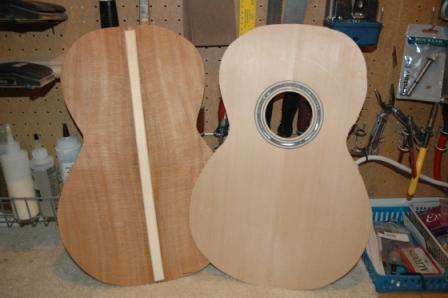
First step was to install the back strip, then cut out the space for the back braces.

080928backandfront.jpg

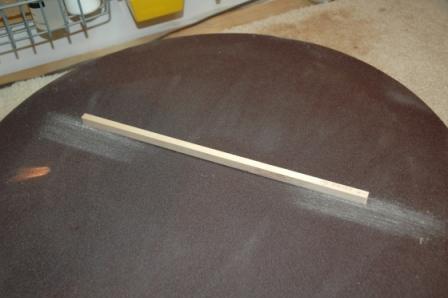
Then I radiussed the bottoms of the back braces to 15′ and the x-braces for the top to 30′ using the contour dishes.

080928radius30.jpg

Glued in the back braces in the go-bar clamping deck.

080928gobarback.jpg

Did my best to square up all the braces, but they came out a skosh askance.

080928backbraced.jpg

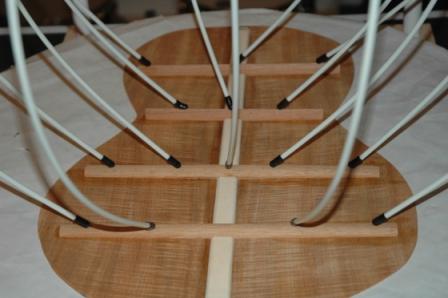
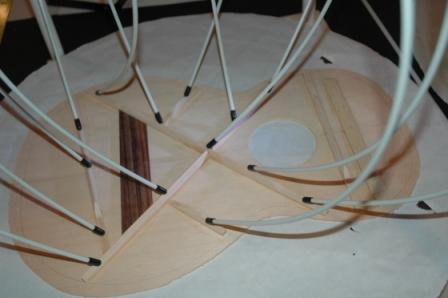
Just finished gluing in the top braces.  Only the x-brace is radiused.  The bridge plate is dry fitted until I can free up some go-bar rods after the top brace glue dries (later tonight).

080928gobartop.jpg

You can see that the Parlor has far fewer braces than the OM as it is a smaller footprint.  I’m going to shave all braces down to zero as they approach the kerf line.  The small size won’t require as much brace strength, and I think the tone will improve with less brace material.
Guitar 804 – Rosette flooded

September 27, 2008

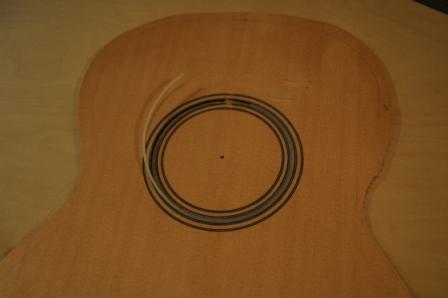
Went throught the process of routing out the center ring channel to accomodate the BWB/Abalone/BWB.  In the end, it was a little too wide.  By using a flooding method to secure the abalone, it will all come out looking fine, but ultimately it would be cleaner with a narrower channel.

First glued in the BWB/Teflon/BWB.

080927teflonin.jpg

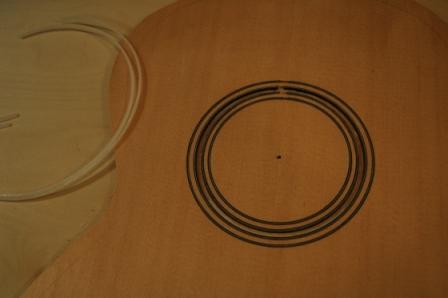
After drying, removed the teflon strips.

080927teflonleaving1.jpg

080927teflonout.jpg

Based upon recommendation from C. Fox, I coated the open channel vacated by the teflon with vinyl sealer.  I’ll be using superglue to secure the abalone, and apparently the sealer will keep the BWB from bleeding when confronted with superglue.

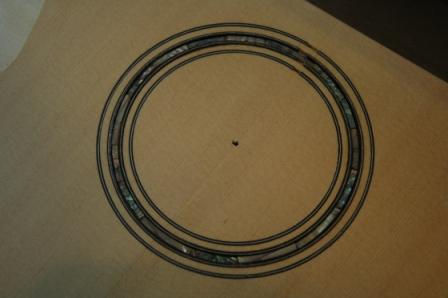
After the sealer dried, I carefully laid the abalone in the channel, which is when I realized it was too wide for my abalone chips.  I centered the abalone in the channel and attempted to butt each strip up close to the next.  My hope is that the gaps between the chips and each other and the side wall will disappear with the superglue flooding.

080927rosettetobeflooded.jpg

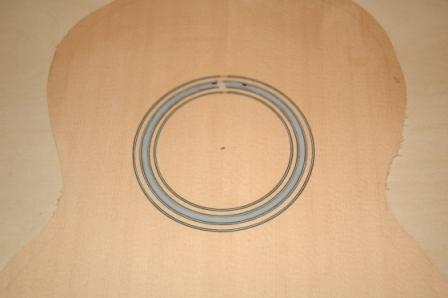
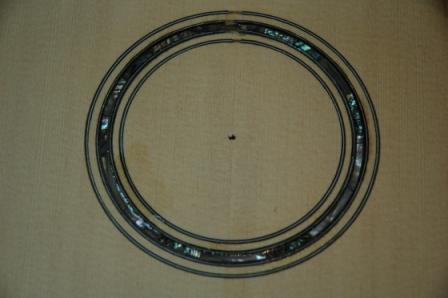
Several applications of superglue later, sufficient drying time (overnight as it was very thick), I sanded down and am somewhat pleased.

080927rosetteflooded.jpg

Next time:  narrower channel, shallower channel, multiple thin applications of superglue, rather than few thicker.

Guitar 804 – Groovin’ the Rosette

September 24, 2008

Larry is going to procure an LR Baggs pickup for his OM Maple, but that’s not the reason I’ve sidelined to work on the parlor.  I am going to resume neck shaping on the OM, but wasn’t in the mood tonight.

I decided to begin installing the rosette for the parlor.  This will be my first foray into using abalone.  Charles Fox suggested a method which I will employ:  Rout the channel for the BWB Abalone BWB center ring, glue in the inside BWB with a strip of teflon where the abalone will go followed by the outside BWB.  Let it dry, remove the teflon, then press in the abalone arcs (after dressing the cavity with vinyl sealer), then flood the abalone with superglue.

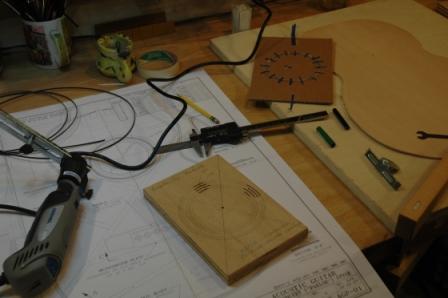
In order to get the channel just right, I devised a rosette jig, a scrap piece with the properly measured channels pencilled in with a small routed channel about 1″ long for each.  This will allow me to reproduce the dremel settings without doing “test cuts” on the actual guitar top.

080924rosettejig.jpg

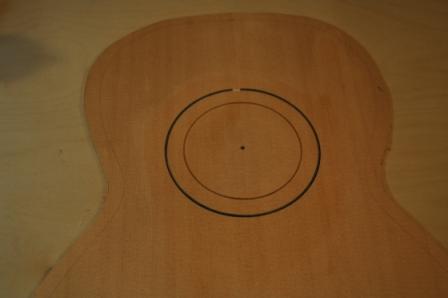
First, I’ll rout the inner and outer channel and install the BWB, let dry, scrape, then tackle the center ring.

080924rosette8.jpg

Ring one! (Outside)

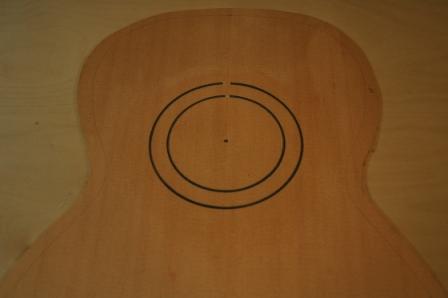
080924rosette9.jpg

Ring two! (Inside).  I slapped some wax paper on, set on a caul and put my old heavy bench plane on top to hold down.

Guitar 804 – Spruce Top Profiled

August 9, 2008

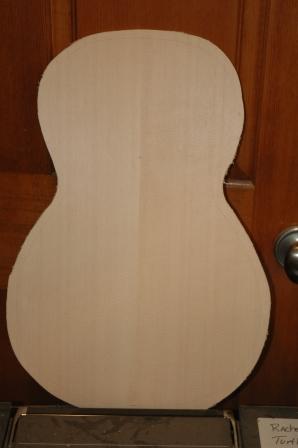
Traced and cut out the profile for the spruce top.

080809top17.jpg

Guitar 804 – Neck ready for schmeckling

July 20, 2008

OK, it’s been a bit since I wrote, but I have been busy. I received the spruce top and sought out the best side and position for the top orientation. Penciled in the form, and it’s ready for bandsawing.

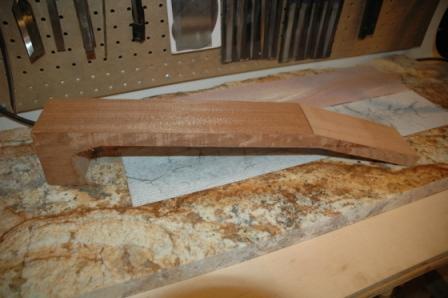
Attacked the neck some more, sanding down and flattening the fretboard surface, and using the L. Friend for bringing the neck/headstock pieces fully square. I also rerouted the truss rod channel as inserting the graphite strips narrowed the original channel.

dsc_1017.jpg

Guitar 804 – I went to the table, and I sawed

July 13, 2008

I went to Carl’s house on Vashon, and I worked with him and his table saw and I found God.  A table saw is the holy grail of woodworking.  I covet the saw.  I need the saw, but yea, I have not the room.  I will make the room, I will find the room, I will build the room if necessary, but I will have the table saw.  Some day, some how (should those words bump into each other?).

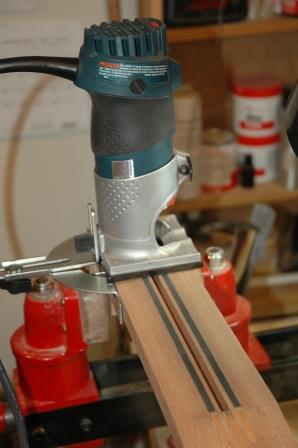
So, I channeled the mahogany neck for the koa to accept graphite rods and the truss rod, and I milled a whole shitload of bracewood, both mahogany and spruce.  It was fun, it was dusty, and it prepped me for epoxying in the graphite rods and such (such? what’s that mean?).

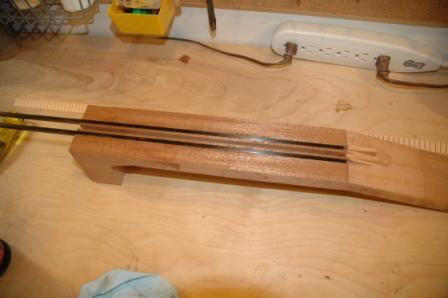
Here’s the end result of the graphite rod channel, and even though the rods are a bit over the surface, I think I can sand down the graphite quite easily even though I’ve not worked with it yet.

dsc_1014.jpg

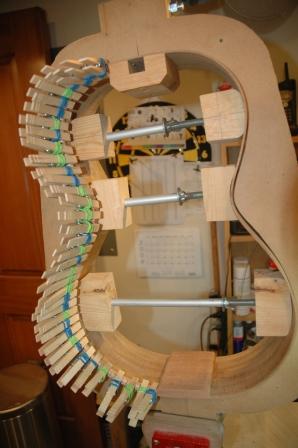
I also did the kerf install on the top for this guitar.  Oddly, I love to kerf.  I’m looking forward to making my own kerf lining someday, even though it seems something best left for someone else.   If I want to use the Fox version of kerfing, the one which contributes to the side shaping, I’ll have to make my own kerf.  I’ll keep it in mind.

dsc_1012.jpg

I’ve got one more picture.  What is it?  Let’s go see.

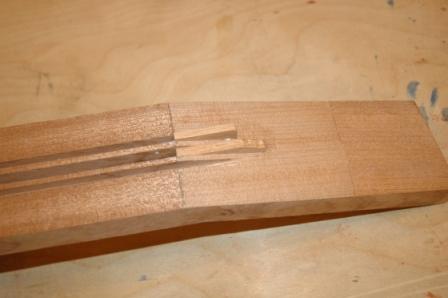
dsc_1013.jpg

Oh yeah, I’m going to insert little laminated pieces of mahogany into the slots I made for the channels.  Then I’ll chisel down and flush up before gluing down the headstock veneer.  I was going to install the graphite rods in the maple neck, but I already trimmed the neck back and didn’t leave myself a square surface for channeling.  Since I have inserted a rosewood laminate center, I’ll depend on that to keep the neck from twisting and warping (the purpose of the graphite).  Only time will tell.  Larry will call me when his neck goes south.  Iris’s neck will maintain its integrity for time immemorial.

I also have mentioned before, but it begs mentioning again, I’m going to use a spruce top for this guitar, not the mahogany I originally planned.  Mahogany should not be used for tops.  Carl mentioned that to me in an aside whisper.  I’m glad I came to this conclusion before it was too late.

Cheers.

Guitar 804 – Neck cut jig, glue in the blocks

July 13, 2008

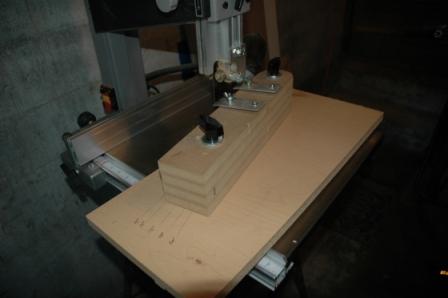
Taking a cue from Charles Fox, I built a jig for cutting the headstock piece off the neck blank.  Being the conservative I am, I used MDF scrap from the previous mold construction.

dsc_1010.jpg

Did have a small problem with the fact the neck blank was a skosh out of square.  Minor issue that will resolve when I trim down the headstock and carve the neck.

dsc_1009.jpg

Trimmed the sides, glued in the butt block and the neck block (newly purchased from StewMac).

dsc_1008.jpg

As I look more and more at the mahogany top piece, I’m thinking the top should be spruce.

Guitar 0408 – Plan of attack

July 9, 2008

OK, rather than run down into the shop and start working on whatever I bump into, I’m compiling a list, by guitar of what to tackle next.

  1. Bend the side waist tighter using bending iron
  2. Cut sides
  3. Glue in butt block after checking square, dimensions, and radius
  4. Glue in neck block after checking dimensions and recording distance between holes in mortise
  5. Trim down the spreaders
  6. Make a rosette jig
  7. Cut the rosette channels, use teflon strips, remove, install abalone, flood with super glue.  Don’t forget the vinyl sealer

Guitar 0408 – Refining the mold, thinking about spreaders

July 8, 2008

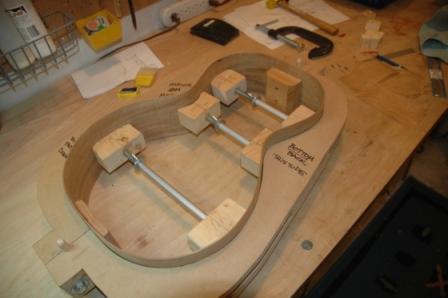
With all the care and concern over getting the Parlor mold to be square and fit together such that each side mirrors the other, I still assembled a skosh off kilter.  I am using 3/8″ bolts to hold together, through 3/8″ holes.  As the left side was a bit north of the right side, I widened the holes in one side, reassembled, and got both to match perfectly before drilling a key hole in each end to accept a dowel.  Now they match, and opening and closing the mold should bring it back to it’s original orientation using the key dowels as a register.

The prebent sides fit nicely, but there is still a slight gap between the waist and the outer dimension of the bouts which I can resolve through a compression clamp, or a tighter bend in the waist.  I think I’ll try the tighter bend using my newly acquired bending iron.

I prepared the heel block (or butt block) and realize my neck blank does not contain the dimension needed for the neck block.  I’ll have to get my hands on a piece of mahogany which is appropriate.  I also trimmed down the width of the spreader blocks, for fear I wouldn’t be able to release them from inside the Parlor body as the soundhole is smaller than my last guitars models.

I’ve scheduled an appointment with Carl and his table saw to use for squaring off the neck block in preparation for shaping the neck. 

Guitar 0408 – Making the Mold

June 29, 2008

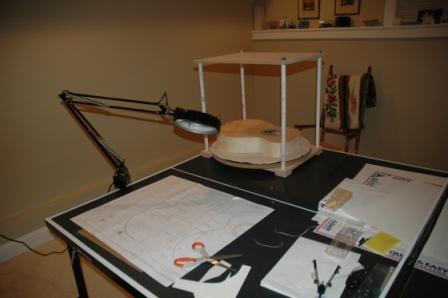
Used the free MDF from Dunn to build a mold for the Parlor.  I spent some time at the drafting board (really the ping pong table) and first made the posterboard half plate using the plans as a guide.  Then transferred to plexiglass to make a permanent half plate.  Used the plexiglass to trace on the MDF to start building the mold.

dsc_1004.jpg

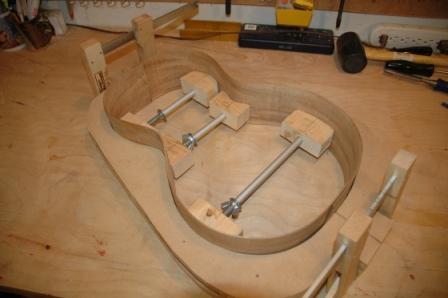
I ended up making the mold three ply, with the center section kind of a set of spacers rather than full sheet.  Was very careful to make square and to line up perfectly when adding the bolts.  Still, it’s a skosh off kilter, maybe by 1 mm.  I think that’s within my tolerances.  It looks right, and I put the sides in and the spreaders, and it will sit a bit before I get back to trimming the sides and gluing in the neck and butt block.

dsc_1005.jpg

« Prev - Next »