Archive for the 'Repairs, Jigs, Tools and Other' Category

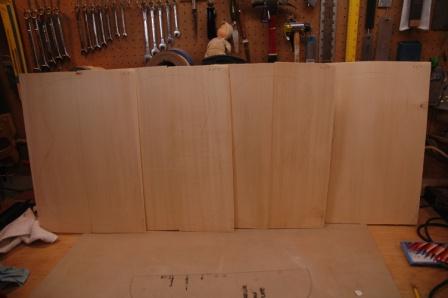
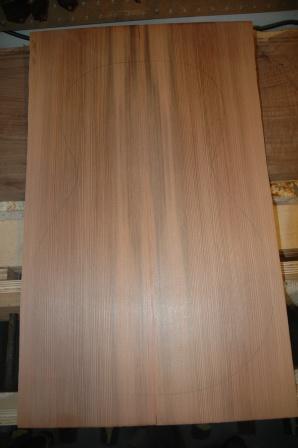
New tops, joined and ready to be used

July 12, 2009

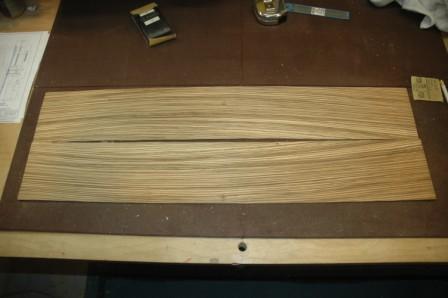
Got some sinker redwood from Allied and 4 Engelman spruce bookmatched sets on eBay.

Thickness planed in the drum sander and joined (rather the reverse).  My friend Carl expressed a desire for a parlor, and one of these tops should work.

090712sinkertop.jpg

090712englemantops.jpg

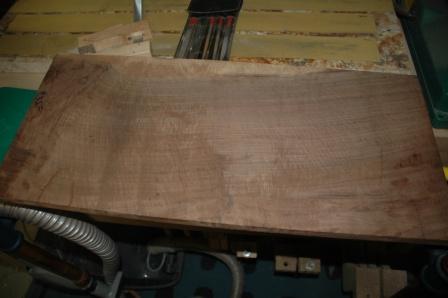
I just got back from a trip up the east coast from Florida to Montreal, and stopped at a lumber yard and purchased a billet of claro walnut.  I will use this with some walnut sides I have for some future guitar.  My challenge is to find a way to slice the billet into 4 useable plates for two backs.

090712walnutbillet.jpg

Romanian Mandolin

July 12, 2009

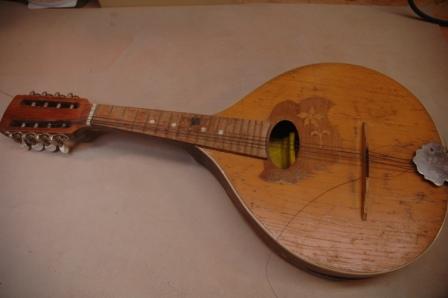
I have been working with Joel Tepp to develop and refine my repair experience.  Yesterday he delivered a gift of a mangled Romanian Mandolin which needs extensive work to resume playability.

9001romanianmando.jpg

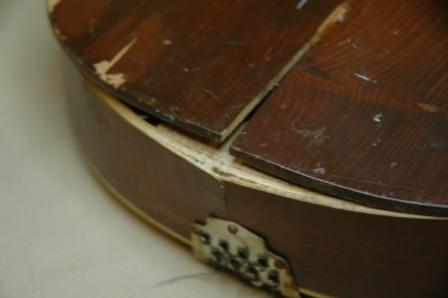
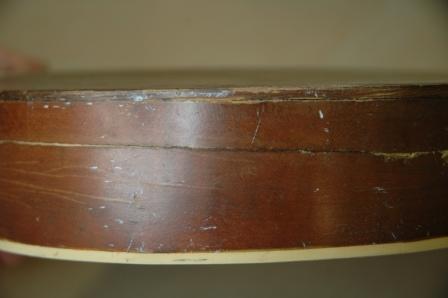
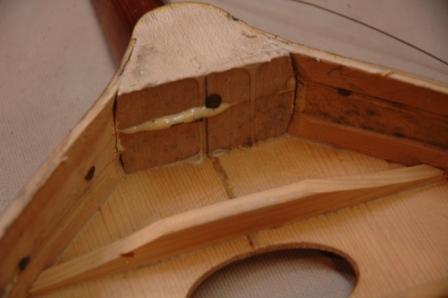
There’s plenty wrong, and lots of opportunity to “practice”.  First the back is separating from the body, and the braces are loose.  As well, the butt block and sides are separating.

9001backseperated.jpg

9001buttseperated.jpg

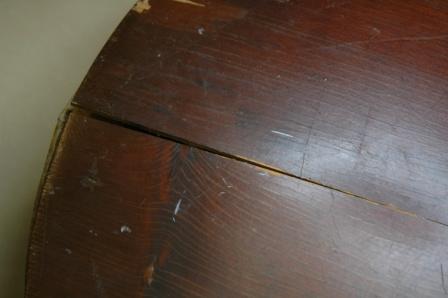
Next, the sides are cracked and poorly repaired, and the neck heel is cracked through along the line of the side cracks.

9001sidescracked.jpg

9001crackedneck.jpg

Additionally, the top plates are separated, and the finish is terrible.  The frets are down to nothing, the saddle needs to be rebuilt, and the nut has come loose.  Just a few things to do, but I think the side cracks and neck crack are going to prove to be the most challenging.

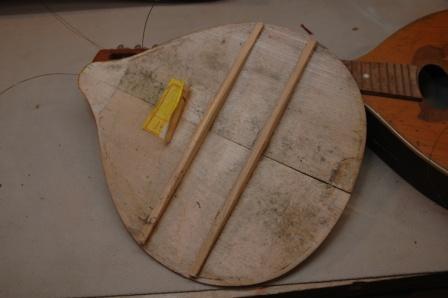
I removed the back and braces from the back using my silicon heating blanket to soften the glue.  First repair was to reglue the butt block to the sides.

9001backremoved.jpg

9001gluebutt.jpg

9001buttglued.jpg

I pulled out the frets and resurfaced the fretboard with CA.  It should sand down nicely, and the fret slots are deep enough and intact such that new frets should seat nicely.  I’ll try and fix the side cracks, but if it proves unsatisfactory, I may replace the sides.

Collecting Dust

March 28, 2009

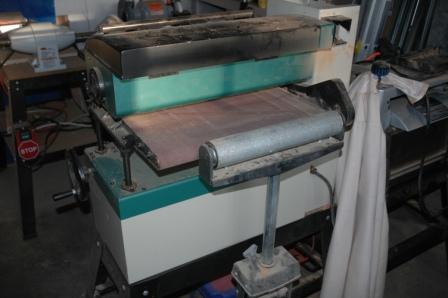
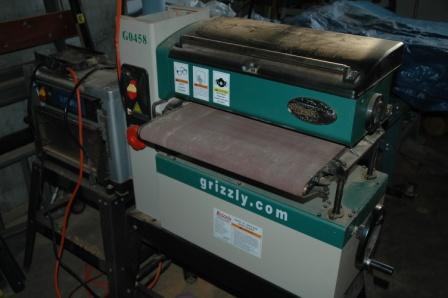
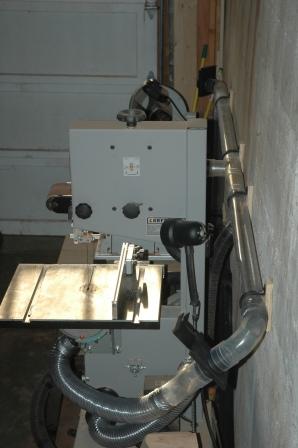
After rearranging the garage, where all the power tools reside, and making room for my new (used) drum sander, I decided to take a step toward central dust collection.

090328drumsanderback.jpg

090328drumsander.jpg

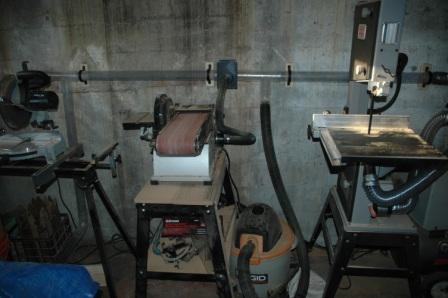
The drum sander has a collection bag, and some damaged ducts, so I’ll repair the ducts and continue to use the bag attachment for this one.  I installed a central collection system attached to my shop vac for the Miter Saw, the Table Saw, the Sanding Station and the Band Saw.

090328dustcollection9.jpg

090328dustcollection.jpg

It’s really cool to watch all the dust zoom through the clear tubes.

Making a drill press planing table

November 24, 2008

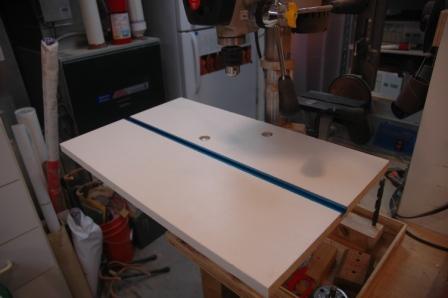
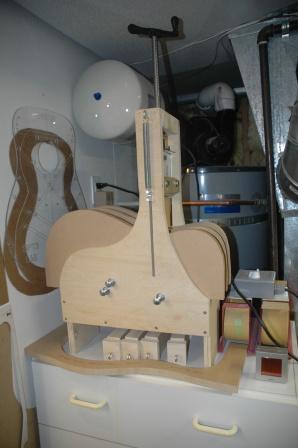
Resigned to the fact that I will be thickness planing my tops, backs and sides with the Wagner Safe T Planer, I have designed and am now building a drill press mounted planing table.  I have finished the base, which is a 15″ x 24″ piece of particle board, with mounting bolts to attach to the drill press table.  I inserted a 24″ Tee channel which will be used to direct the top plate.  The top plate will have a cam clamping bar installed to hold down the wood which needs planing.  Here’s the base.  Still need to install a back fence as an additional guide for the top plate.  The top plate will be 12″ x 38″ and designed to allow clamping of both top/backs and sides.  The idea is cool, but we’ll see how practical it is, and if I can really do some accurate thickness planing.

081124planingtable.jpg

Bender, zebras and blemishes

November 10, 2008

I’ve put more into the bender as I mentioned earlier.  Here are a few images.

081109bender.jpg

081109bendmold.jpg

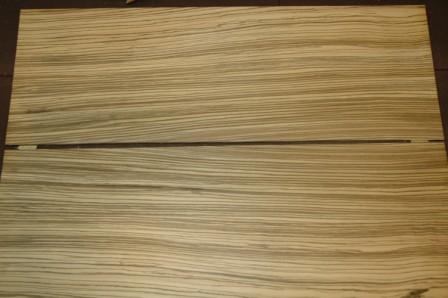
Also, I ordered zebrawood and sitka spruce with the 12 string kit.  The walnut and cedar for the 12 string is coming from another source.  But, by ordering a full complement of components through the LMI kit wizard, I get a substantial discount on each piece.  I’ll use the zebra for my next guitar, whatever it may be.

081109zebrasides.jpg

081108zebraback.jpg

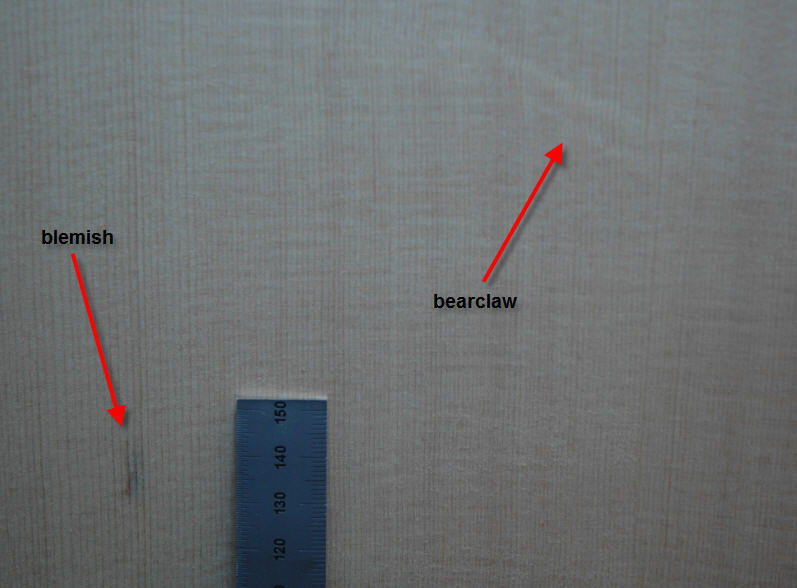
Finally, the spruce came with issues.  I wrote LMI and they are thinking about resolution which includes perhaps sending me a new spruce top.

bestsidedetail.jpg

Banjo Refret – complete

November 2, 2008

Well, after much procrastination, I have finished Tom’s banjo refret.  It was much more than a refret, and I had to do a bit of adapting to get it strung and playable.

1.  Sanded down old fretboard veneer, installed a new rosewood veneer top, slotted for frets, banged ’em in, and added abalone dots and star fret markers.  Before banging in frets, I sealed the rosewood with Z-poxy pore filler, then buffed back to get off the sheen and finished with lemon oil.

2.  Added replacement head clamps where missing.  These were a bit too long and had to grind down ends so as not to have pokey bolts gashing open the abdomen of the player.  The remaining original head clamps were tightened as each was loose and dangling.

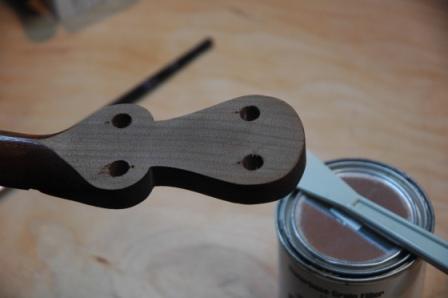
3.  Drilled out headstock to accept new tuners.  Ground and sanded back the rear side of the headstock to make it parallel to the top, applied tobacco brown stain and 9 coats of nitrocellulose lacquer.  Did NOT buff out to a glossy sheen as it would compete inappropriately with the rest of the neck finish.  Installed new tuning machines.
081102banjoheadstock.jpg

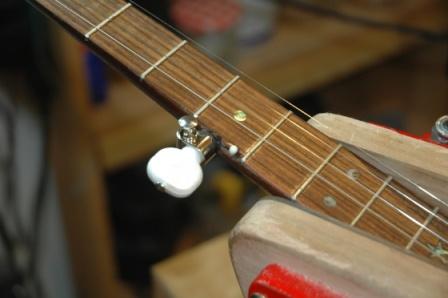
4.  Added string button to 5th string near 5th fret.  This is like a mini-nut.  The banjo neck was a bit rotten and drilling for the button was precarious and some of the rosewood veneer flaked off in that location.  I’ll leave it as is given there is no good alternative except to try and glue in some rosewood veneer flakes.  I’ll get Tom to make the call as to whether he wants that done.
081102fifthstring.jpg

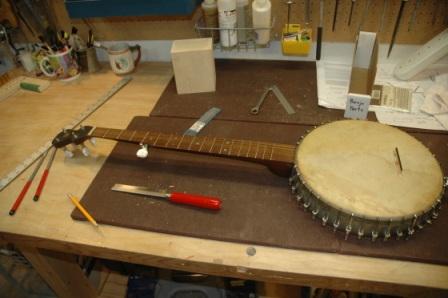
5.  Trimmed and polished bone nut material and installed with super glue.  Slotted to accept strings.  Filled hole in end of neck where it screws to the head (toothpicks and AR glue).  Drilled out a hole dead center then mounted neck to head.  Installed string tailpiece.
081102banjotostring.jpg

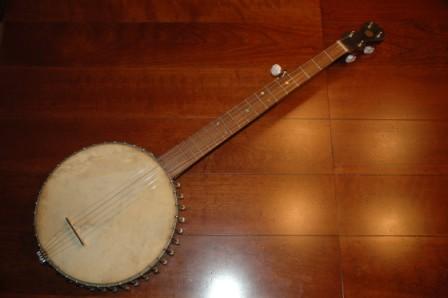
6.  Even with the shortest bridge, the action was unacceptable.  The neck mount with the existing holes left the neck with no oblique angle, so strings rose dramatically from nut to bridge.  Removed end bolt and drilled new hole in tone ring to create a better neck angle for better action/string clearance.  I also inserted a rosewood shim between the end of the neck and the metal rim of the head to accent the angle further.  Even with all this (and it’s the best neck angle possible with this configuration), the action is a wee bit high.  Lastly I deepened the slots in the nut to get the strings even closer to the frets.
081102banjodone.jpg

With the bridge positioned properly, it plays nicely and even sounds in tune (an achievement).  There’s some detail work to be done, but I’m hoping it’s something Tom wants to tackle.
Workshop done! (almost)

October 8, 2008

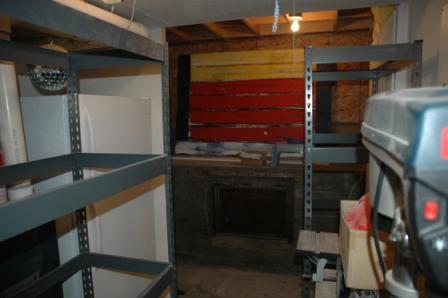
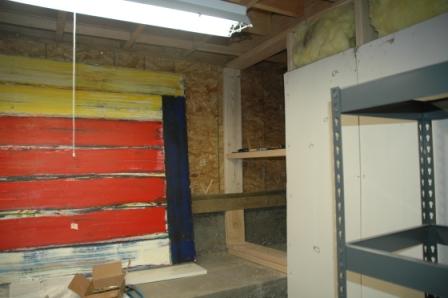
Whew!  Construction in the workshop is complete.  I have plenty of cleanup to do vacuuming up the dust and sweeping up the crap I threw on the floor while building walls, installing insulation, wiring for plugs and lighting.  I’ve reinstalled the shelving in the new open space and after cleanup, it’s time to put everything back and devise new storage locations for jigs and radius dishes and oversize wood sheets and power tools usw.

081008workshopdone.jpg

The ceiling in the new space, which I will continue to call the mezzanine, is the underside of the front porch, so I still need to insert some insulation, and ultimately I want to paint the cement floor and somehow seal the old 1908 cement foundation wall and mezzanine shelf as they emit 100 years of old dirt still shedding off the funky cement (or is it concrete).  But that I can do at a later date as I start to build the spray booth which will occupy  the space previously held by the refrigerator.

Workshop expansion

October 6, 2008

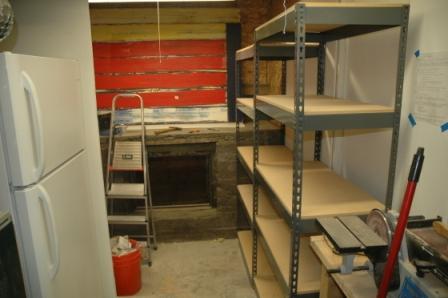
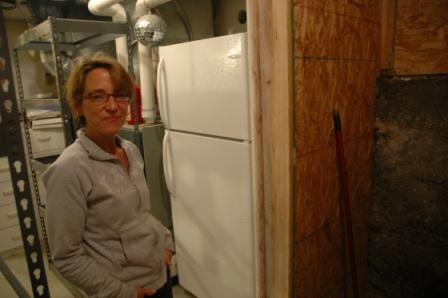
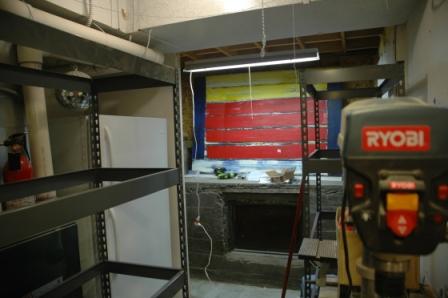
Speeding through the workshop expansion.  Finished wall between “mezzanine” and garage stairs, wired for electrical outlets in the new space, moved the fridge next to the furnace, and installed a new fluorescent fixture in the new area and moved the incandescent fixture out into the garage stairs area.

081006workshop.jpg

Fridge moved (itself) to space next to furnace, where shelves used to reside.

081006workshop1.jpg

Prior to installing the fluorescent fixture.

081006workshop0.jpg

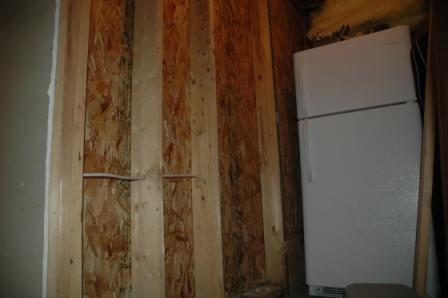
Wall finished, needs insulation and surfacing (probably particle board left over from the tear out).

081006workshop3.jpg

Expanding my shop space

October 3, 2008

I’m very lucky to have a dedicated shop space for building.  My shop is in the furnace room which also houses the water heater.  I am using every square inch of space with two workbenches, supply shelves, an old bureau with drawers for guitar supplies, and wall space for hanging up stuff.  I really like the limitation as it gives me a chance to be creative about space management:  everything has its space, and up until now, there was room for new stuff.  Now I want to build a spray booth, and install a buffing station, and there isn’t an ounce of room left to accomodate.  Opposite the shop’s back wall is the “mezzanine”; a space between the garage and the shop.  I can increase the size of the shop by removing the wall and enclosing the “mezzanine” where it opens toward the garage stairs.

I started removing the particle board on the garage side, and tomorrow I’ll pop out the studs and remove the shop side particle board and sheet rock then use the removed materials to build the new outside wall.  The “mezzanine” floor is lower than the shop floor, so I’ll either do a lot of tripping, or I’ll build up a wood floor over the cement to even it out.

081003shopexpansion.jpg

081003shopexpand4.jpg

Banjo repair – neck finished?

September 27, 2008

I’ve finished the first phase of the banjo neck refret, resurface, and installation of tuning pegs.  Next steps will be taken after consultation with Tom.

080927banjohead.jpg

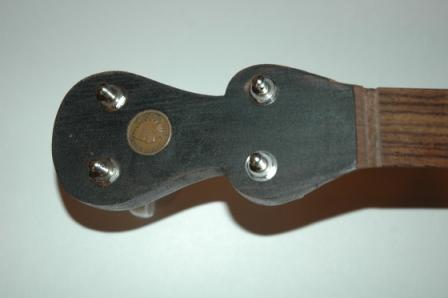
Tom had me install a 1907 penny in headstock.

080927banjo5thpeg.jpg

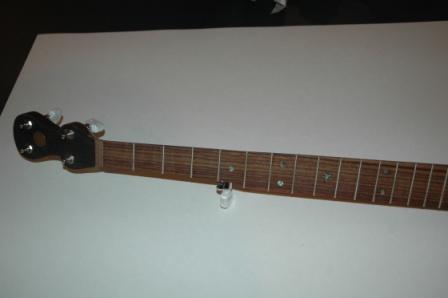
Inlay looks good, gotta polish that fretboard.  5th string tuning peg just dryfit, not secured.  Need to set the little bone/plastic peg in the fretboard to guide the string.

080927banjoneck.jpg

It’s a nutless neck.

« Prev - Next »